Regular backup of your computer is a good habit cause you never know when and why your operating system crashes, causing your files and data corrupted and inaccessible. Repeatedly copying and pasting is more troublesome than utilizing a native toolset -- Windows File History, which allows you to back up your computer in one go.
This article elucidates Windows File History 10/11, including what is it, and how to enable/disable it on your PC.
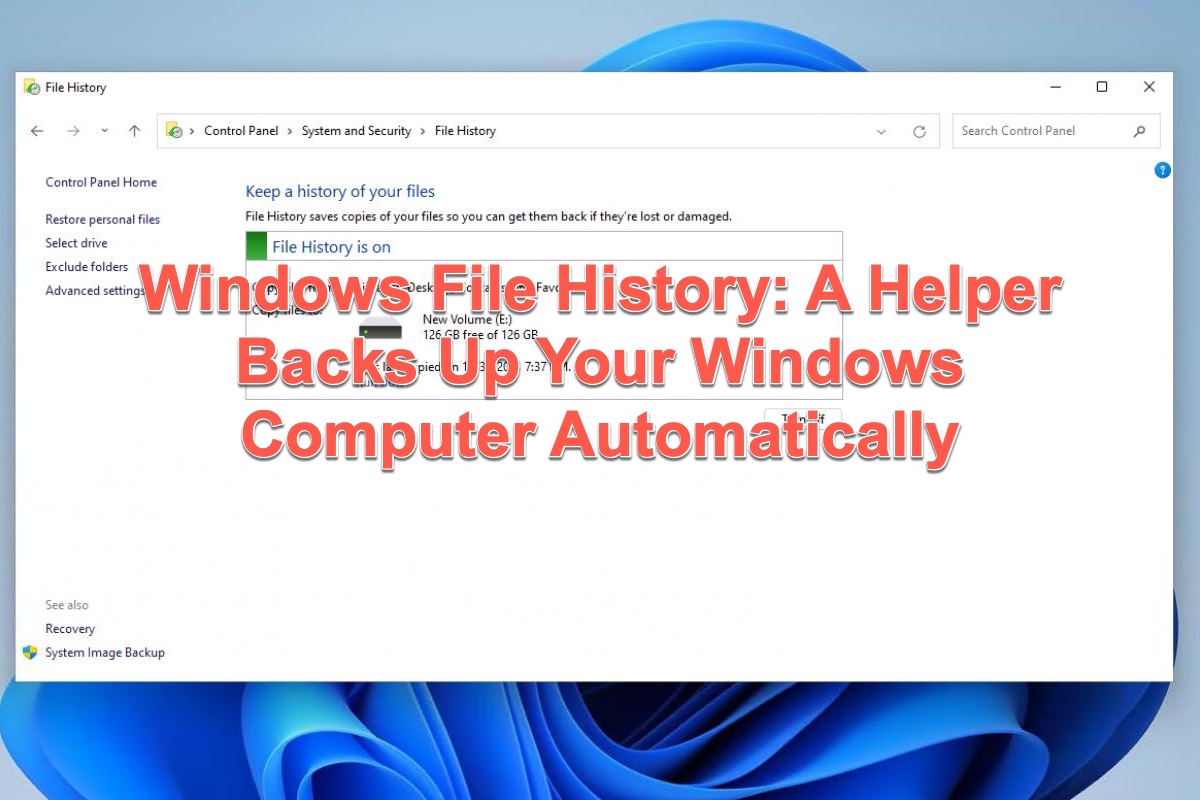
What is Windows File History?
For better backup work, Microsoft created the File History on Windows 8 in 2012 and updated its features and functions all along. File History is a snapshot mechanism for all files that users store in the primary folders or directories associated with the user accounts.
It was previously known as Libraries and the folders include Documents, Music, Pictures Videos, Desktop, and the offline files stored in the users' OneDrive account.
Differentiating from system image and Windows backup, File History only backs up the specific files and folders instead of duplicating the whole Drive on your computer. You can utilize the File History allows you to make a full backup of significant files and data to an external hard drive without effort.
If you find this article informative and helpful, please share it with more people on your social platform!
How does Windows File History work?
File History takes a snapshot of all files in these folders mentioned above and the downloaded OneDrive files at regular intervals. It provides access to review and retrieve the previous versions of files from the snapshots.
Moreover, File History is not activated by default on your computer so you need to turn it on manually and Windows doesn't back up the files and folders in Documents, Music, Pictures Videos, Desktop, and the offline files stored in the users' OneDrive account as long as you turn it off.
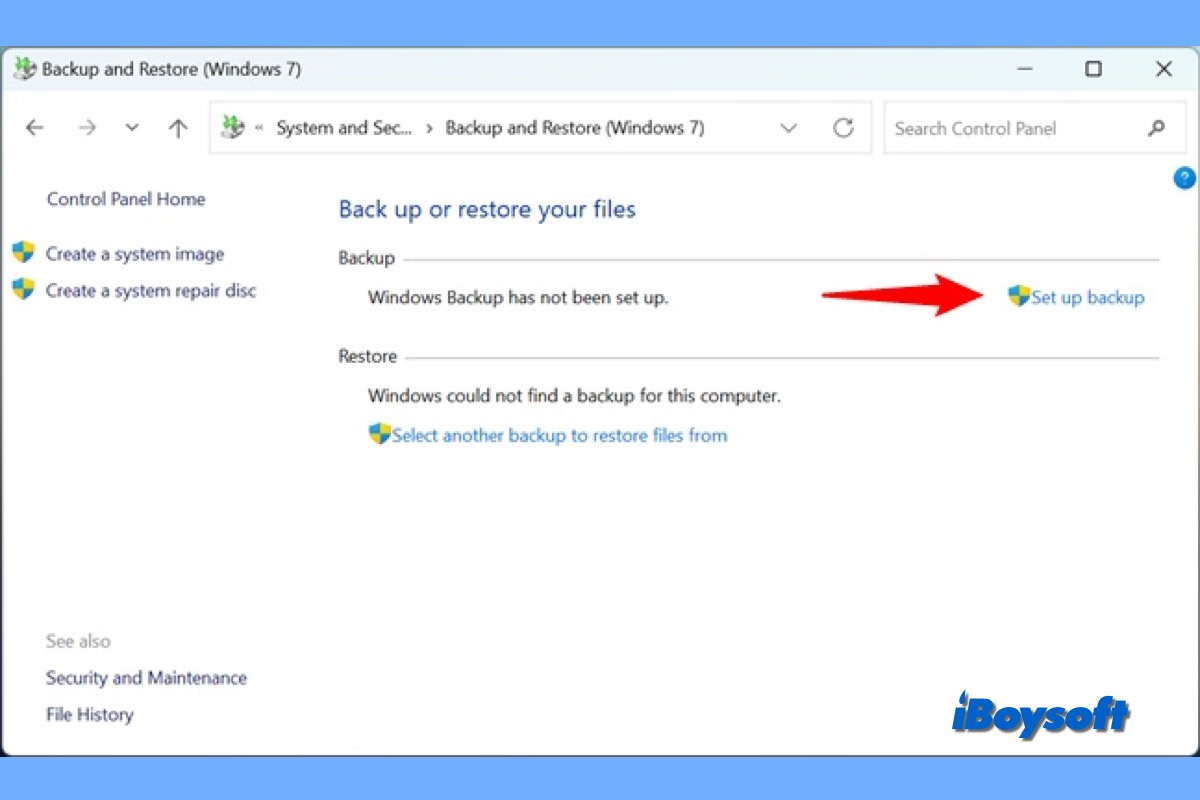
Here is a guide to the Backup and Restore feature on Windows 7/10/11. You will know what it is, how to use it to create file and folder backups, and system image backups on your Windows PC.
How to enable/disable Windows File History on a computer?
There are three methods allowing you to enable Windows File History and this article will elucidate them one by one. Just keep reading and try one method to experience this wonderful feature now!
Method 1: Use Windows Settings to enable File History
Windows 8.1 version and Windows 1o version enable users to launch File History in the settings menu bar, so you can follow the steps elaborated down if you're running Windows 8.1 or Windows 10.
- Press the Win + I keys tougher to call for the Setting app, click System, and then tap on the Storage option.
- Scroll down your mouse cursor to locate the More Storage settings choice and click the View backup options label on the main interface.
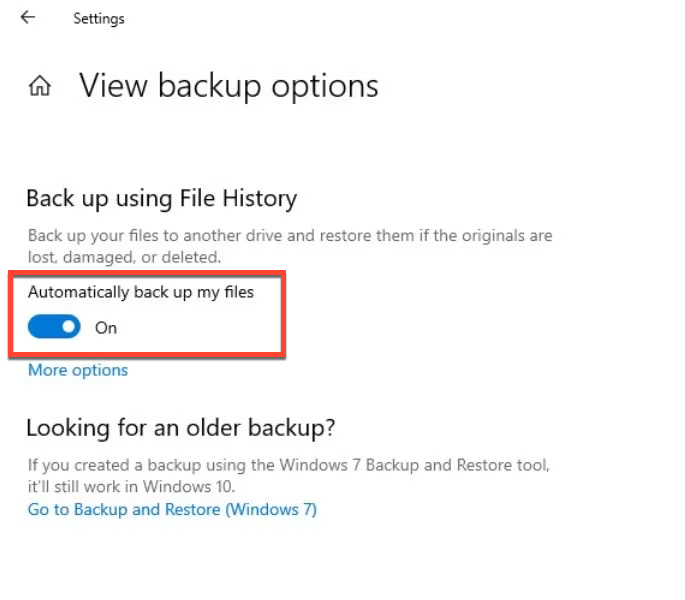
- If you have enabled File History previously, all you need to do is just toggle on Automatically back up my files so the File History will back up the specific files and folders on your computer automatically.
- If you haven't activated this feature, you can see Add a drive option. Click on it and select an external hard drive connected to your computer to back up your files.
- Click on the More options button and then click the Backup now button. File History will back up your files on the drive.
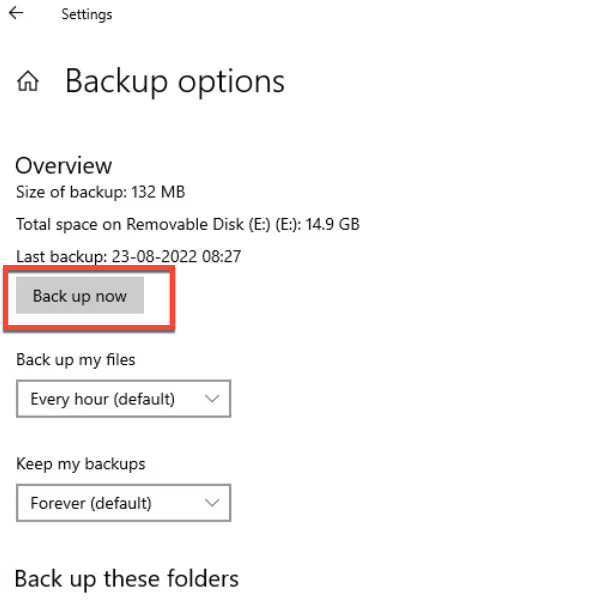
- You can scroll down the interface for more setting configurations.
If you plan to disable the File History on your computer, uncheck the Automatically back up my files button directly.
Method 2: Utilize the Control Panel to enable File History
If you're running Windows 11, then you need to enable File History via Control Panel because Windows 11 removes the File History option in the settings menu bar.
- Press Win + R to launch the Run command box. Then type Control Panel in the text box and press the Enter key.
- With Control Panel open, click on the System and Security option under the Adjust your computer's settings section.
- Scroll down and click on the File History option.
- You will see the "File History is off" message. Click the Turn on button to enable File History on your system.
If you have connected an external storage device to your computer, then File History will back up your files to it automatically. For disabling File History work, simply click the Turning On button and it will change to Turn Off. 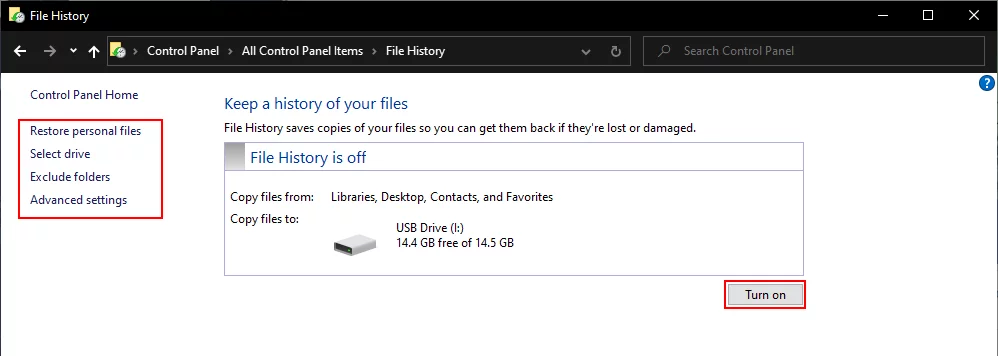
Method 3: Use Group Policy Editor to enable File History
For Windows Pro and Enterprise users, you can use Group Policy Editor to enable the Windows File History 10/11 on your computer devices.
- Press Win + R to launch the Run command box. Then type gpedit.msc in the Windows Command Prompt box and press the Enter key.
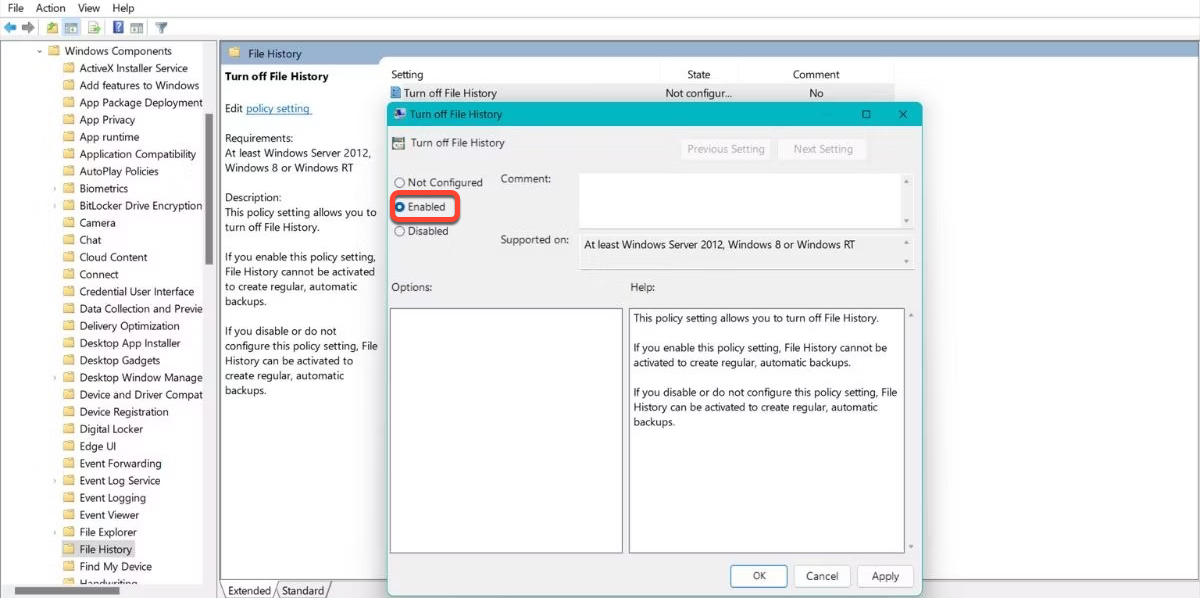
- Then the Group Policy Editor will be launched. Navigate to Computer Configuration, select Administrative Templates, and then choose Windows Components.
- Scroll down and locate the File History policy under the Windows Components section.
- Double-click on the Turn off File History setting to launch the edit window. Click Disable to stop the Trun off History feature so that File History will function well.
Change the toggle from Not Configured to Enabled, then save the changes, and click on Apply/Ok button. This will disable access to the File History feature completely.
Successfully enable Windows File History on your computer? Then share your happiness with others!
Conclusion
Windows File History is a wonderful feature that backs up your computer automatically with any functional external hard drive connected. If you wanna experience this function, read this article to enable it now!