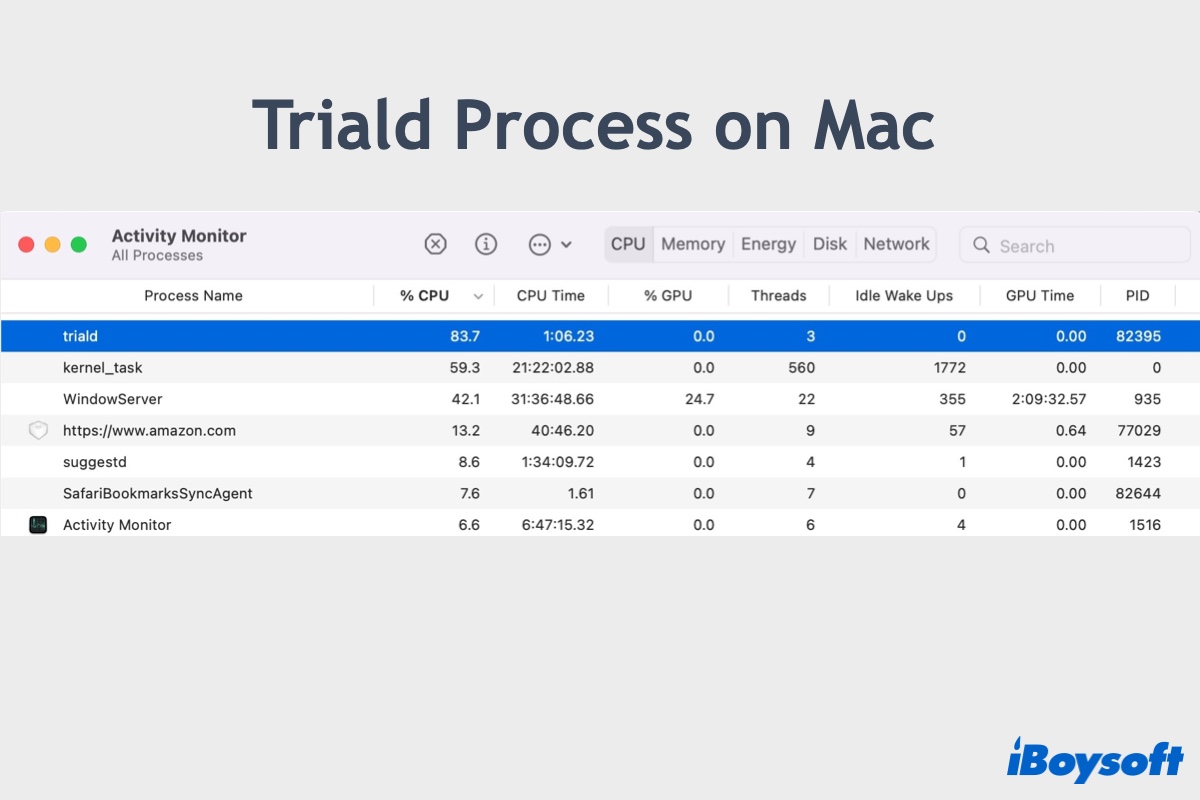
Many users have run into problems with the triald process on Mac. Some notice it consuming a large amount of CPU, others find it quitting unexpectedly or preventing Mac from sleep, and a few have reported its folder taking gigabytes of disk space.
So what is the macOS triald process? Let's figure it out together.
What is triald process on Mac?
The triald process is a background service responsible for Siri and Siri Knowledge capabilities, which includes features like Visual Look Up, machine learning, Siri Knowledge identification, dictation, Find My, text to speech, etc.
It's primarily involved in gathering data from Experiments assigned through CloudKit. Some users start to notice it on macOS Monterey 12.3 but it was first introduced in macOS Big Sur.
You can find the triald process's executable and its related directory, the Trial folder, by opening Finder, clicking Go > Go to Folder from the menu bar, then searching for the following pathes.
- /usr/libexec/triald
- ~/Library/trial/
After navigating to the Trial folder, you will notice the features related to this triald process in a subfolder labeled Treatments.

Click the button below to share the information.
How to fix triald high CPU usage on Mac?
The macOS triald process usually won't take much of your Mac's CPU, memory, or disk space. On my Mac running Ventura, it currently uses 0.7% of CPU, 3MB of memory, and 6.4MB of disk space. Nevertheless, if the triald process consumes excessive CPU or memory, you can try the following solutions to bring it back to normal.
Enable or disable Siri
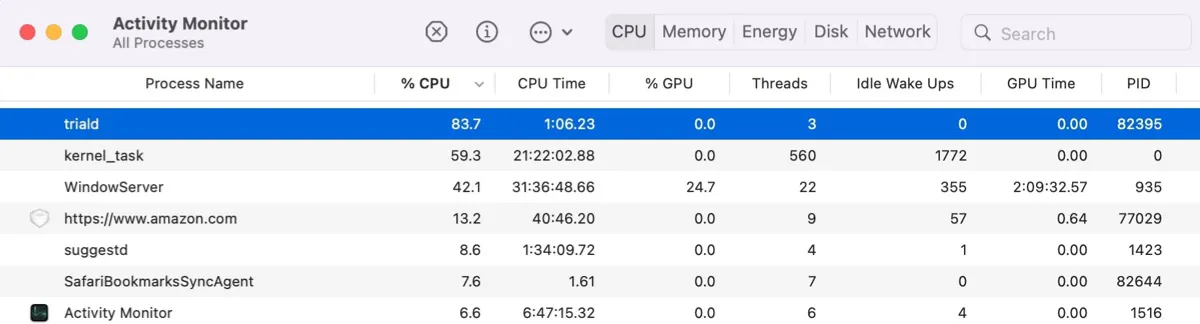
If you notice abnormally high CPU usage from the triald process in Activity Monitor, try enabling or disabling Siri based on your current settings. According to users, the process released CPU resources right after they enable or disable Siri.
Here's how to change Siri settings on Mac.
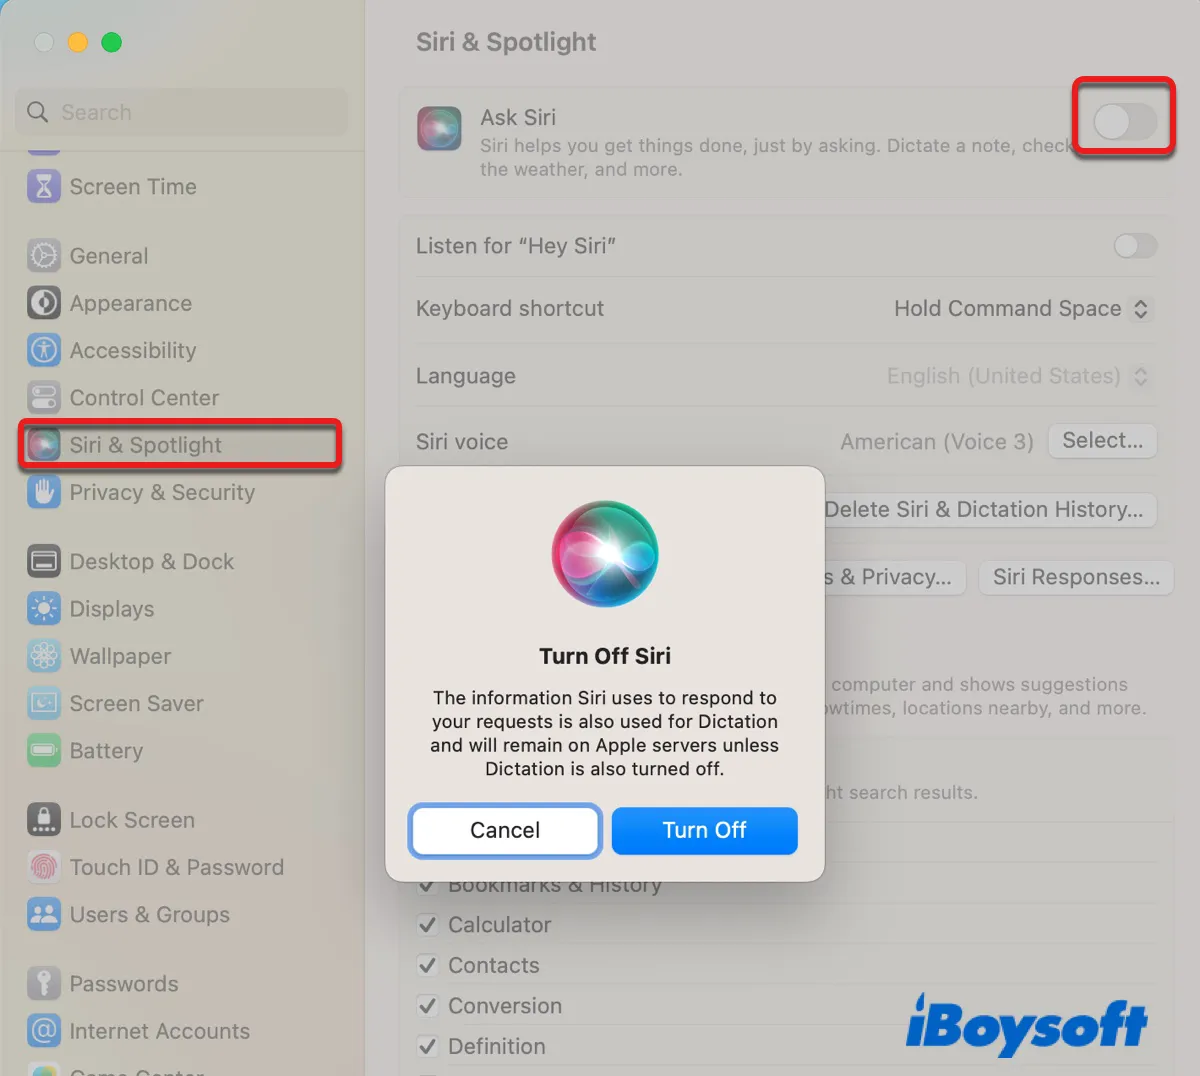
On macOS Ventura:
- Open the Apple menu > System Settings.
- Select "Siri & Spotlight" from the left.
- Toggle "Ask Siri" off/on.
- Click "Turn Off" or "Enable."
On macOS Monterey or earlier:
- Open the Apple menu > System Preferences.
- Click Siri.
- Deselect/select the checkbox next to "Ask Siri."
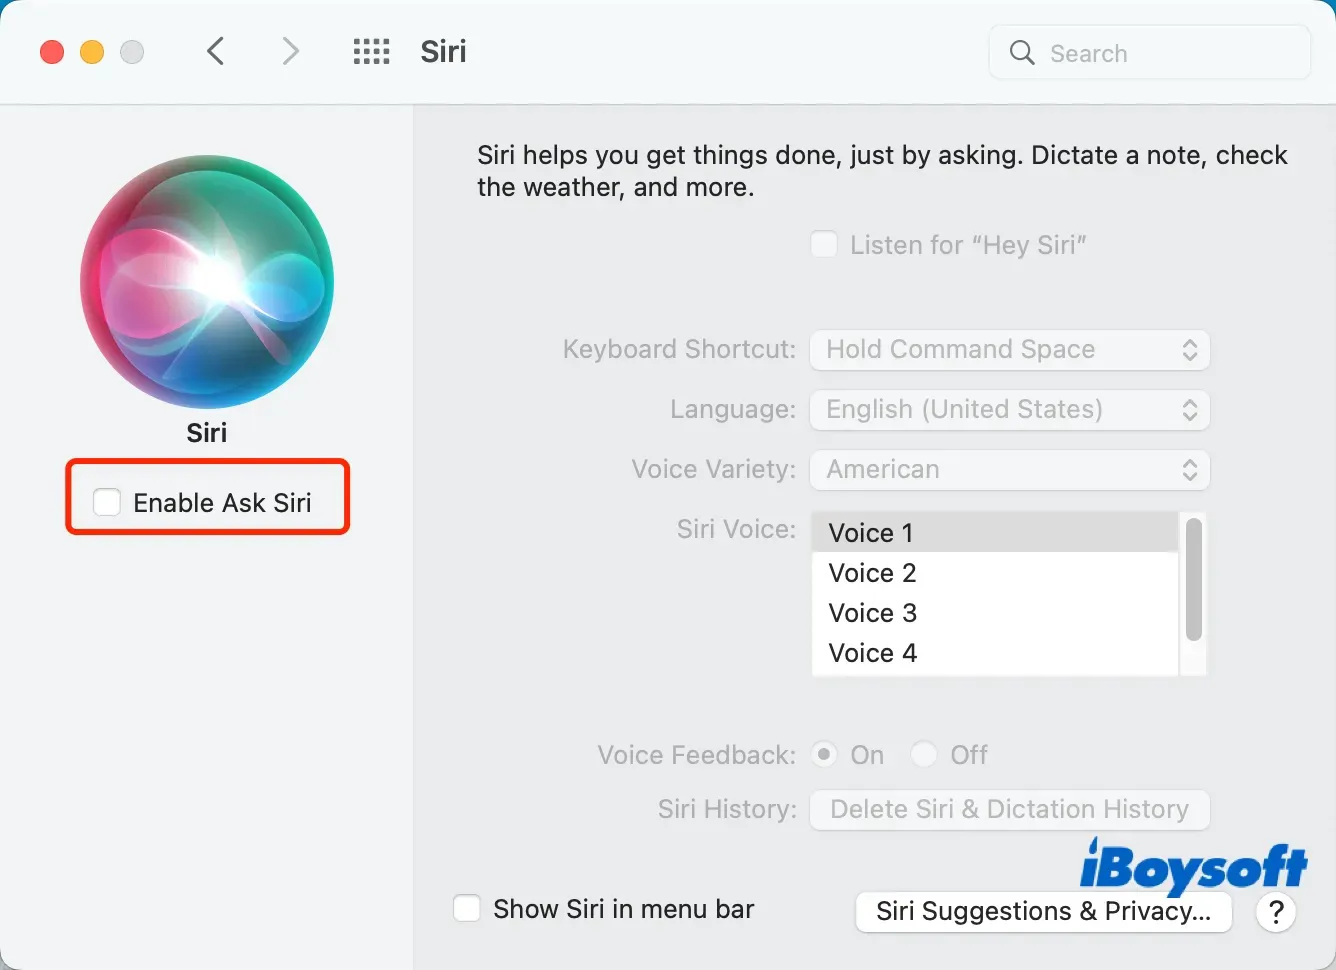
- Tap "Turn Off" or "Enable."
Delete the Siri history
Another trick users used to mitigate triald from hogging CPU is by deleting the Siri & Dictation history. Since your Siri search history is sent back to Apple and available to developers, removing it will also help better protect your privacy.
- Go to the Apple menu > System Settings.
- Open "Siri & Spotlight" or Siri.
- Click the "Delete Siri & Dictation History" button.
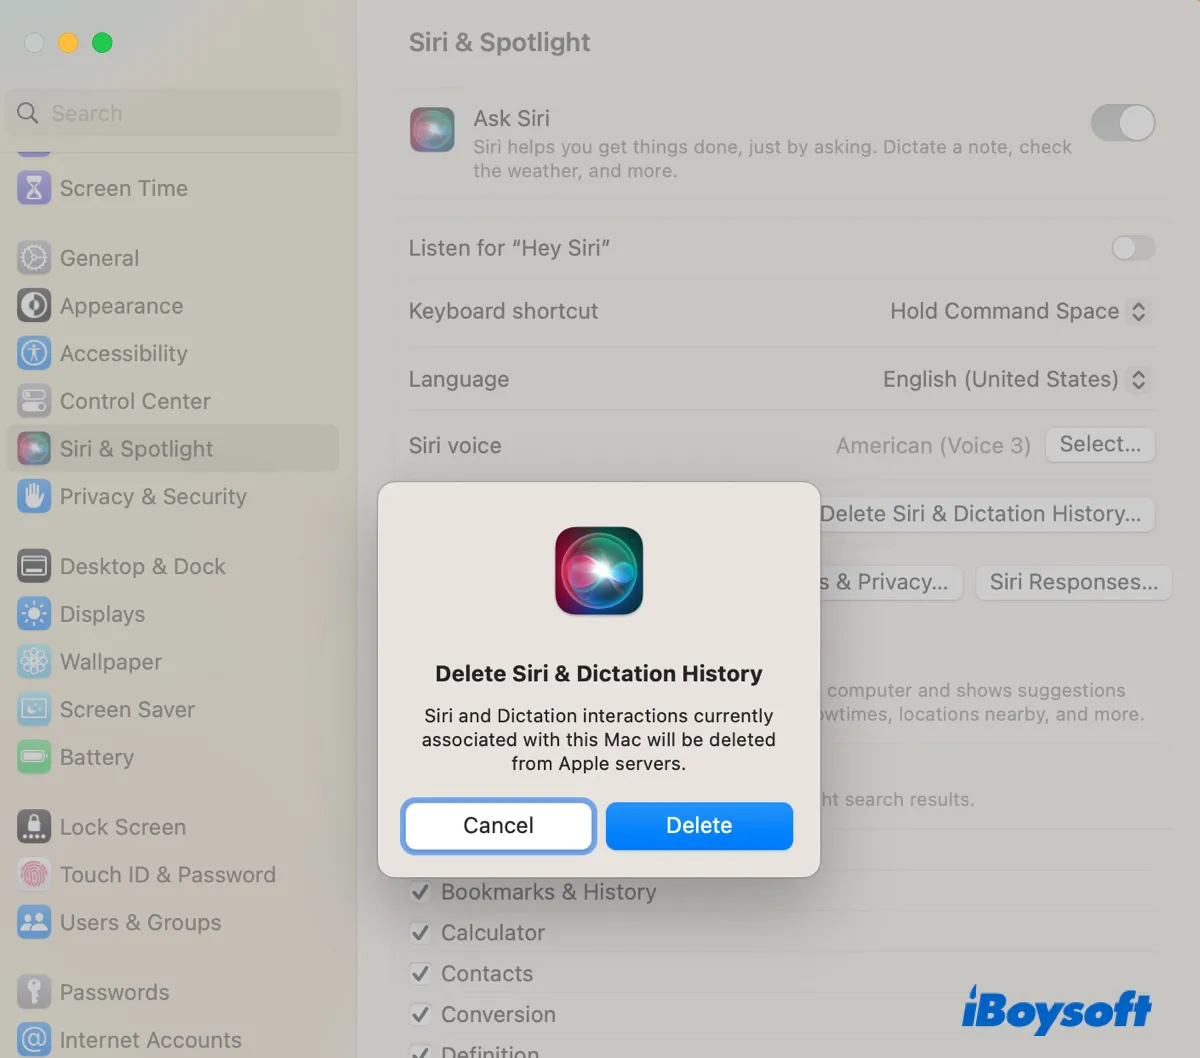
- Tap Delete.
Kill the Triald process in Safe Mode
You can also boot into Safe Mode to prevent third-party apps from causing the issue, clear cache files, and do a quick disk repair. If the process acts up in Safe Mode too, you can force quit it, as guided below.
- Boot into Safe Mode.
- Open Activity Monitor.
- Locate the triald process and click the ⤬ button.
- Click "Force Quit."
- Restart your Mac.
Delete the Trial folder
If the issue persists, you can delete the Trial folder to reinitialize the process. But before carrying on, it's recommended to back up the Trial folder to another location for extra caution. When you're ready, take the following steps:
- Open Finder.
- Click the Go menu at the menu bar.
- Press the Option key and click Library.
- Copy the Trial folder to a different location.
- Right-click the Trial folder and select "Move to Trash."
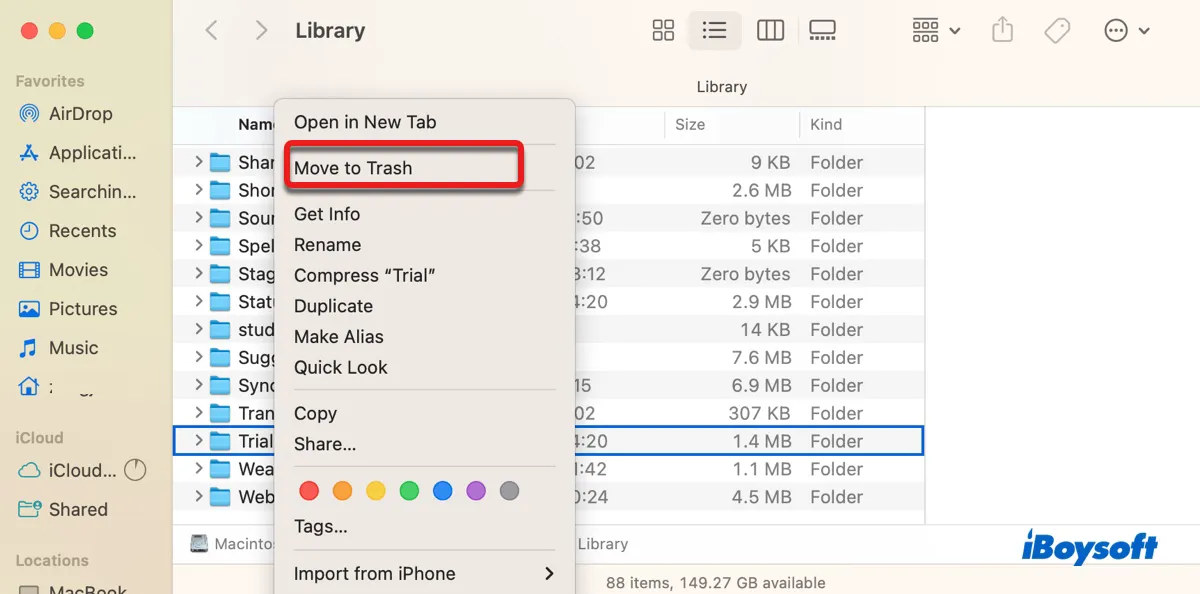
- Empty the Trash.
- Restart your Mac.
After that, the Trial folder will likely be refilled with folders and files. But there likely will be fewer items and space usage.
Read Also:
What is IMDPersistenceAgent |Fix IMDPersistenceAgent High CPU Usage
What is trustd Process on Mac and Solve trustd High CPU Usage
Did the triald high CPU problem go away? If it does, please share this post to benefit more users.