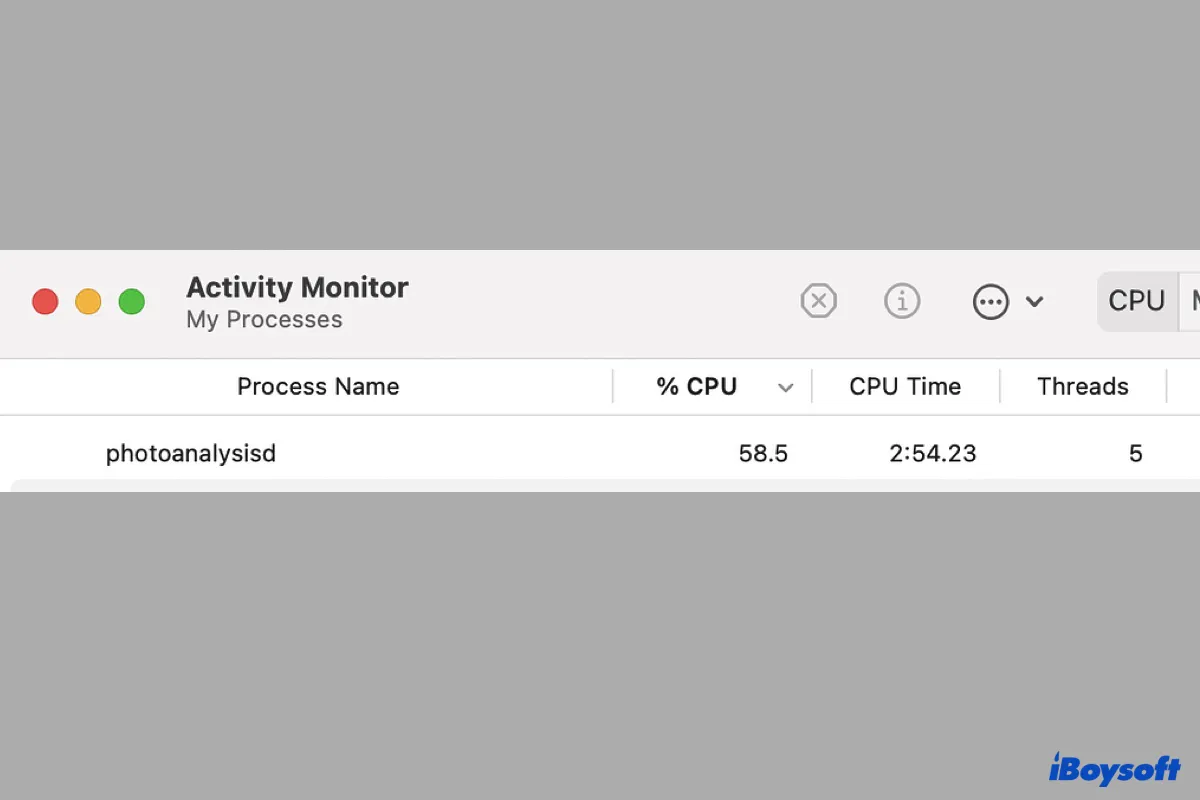
Seeing the photoanalysisd process consuming an excessive amount of your Mac's CPU in Activity Monitor can be concerning, as it can impact your Mac's performance. This is a common scenario after importing a large number of photos into the Photos app or updating macOS.
However, if it persists in hogging up your CPU for an extended period or continues to drain the CPU resource even if you didn't import (many) photos to your Mac, it is likely facing some issues.
What is photoanalysisd on Mac?

The photoanalysisd process is a photo library analysis agent that's responsible for identifying items in your photos library and categorizing them accordingly to power people, scenes, or object-based searches. After your photos are indexed, you'll be able to type a keyword like "beach" in the search box and get all the related photos without tagging them yourself.
It's also the engine behind the Ventura Duplicate Album and other albums like People, Places, and Memories in the Photos app. Photoanalysisd runs automatically in the background and you can view its status and CPU or memory usage in Activity Monitor. Its folder resides in /Users/user_name/Library/Containers/com.apple.photoanalysisd.
While photoanalysisd is active, you may often find another macOS photo library agent called photolibraryd running too.
How to fix photoanalysisd high CPU usage?
When the photoanalysisd consumes high CPU usage, it may cause your Mac to slow down, make loud fan noises, or overhead, which will negatively impact your work efficiency. If you want to stop photoanalysisd from overusing the CPU resource on your Mac, take the following solutions.
- Fix 1: Kill photoanalysisd in Activity Monitor
- Fix 2: Wait for the photoanalysisd process to complete
- Fix 3: Name tagging the faces in your photos manually
- Fix 4: Disable Memories holiday events and notification
- Fix 5: Prevent your Mac from going to sleep
- Fix 6: Disable photoanalysisd on Mac
Kill photoanalysisd in Activity Monitor"
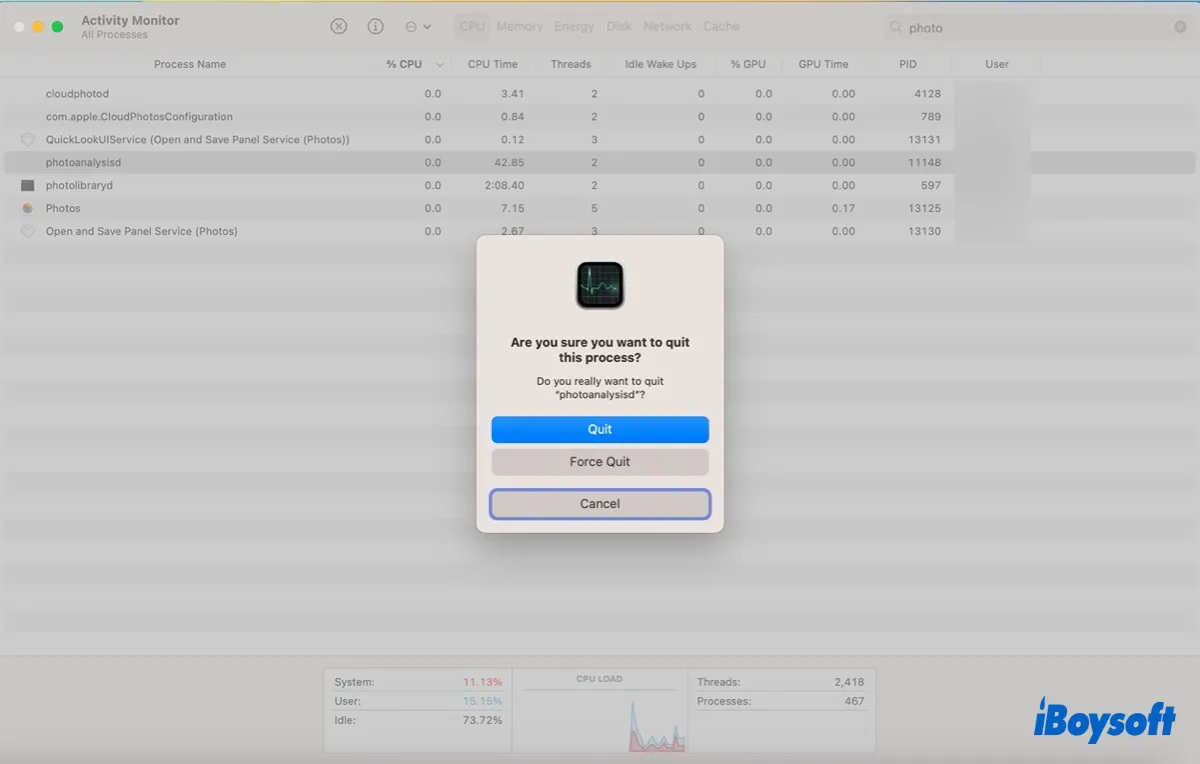
As the first step, you can force quit photoanalysisd in Activity Monitor by selecting it, clicking the ( ⤬ ) button, and selecting "Force Quit." This will temporarily kill the process, but it will reappear when the operating system needs it. If photoanalysisd restarts with high CPU consumption, keep trying the other solutions below.
Wait for the photoanalysisd process to complete
The photoanalysisd process can be CPU-hogging, especially if a lot of photos and videos are added to the Photos app or an operating system upgrade was just performed on your Mac. In such cases, it's recommended to wait patiently until photoanalysisd is complete.
If you want to check the progress of photoanalysisd, you can open the Photos app and select the People album. There should be information about the number of photos that have been scanned and the remaining ones.
Name tagging the faces in your photos manually
If you wish to accelerate the photo analysis process, you can add names to some photos manually. This method has significantly sped up the photoanalysisd process for some users. Here's how to do it:
- Open the Photos app.
- Select the People album.
- Move your cursor to a face and click " + Name" to enter a name.
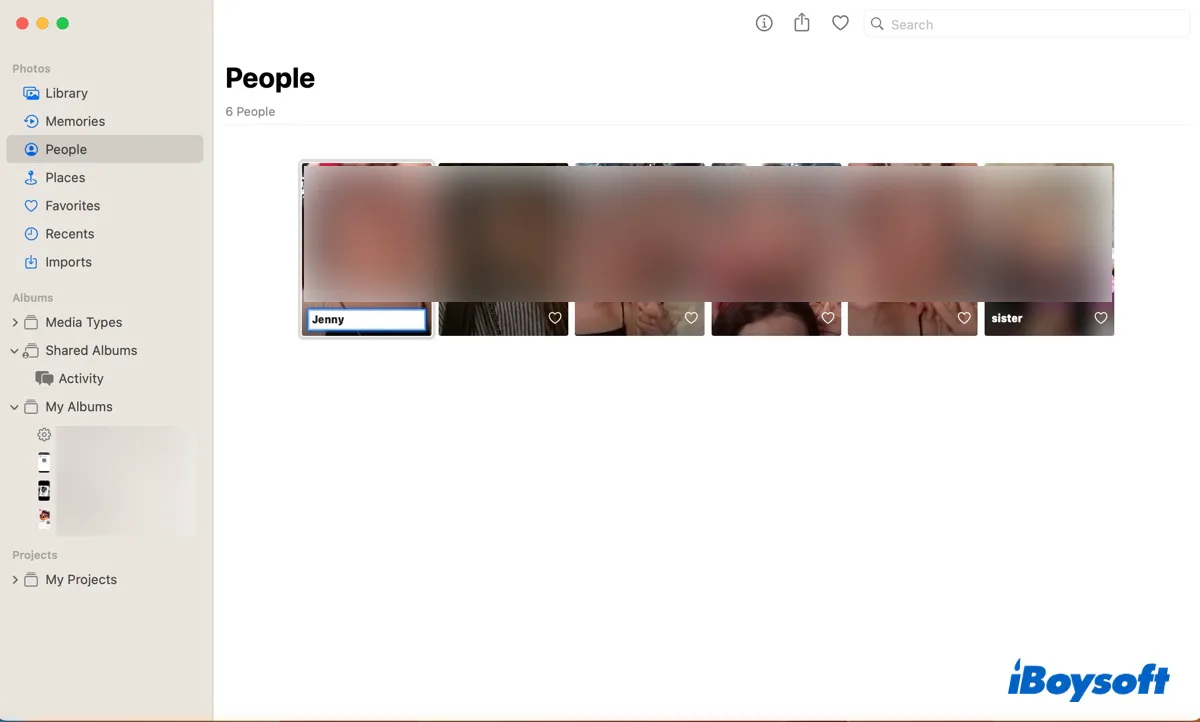
- Press the Enter key to save the change.
- Repeat the steps for a few photos.
- Check if photoanalysisd progresses faster after some time.
If you have no unnamed people, you can add a face and its name for other photos.
- Select any photo that has a face that hasn't been identified.
- Double-click to open it.
- Click the Info button (ℹ️).
- Click the face thumbnail under "Add a keyword" and give it a name.
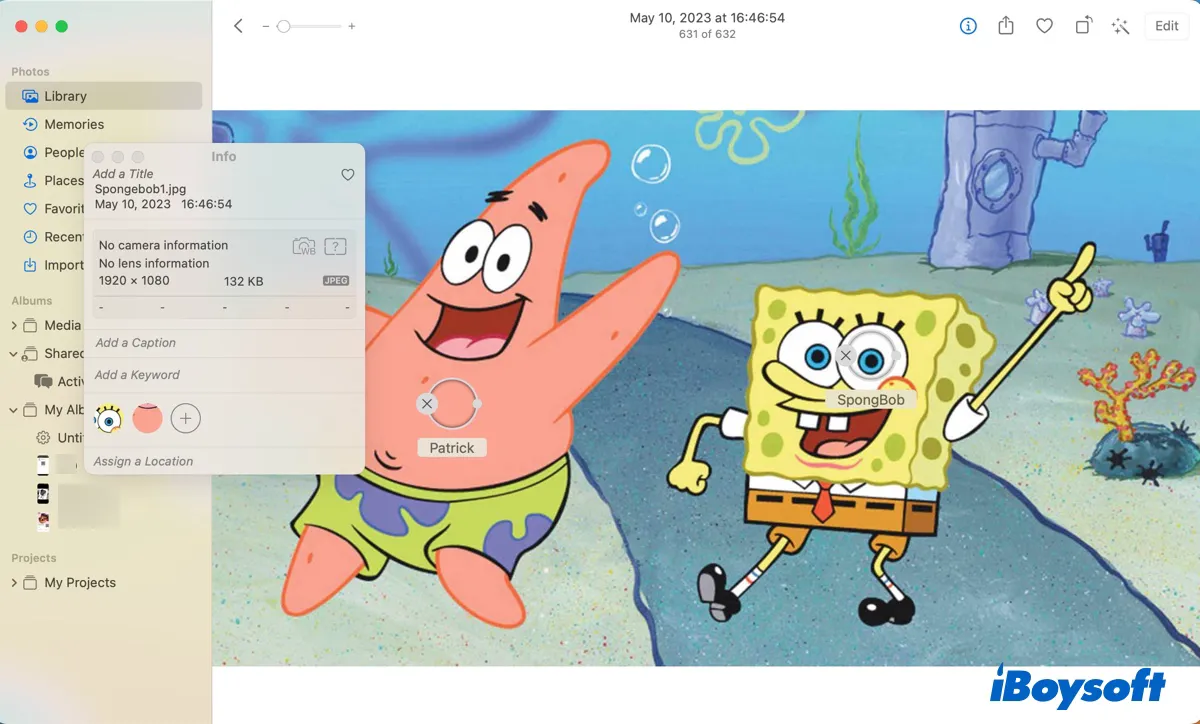
- If the face isn't automatically selected, click the "Add faces" button, then type a name.
- Apply the same procedures to a few other photos.
Disable Memories holiday events and notification
Another way to fix the photoanalysisd high CPU issue is to tweak some settings in the Photos app. Some users have seen an immediate drop in CPU load after disabling the following features. You can also give it a try.
Fix photoanalysisd high CPU on Ventura or earlier:
- Launch the Photos app.
- From the top-left menu bar, click Photos > Settings/Preferences.
- In the General tab, uncheck "Show Holiday Events" and "Show Memories Notification."
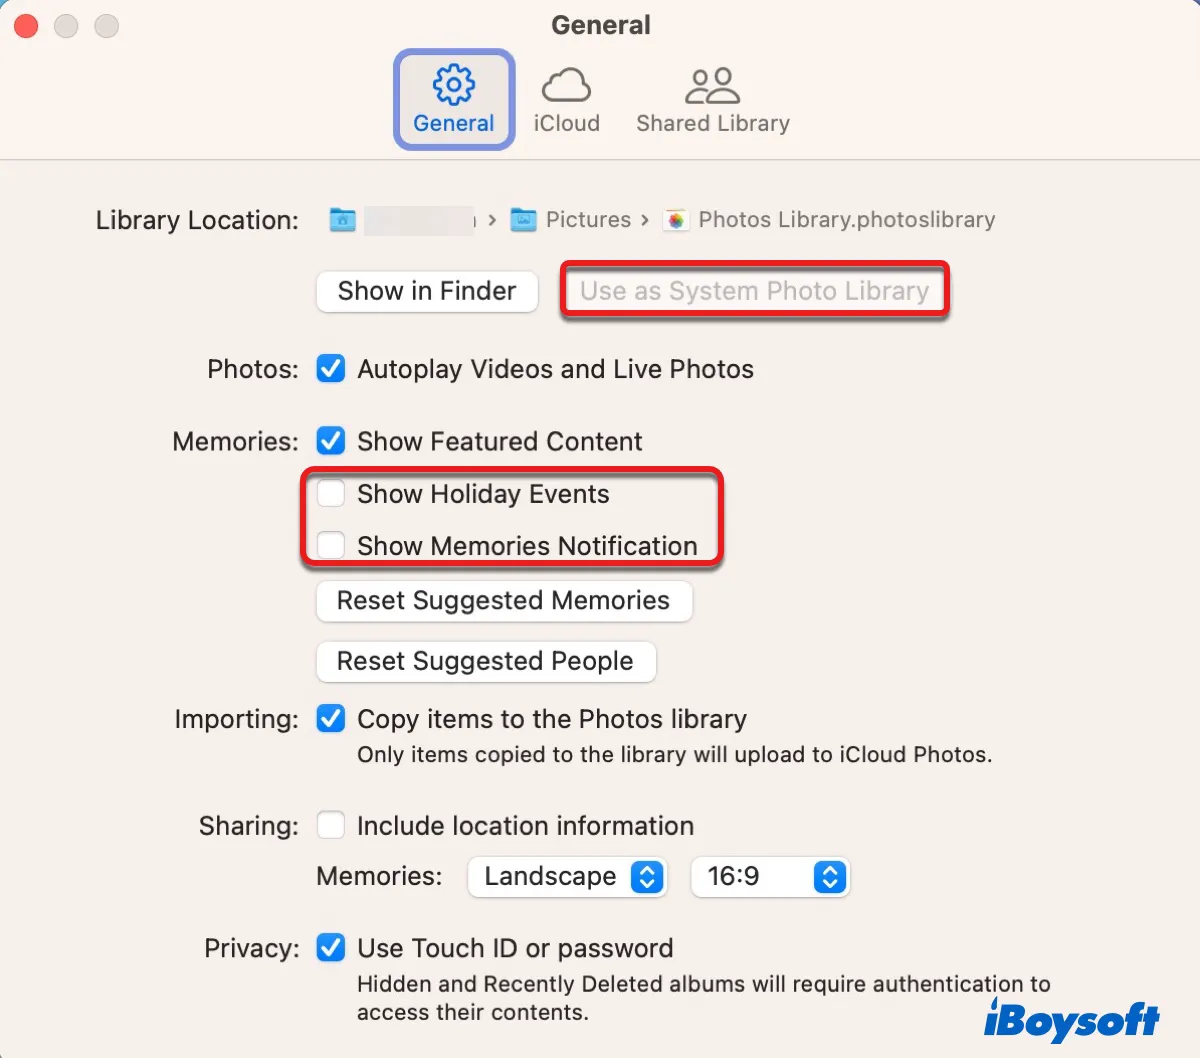
If these options are grayed out, it means that the select photo library isn't your system photo library. To modify it, simply click the "Use as System Photo Library" button.
Prevent your Mac from going to sleep
If the photoanalysisd process is still utilizing an excessive amount of CPU, you can minimize the Photos app and let your Mac stay awake overnight with power plugged in. This allows the process to work at night. Note that you also need to change the macOS sleep settings to prevent your Mac from sleeping.
Disable photoanalysisd on Mac
If none of the above solutions work, you can disable photoanalysisd on Mac using Terminal. Be reminded that this will cause features, such as People, Places, and Memories to stop working or become inaccurate. Still, you can always reenable it after the issue is gone.
How to disable photoanalysisd on Mac:
- Open Terminal from the Applications/Utilities folder.
- Type the following command and press Enter.launchctl unload -w /System/Library/LaunchAgents/com.apple.photoanalysisd.plistlaunchctl: a command that's used to manage system daemons and agents.
unload: tells launchctl to stop a running agent or daemon.
-w: tells launchctl to disable (in this case) or re-enable the agent or daemon so that it won't automatically start again in the future.
/System/Library/LaunchAgents/com.apple.photoanalysisd.plist: path to the photoanalysisd LaunchAgent file.
If you want to reload the photoanalysisd process on Mac, execute the following command in Terminal.
launchctl load -w /System/Library/LaunchAgents/com.apple.photoanalysisd.plist
A few other fixes you might try:
- If you have an Exchange or Office 365 account enabled for Contacts, go to System Preferences/Settings > Internet Accounts > My Exchange Account and uncheck/disable Contacts.
- Kill the photoanalysisd process and rename your photo library folder at ~/Pictures.
Is the issue resolved? If the answer is yes, please share it with more people.
FAQs about photoanalysisd
- QDoes photoanalysisd run when Mac is sleeping?
-
A
No, photoanalysisd does not run when your Mac is sleeping. When your Mac goes to sleep, most processes are paused to conserve energy and resources. However, photoanalysisd will resume running as soon as your Mac wakes up.
- QHow long does photoanalysisd take?
-
A
When you import a sizable collection of photos to the Photos app, it's possible for photoanalysisd to take several hours or even days to finish analyzing them. The impact factors are the size of your Photos library, and the processing power of your Mac.
- QWhat does the message "people will finish updating when photos is in the background" mean?
-
A
The message "People will finish updating when Photos is in the background" means that photoanalysisd is currently working on analyzing the people in your photos and it will continue to update when the Photos app isn't actively used and runs in the background. You can minimize the Photos app to accelerate the analysis process.
