You type in the domain name of the website you want to visit such as iboysoft.com in your browser, then the DNS(Domain Name System) server translates the domain name into a TCP/IP address and connects the web browser to the target website.
And the Host files on Mac is another useful operating system file, which can override the default DNS information. Keep reading to know whether you need and how to edit Hosts files on Mac.
What is the Hosts file on Mac?
DNS creates a hidden cache file to remember the domain name of the websites you visited and the corresponding numeric TCP/IP addresses to display the website for you quickly the next time you visit the same page.
If you're curious about your IP Address, you can learn how to find IP Address on Mac.
However, for some reason, you don't want the DNS to go to the actual TCP/IP. You are going to visit a website under development. Then, you can add the specific IP address, along with the domain name, to the Hosts file on Mac to let the web browser display it.
You can also use the Hosts file on Mac to block some spyware and adware websites and troubleshoot connectivity issues. In a nutshell, the Hosts file is a plain text file used to map hostnames to IP addresses that are stored in the hidden etc folder on your Mac.
Where is the Hosts file on Mac?
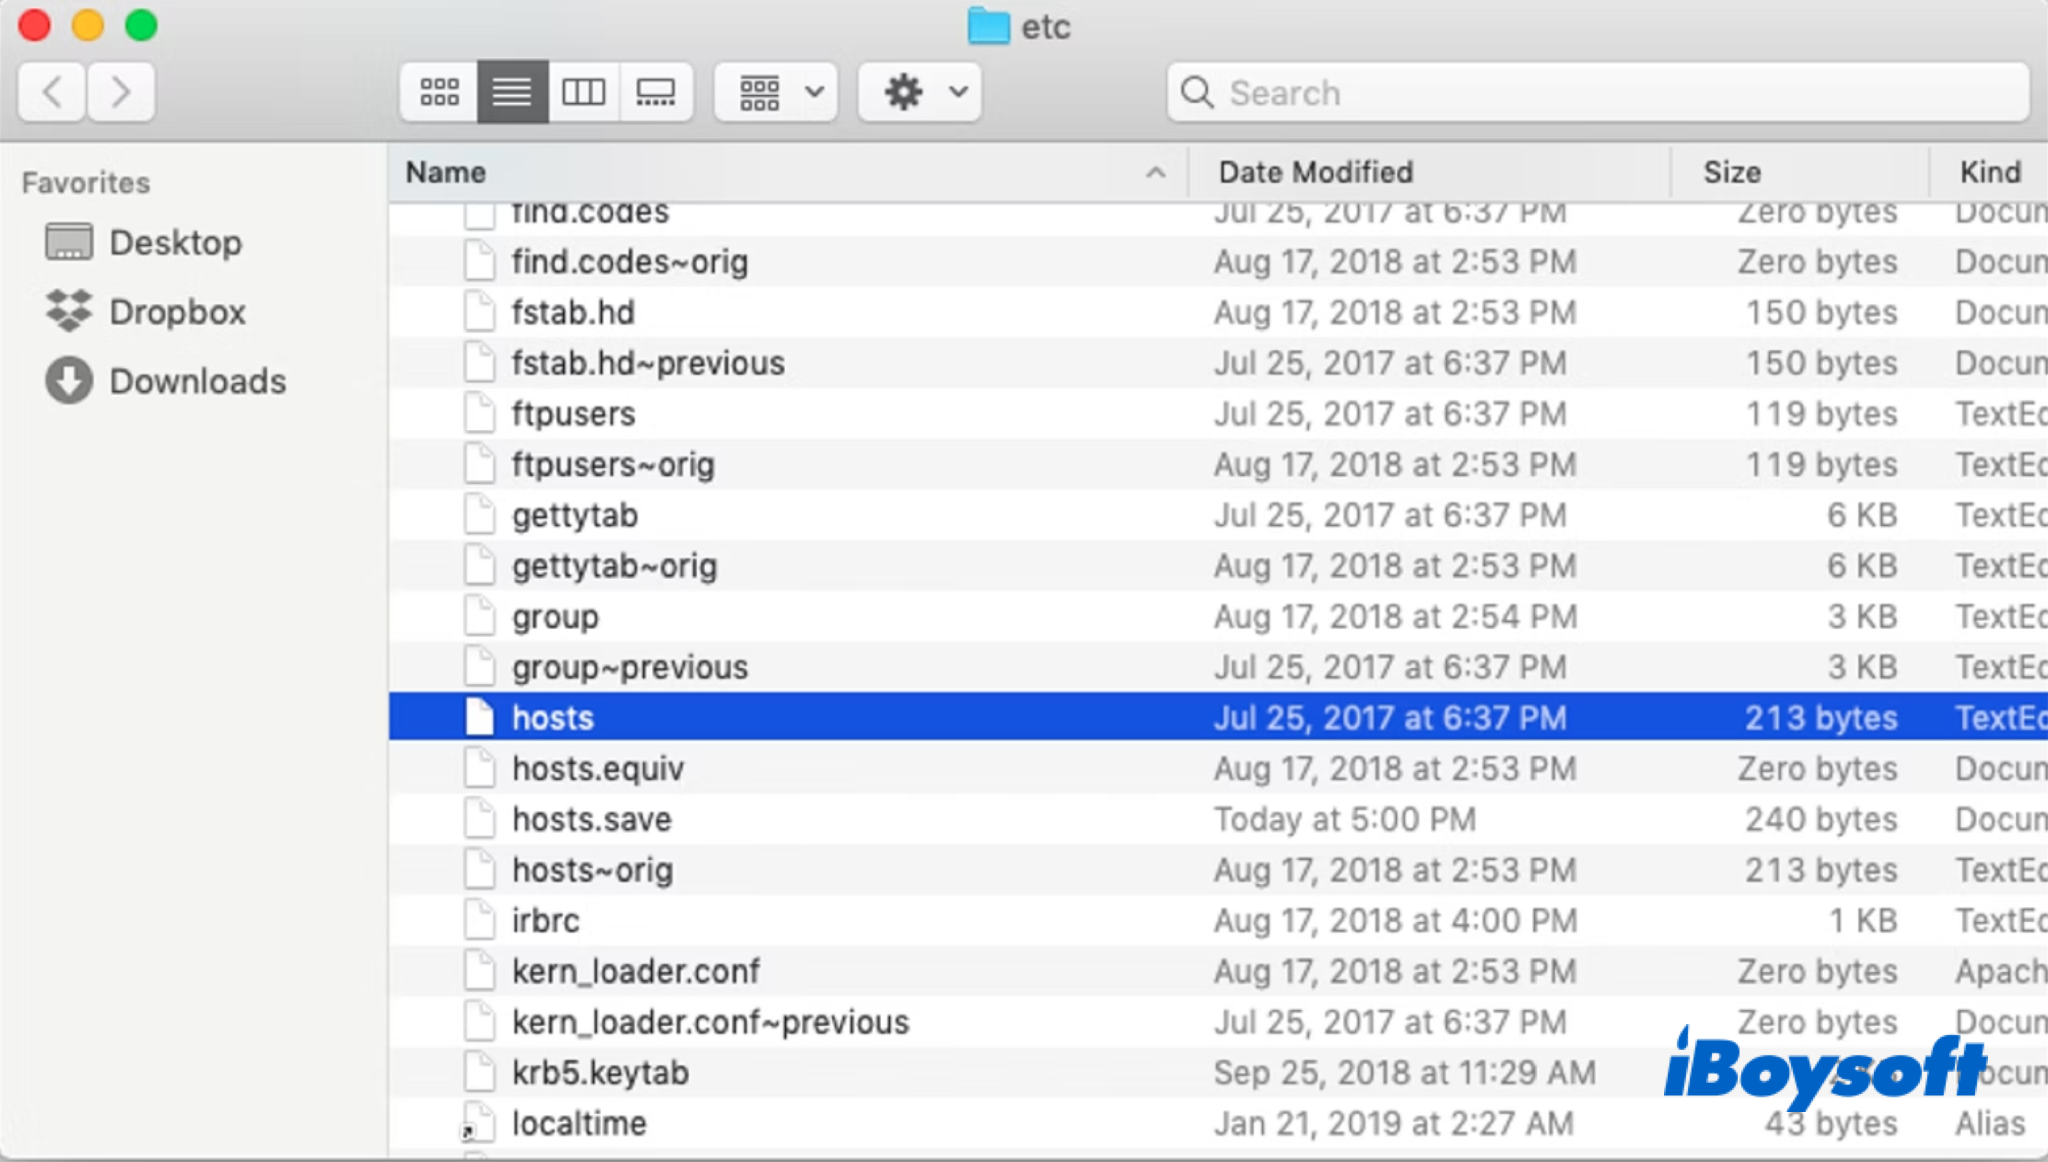
Here is how to find and open the Hosts file on Mac:
- Back to your desktop on Mac.
- On the top Finder's toolbar, click Go > Go to Folder.
- Type /private/etc/hosts in the box and tap the Go button.
- From the Finder window, you can find the Hosts file there.

You can not open or edit the Hosts file directly in Finder, because it is located in a macOS-protected area. You can drag-drop it to your desktop to double-click it to open it in TextEdit, the default text editor, or another one you set.
How to reset the Hosts file on Mac?
When there is an internet connectivity problem on your Mac, you can reset the Hosts file on your Mac to fix it. Here's how:
- Go to Finder's menu bar, choose Go > Go to Folder.
- Fill /private/etc/hosts in the box and choose Go.
- On the new window, drag-drop the Hosts file to your desktop where you can open and edit it.
- Double-click the Hosts file to open it in your default text editor.
- Press Command-A to select all and press the delete key to erase the content.
- Copy and paste the following text into the Hosts file.
##
# Host Database
#
#
# localhost is used to configure the loopback interface
# when the system is booting. Do not change this entry.
##
127.0.0.1 localhost
255.255.255.255 broadcasthost
::1 localhost
- Click on the red button to save it.
- Move the Hosts file from the desktop to /private/etc/hosts in Finder to replace the existing one and authenticate it with your admin account password.
- Restart your Mac to make the new Hosts file work.
How to edit the Hosts file on Mac?
In this part, you are going to learn how to edit the Hosts file on Mac to visit the desired IP addresses, block some websites, and reroute web addresses. You need to do it with the macOS utility - Terminal.
- Navigate to Finder > Applications > Utilities > Terminal, double-click Terminal to launch it.
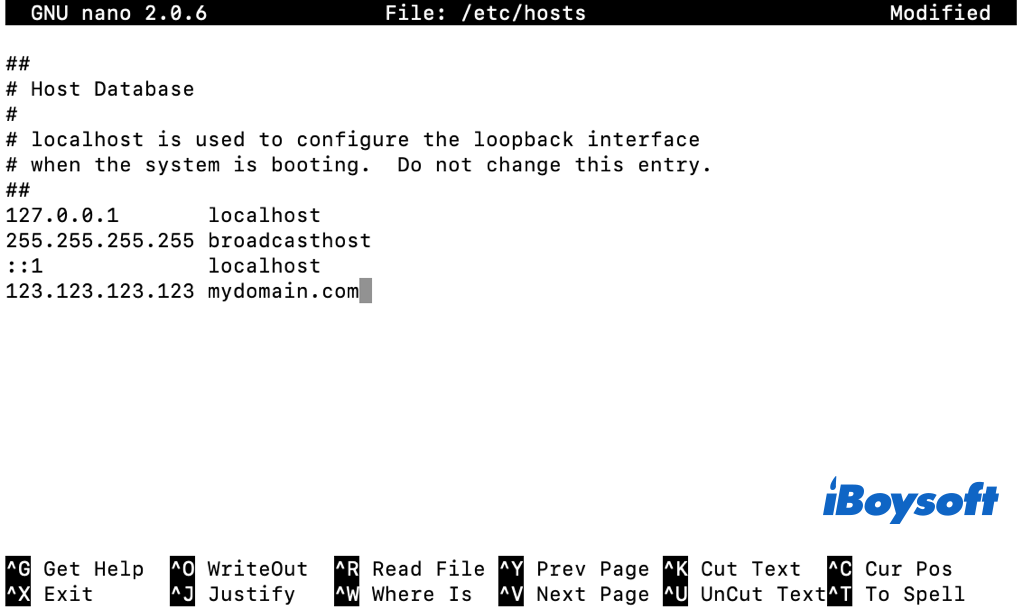
- Type the following command and press Return.sudo nano /etc/hosts
- Enter your password when asked.
- Press the Return key to create some space below the existing records.
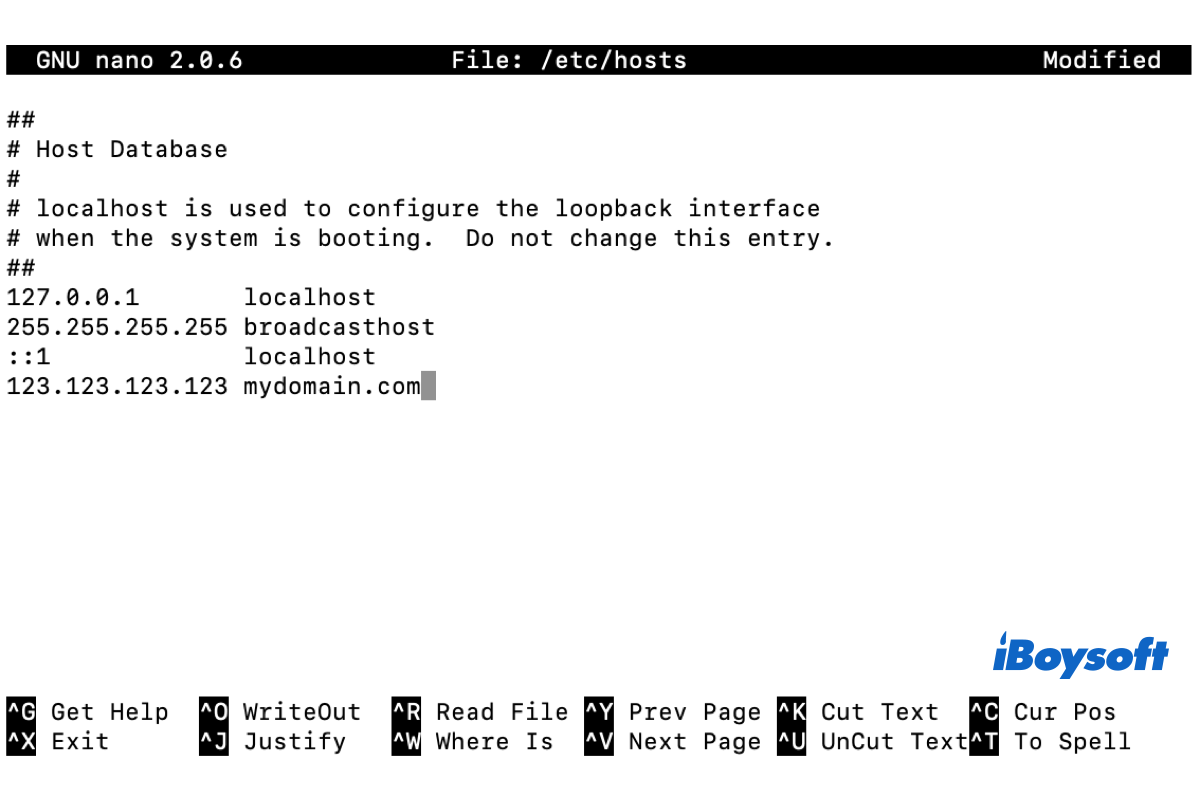
- Type in the TCP/IP address and the domain name. You can add 127.0.0.1 before the domain name, and the IP address of the desired website before the domain name to redirect the URL.

- Press Control-O to save the editing.
- Exit with Ctrl + X.
- Type the following command to flush the DNS cache and press Enter.sudo killall -HUP mDNSResponder
Share this helpful post with more people and learn to fix Hosts files not working on Mac.
