If you just started using a Mac or don't know much about it, adding Dropbox to Finder's sidebar can be a bit of a challenge. Even users who had Dropbox in the sidebar may lose it after a macOS update or a Time Machine restore and struggle to get it back. Whatever your case is, this article can help you re(add) Dropbox to Finder on Mac.
Way 1: Add Dropbox to Finder by changing desktop app settings
This method requires the Dropbox desktop app. If you haven't installed it on your Mac, download and install it using its official link. When you're ready, take the steps below to add Dropbox to the sidebar of Finder.
- Click the Dropbox icon on the menu bar of your Mac, which is usually located in the upper right corner of the screen. If there's no such icon, open the Dropbox desktop app and tap the software name on the top-left menu bar.
- Choose Preferences or Settings.
- Open the Sync tab in the preference window.
- Look for the "Show Dropbox in Finder sidebar" option and ensure it has a checkmark next to it.
After that, Dropbox should be added to the sidebar of your Mac's Finder immediately. You can open Finder to see if it's there. If you want to adjust its position in the sidebar, drag and drop it to the desired place.
Share the steps to benefit others!
Way 2: Get Dropbox to show up in the Finder sidebar manually
If you prefer not to install the Dropbox desktop app or a more in-depth approach, use the following steps.
- Open a new Finder window.
- On the top-left menu bar, click Go, then choose Go to Folder.
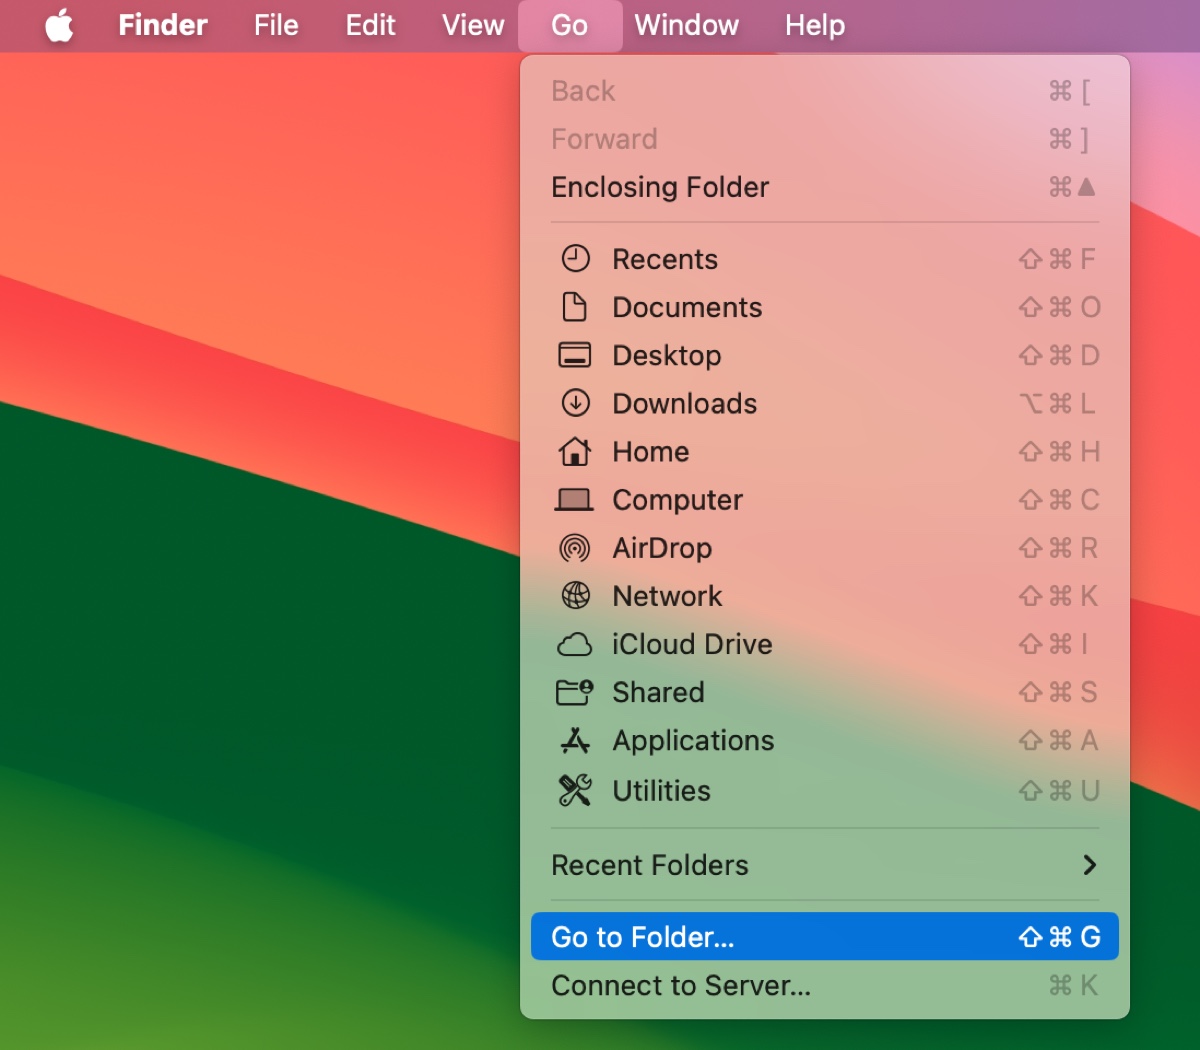
- When a window with a text box opens, enter the path ~/Dropbox and press Enter to get to where the Dropbox folder is located. If you have a customized location for Dropbox, enter the precise path instead.

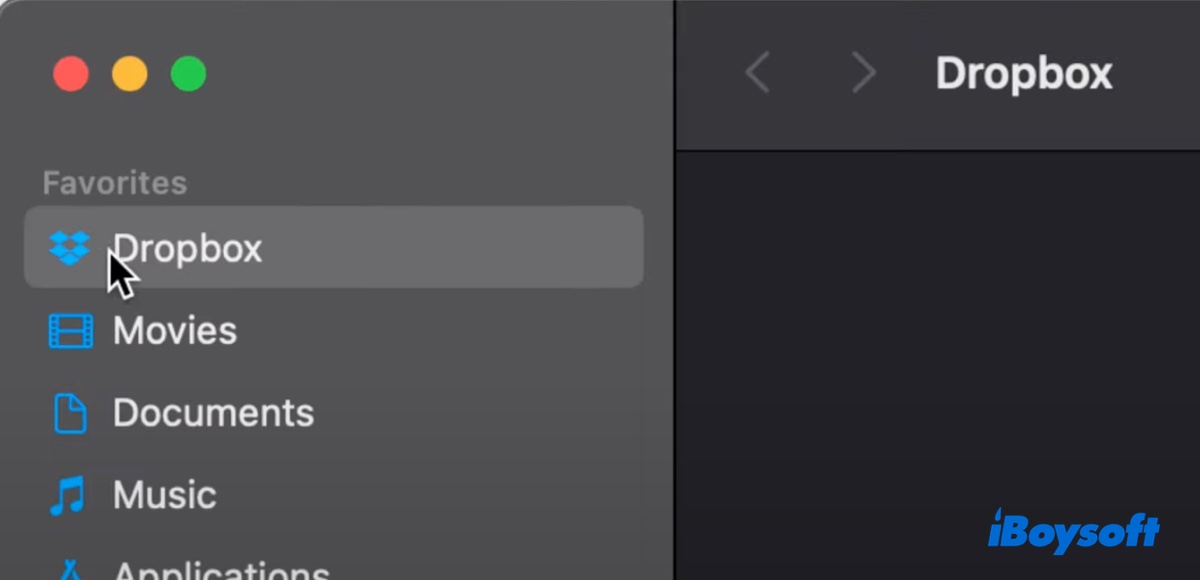
- A new Finder window will pop up showing the Dropbox directory. Drag and drop it to the sidebar of Finder to add it.
Which method is more helpful to you? Share your thoughts!