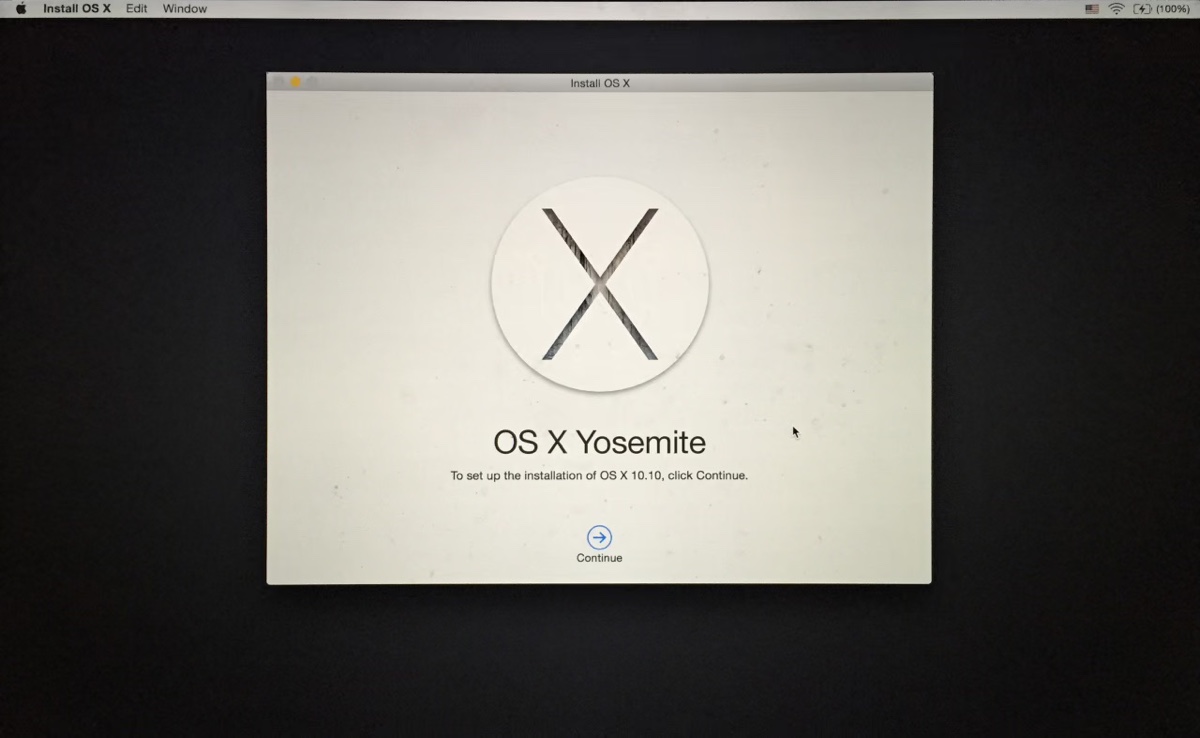
Released in 2014, OS X Yosemite may be obsolete, but some users might still need it to work with old computers or legacy software. If that's also you, you'll want to download the OS X 10.10 Yosemite DMG file. With it, you can install or clean install Yosemite on your computer.
Before heading to the resources, it's advisable to clear space on your Mac with iBoysoft DiskGeeker to prevent download or installation failure. This cleaner can help you quickly find and delete large files or junk files to make space for OS X Yosemite.
How to download OS X Yosemite DMG file without App Store?
You might have attempted to download the OS X Yosemite installer from the App Store but failed. This is because Apple no longer provides old OS X versions like Yosemite in the App Store. Instead, it lets you download their DMG file from the Apple Server.
To download the OS X Yosemite DMG file from Apple, open the following link in your browser, preferably Safari.
Mac OS X 10.10.5 Yosemite DMG download (Apple server)
If the link doesn't work, you can download it from Internet Archive by clicking the link below.
Mac OS X 10.10 Yosemite free download DMG (internet archive)
Share the information to help others download Mac OS X 10.10 Yosemite DMG for free!
How to install Yosemite from USB?
Once you've acquired the DMG file, you can run the installer to install Yosemite on your Mac immediately or create a bootable Yosemite installer to clean install the operating system. If it's the latter, follow the steps below:
- Open the OS X Yosemite DMG file.
- When you see the pkg file, double-click it to add the Yosemite installer to your Applications folder.
- Prepare an external storage device with at least 8 GB of storage space. (It will be erased to create the bootable installer, so ensure its data is secured.)
- Open Disk Utility.
- Tap View > Show All Devices if available.
- Select the topmost physical disk of your external drive and click Erase.
- Name your drive Yosemite.
- Set the format as Mac OS Extended (Journaled).
- Choose GUID Partition Map as the scheme.
- Select Erase.
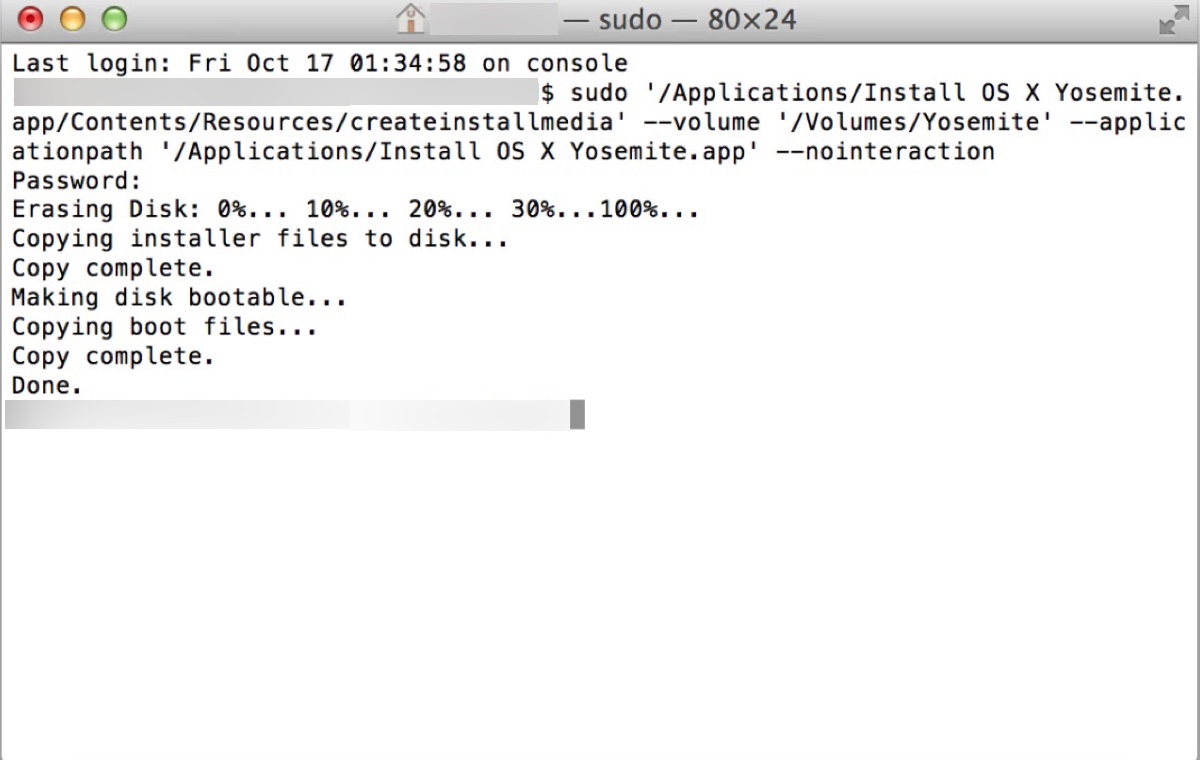
- Once your drive is erased, open Terminal.
- Type in the command below and hit Enter.sudo '/Applications/Install OS X Yosemite.app/Contents/Resources/createinstallmedia' --volume '/Volumes/Yosemite' --applicationpath '/Applications/Install OS X Yosemite.app' --nointeraction

- Input your login password and press Enter.
- Quit Terminal after the bootable media is created.
- Power on the Mac you want to install Yosemite, then immediately hold down the Option key.
- Release the key when the bootable volumes appear.
- Select the Yosemite bootable installer and click the Up arrow.
- Open Disk Utility to erase your Mac startup disk. (optional)
- Click Install OS X to install Yosemite.
If you find this post helpful, share it to benefit others who need a fresh install of Yosemite.