You must have heard of Adobe Creative Cloud or used it, and it may help you a lot in your life. But there always be some reasons that you want to uninstall Adobe Creative Cloud on Mac.
However, it seems to be very easy to uninstall it, to completely uninstall it and remove all Adobe Creative Cloud applications, you may come across some problems. Therefore, this article will share with you the process of completely removing Adobe Creative Cloud from both Windows and Mac/MacBook.
Whether you think uninstalling Adobe Creative Cloud is easy or not, this post will help you more. Share these ways with more people to help those who have the same problem as you.
What is Adobe Creative Cloud?
Adobe Creative Cloud (CC) is a set of applications and services from Adobe Inc. that gives subscribers access to a collection of software used for graphic design, video editing, web development, and photography, along with a set of mobile applications and also some optional cloud services.
There are a lot of similar apps or extensions you can find in Adobe Creative Cloud, such as Photoshop, Acrobat, Illustrator, InDesign, Flush, and so on. You can learn how to uninstall a specific one, like uninstalling Photoshop on Mac.
These applications provide services through the cloud. Customers do not fully own these applications but rent them through Software as a Service. When the lease is stopped, they cannot continue to use these applications.

How to Uninstall Adobe Creative Cloud on Mac/Windows?
When you uninstall Adobe Creative Cloud on Windows or MacMacBook, you may get through some questions or you don't know how to uninstall it on your PC or Mac/MacBook. Don't worry about that. Keep reading to fix it.
I have tried hundreds of times to use Adobe Creative Cloud apps that are in the folder. However, it says I'm still using programs that require it. However, they are still on my Mac. -reddit.com
Here are some ways to uninstall Adobe Creative Cloud on Windows or Mac/MacBook and you can follow them to operate.
The best way to uninstall Adobe Creative Cloud on Mac
If you want to uninstall Adobe Creative Cloud, all Adobe-related apps, and leftovers with one short, using a third-party uninstaller is the way to go. I recommend you use it to help you uninstall Adobe Creative Cloud quickly and completely.
With the excellent small tool CleanMyApp, you can better control your unwanted apps and related files. With the Apple App Store trusted, you can freely download this tool to uninstall Adobe Creative Cloud completely and quickly.
- Free download, install, and open CleanMyApp.
- Click Grant Access when it's prompted, and then all the apps list will show you.
- Tick any Adobe Creative Cloud app, and click Uninstall at the bottom.
- Choose Continue uninstall.
(The apps and the leftovers will be removed together.)
If you think this tutorial is helpful, share it with more people to learn how to completely uninstall Adobe Creative Cloud.
Uninstall Adobe Creative Cloud on PC with Creative Cloud Desktop
Before you start to uninstall Adobe Creative Cloud on Windows, what you need to do first is to download Adobe Creative Cloud Desktop, and then follow the below ways to uninstall it.
- Sign in to Adobe Creative Cloud Desktop.
- Remove all apps from Adobe Creative Cloud Desktop.
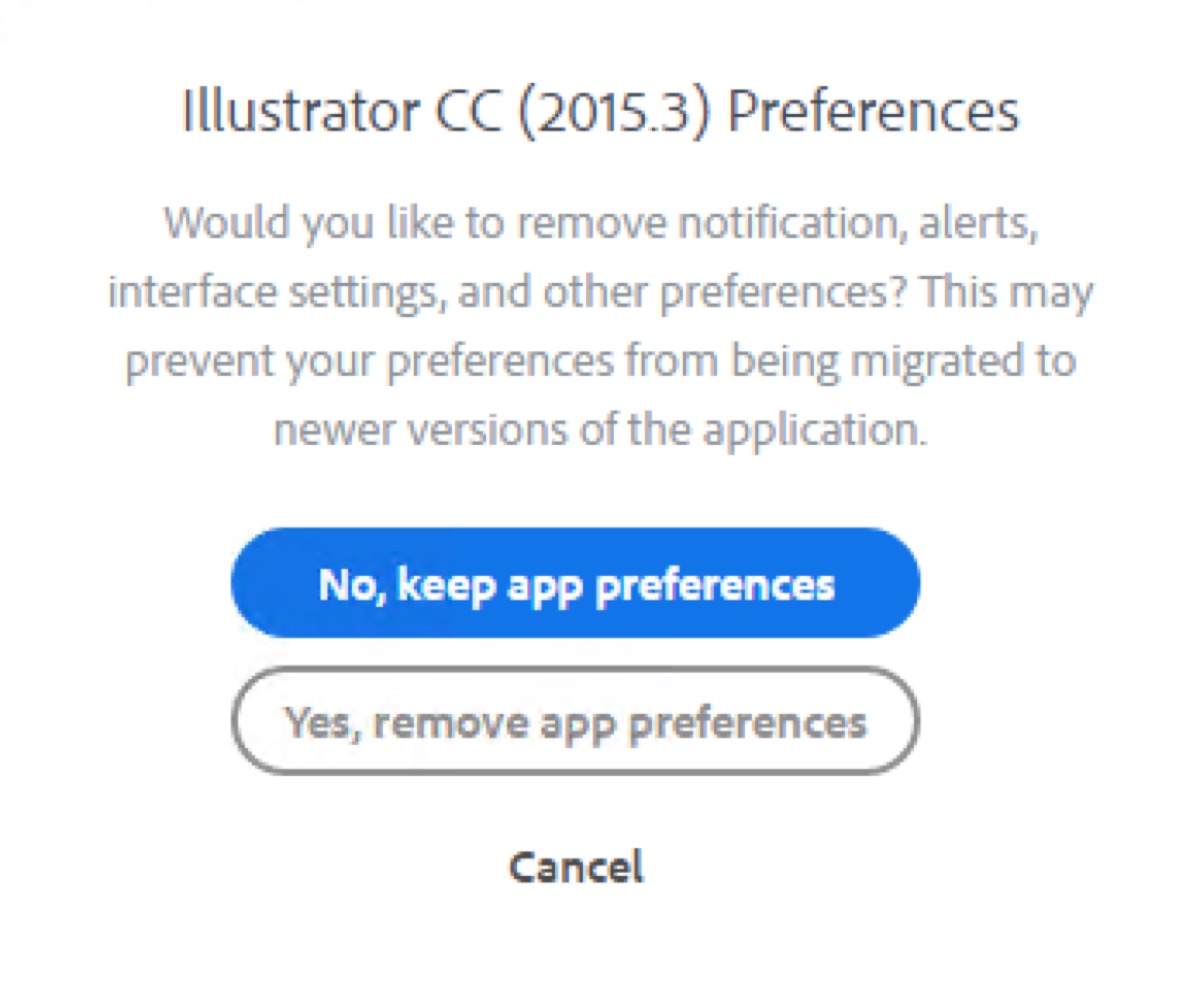
Click on the Apps tab, and Installed Apps, then scroll down to the installed app and click the little down icon next to Open or Upgrade, and click Manage > Uninstall. And if you don't want to use Adobe Creative Cloud anymore in the future, click "Yes, remove app preferences" when you are prompted.
- Remove Adobe Creative Cloud Desktop.
You can click Add/Remove Programs (also called Programs on Windows 10) in Control Panel and uninstall Adobe Creative Cloud. You would receive a prompt like this: "Are you sure you want to uninstall Adobe Creative Cloud App? You may repair any installation to resolve any issues." Then click Uninstall.
- Turn to Settings in the Windows menu, go to Apps, and find Adobe Creative Cloud.
- Choose Uninstall.
- Confirm in the warning pop-up and you will see a green process bar.
- Click Close when it is finished.
If there are other components or leftovers still, get rid of them by following the same instructions.
Uninstall Adobe Creative Cloud on PC with Adobe Creative Cloud Installer
You may find such a problem that due to all the bloatware that Adobe installs on most PCs, the process of uninstalling this app will across such a problem that you can't uninstall the app. So you need to download and run Adobe Creative Cloud Installer.

- Download and run Adobe Creative Cloud Installer. You need to download a ZIP file of Adobe Creative Cloud Installer from Adobe's official site, and then open it to run.
- Click Uninstall in the confirmation message.
- Wait for the process to finish and then click Close.
Uninstall Adobe Creative Cloud on Mac with built-in uninstaller
Like uninstalling Adobe Creative Cloud on Windows, you need to quit all apps from Adobe Creative Cloud on Mac/MacBook first, and then uninstall them.
Now you can use the following ways to uninstall Adobe Creative Cloud on Mac/MacBook.

- Turn to Finder > Application folder > Utilities > Activity Monitor. (Or you can open Activity Monitor in Spotlight.)
- Select Adobe Creative Cloud in the list and then choose Force Quit.
- Open Adobe Creative Cloud, go to the App tab, and search for apps installed on Mac/MacBook.
- Click the icon with three dots, choose Uninstall, and follow the on-screen instructions.
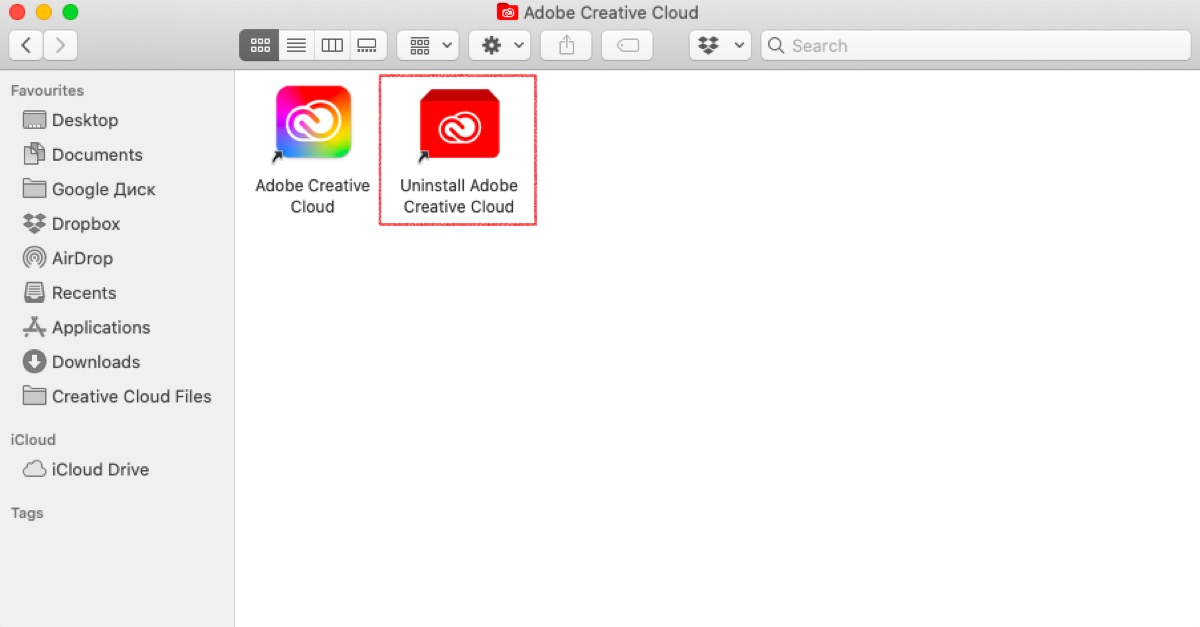
- Go to Applications > Adobe Creative Cloud > Uninstall Adobe Creative Cloud.
- Enter your administrator password and then click OK.
- Click Uninstall to start the process.
If Adobe Creative Cloud can't be uninstalled on Mac/MacBook, use Adobe Creative Cloud Uninstaller to force uninstall the apps. Go to the Adobe official website and download the Creative Cloud Uninstaller zip file. And then repeat the same operation mentioned above.
Read more:
[Fixed]How to Uninstall Programs on Mac/MacBook?
How to Uninstall Adobe Acrobat on Mac?
Problem fixed? Share the ways with your friends!
- QWhy can't I uninstall Creative Cloud on my Mac?
-
A
If the app from Adobe Creative Cloud is running, you can't uninstall them. Force quit apps and try to uninstall Adobe Creative Cloud again. Or you can use Adobe Creative Cloud Uninstaller.
- QHow do I completely remove Adobe Creative Cloud?
-
A
Take the ways mentioned in the article that can help you to completely uninstall it.
