
A macOS Mojave ISO file is a disk image file that contains the macOS Mojave full installer. It's often used for creating bootable USB drives or for virtual machines like VirtualBox or VMware. For example, if you want to install macOS Mojave on a Windows PC, you'll need to download the macOS Mojave ISO file.
Download the macOS installer on Windows
One easy way to obtain the latest macOS Mojave ISO file is to download the bootable macOS Mojave DMG file from iBoysoft DiskGeeker. Then, convert the DMG file to ISO format. This way, you don't have to spend time making the DMG file yourself.
This process is rather simple. Take the following steps:
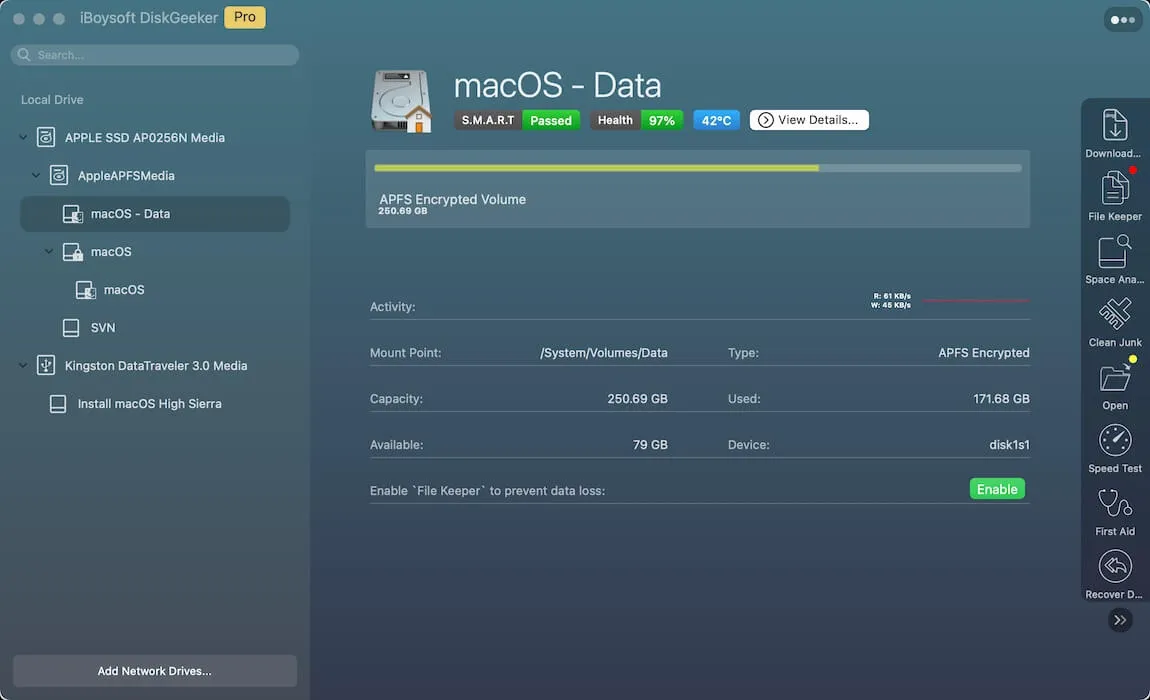
Step 1: Download, install, and launch iBoysoft DiskGeeker.
Step 2: Select an internal partition and click Download Image.
Step 3: Choose macOS Mojave and click Get.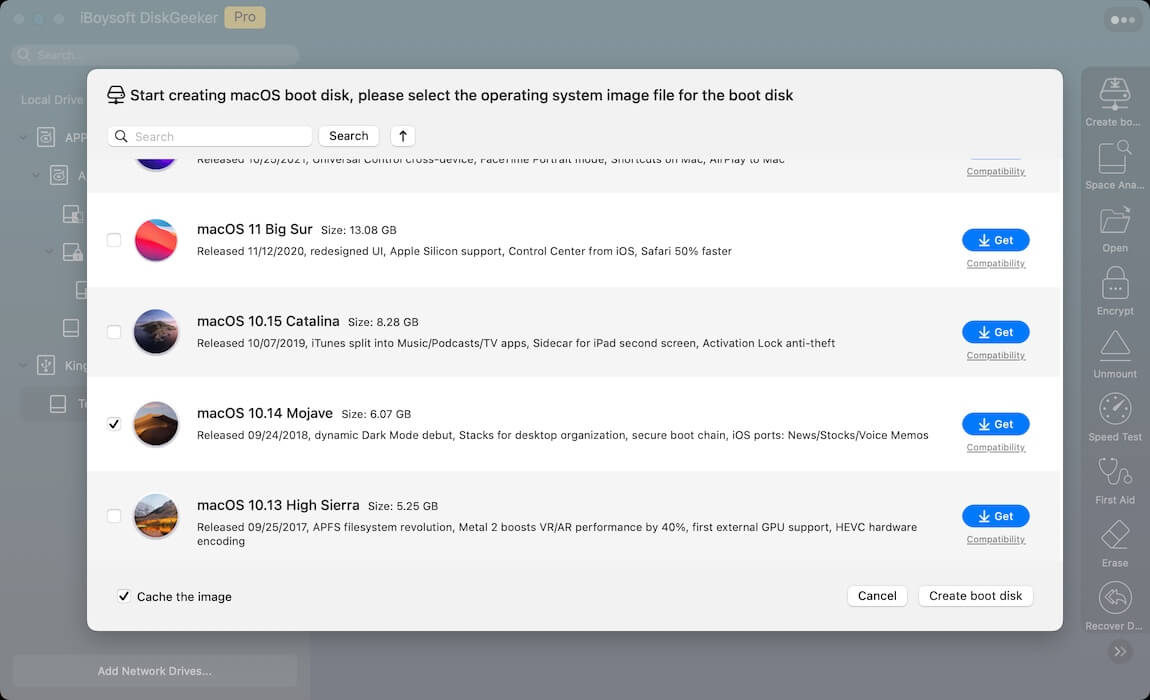
Step 4: After downloading macOS Mojave, open Terminal.
Step 5: Run the command below to convert the DMG file to the .cdr format.
hdiutil convert dmg_file_path -format UDTO -o ~/Desktop/Mojave.cdr
To get the file path, drag and drop the file to Terminal.
Step 6: Rename the .cdr format to .iso.
mv ~/Desktop/Mojave.cdr ~/Desktop/Mojave.iso
Step 7: Use the macOS Mojave ISO file as you wish.
However, if you want to download the macOS Mojave ISO file directly or create one from scratch, keep reading!
macOS Mojave ISO download directly
If you want to download macOS Mojave ISO for Windows PC or Mac, get it from the links below:
macOS Mojave ISO for VirtualBox/VMware (archive.org)
macOS Mojave 10.14.6 ISO download (mediafire)
macOS Mojave download ISO for Windows PC (mediafire)
macOS Mojave download ISO (Google Drive)
If you want to download the updates of macOS Mojave, check: Mac OS updates download.
Share the resources to help others who are looking for the macOS Mojave ISO file!
How to create a macOS Mojave ISO file manually?
Tips: The most complicated part of creating a macOS Mojave ISO file is creating the macOS Mojave DMG file. If you value your time, you can directly download it from iBoysoft DiskGeeker. It provides bootable DMGs for macOS High Sierra and later versions.
Take the following steps to create a bootable macOS Mojave ISO file, provided that you have a compatible Mac:
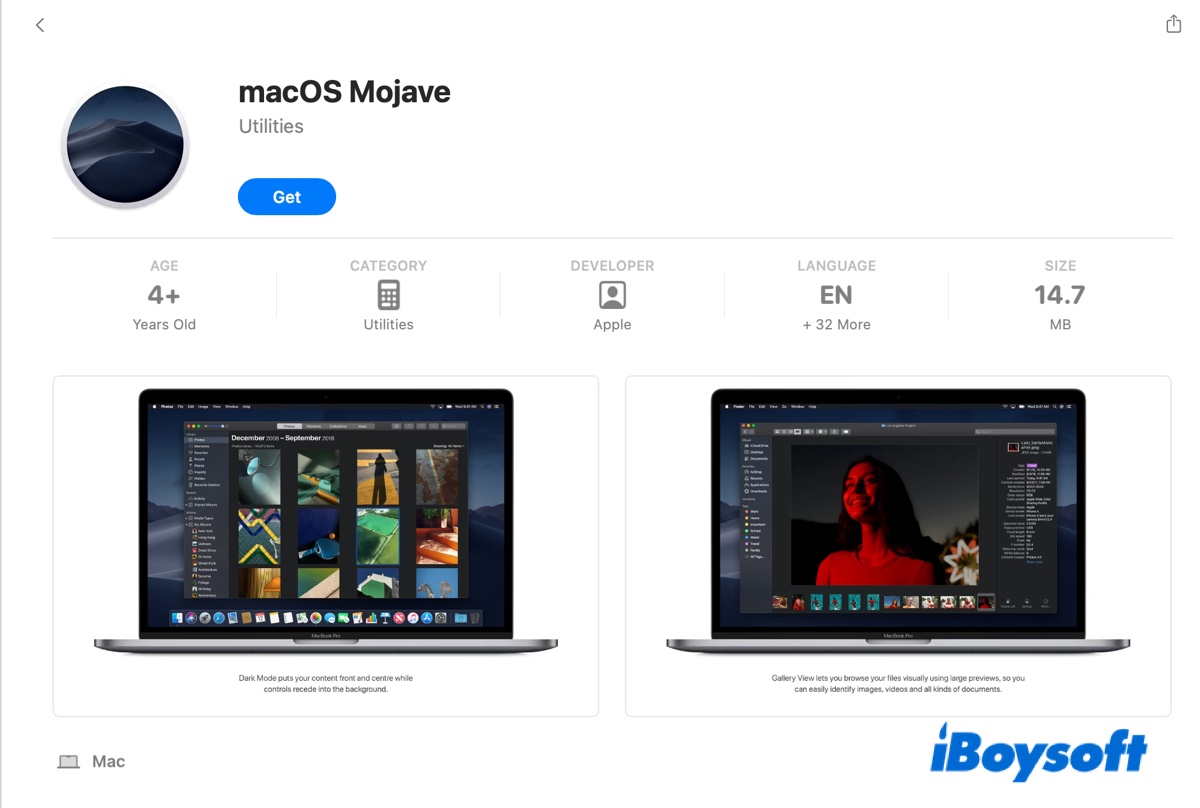
Step 1: Download the macOS Mojave full installer from the App Store
Click this link to open the Mac App Store, then tap Get > Download to download the latest macOS Mojave full installer.
Note: If Software Update says, "Update not found. The requested version of macOS is not available," your Mac isn't compatible with macOS Mojave and can't be used to create the ISO file.
After the installer is fully downloaded, you can check it in the Applications folder.
Step 2: Use Terminal to create the macOS Mojave 10.14.6 ISO file
To create the Mojave ISO file, we need to run commands in Terminal. Please ensure the command is correct before executing it. Or, it may result in unexpected data loss.
Launch Terminal from the Applications/Utilities folder, then copy and paste the command below in Terminal and hit Enter.
1️⃣ Create a disk image:
hdiutil create -o /tmp/Mojave -size 8500m -volname Mojave -layout SPUD -fs HFS+J
- hdiutil: This is a command-line utility in macOS for working with disk images.
- create: This subcommand tells hdiutil to create a new disk image.
- -o /tmp/Mojave: This specifies the output file location and name of the disk image. In this case, it will create a file named Mojave in the /tmp directory.
- -size 8500m: This sets the size of the disk image to 8500 megabytes.
- -volname Mojave: This sets the volume name of the disk image to "Mojave".
- -layout SPUD: This specifies the partition layout. SPUD is a common layout used for creating a single partition.
- -fs HFS+J: This sets the file system of the disk image to HFS+ with journaling enabled.
2️⃣ Mount the disk image:
hdiutil attach /tmp/Mojave.dmg -noverify -mountpoint /Volumes/Mojave
- hdiutil attach: This command is used to mount a disk image.
- /tmp/Mojave.dmg: This specifies the path to the disk image you want to mount.
- -noverify: This option skips the verification of the disk image, allowing for faster mounting.
- -mountpoint /Volumes/Mojave: This specifies the directory where the disk image will be mounted. In this case, it will be mounted at /Volumes/Mojave.
3️⃣ Create a macOS Mojave bootable installer:
sudo /Applications/Install\ macOS\ Mojave.app/Contents/Resources/createinstallmedia --volume /Volumes/Mojave --nointeraction
When Terminal prompts for your password, type in your login password and hit Enter. Note that the password won't echo to the screen.
- sudo: Runs the command with superuser (administrator) privileges, which is necessary for creating a bootable installer.
- /Applications/Install\ macOS\ Mojave.app/Contents/Resources/createinstallmedia: This is the path to the createinstallmedia utility within the macOS Mojave installer application.
- --volume /Volumes/Mojave: Specifies the target volume where the bootable installer will be created, which in this case is /Volumes/Mojave.
- --nointeraction: This option allows the process to run without any prompts, making it suitable for automated execution.
4️⃣ Unmount the macOS Mojave bootable volume:
hdiutil detach /volumes/Install\ macOS\ Mojave
5️⃣ Convert the Mojave.dmg file to Mojave.cdr:
hdiutil convert /tmp/Mojave.dmg -format UDTO -o ~/Desktop/Mojave.cdr
- hdiutil convert: This command is used to convert a disk image from one format to another.
- /tmp/Mojave.dmg: This specifies the path to the source disk image that you want to convert. In this case, it is located in the /tmp directory.
- -format UDTO: This option specifies the output format. UDTO stands for "Universal Disk Image Format" and is suitable for creating images that can be burned to CD or DVD.
- -o ~/Desktop/Mojave.cdr: This specifies the output file name and location. The converted image will be saved as Mojave.cdr on your Desktop.
6️⃣ Rename the Mojave.cdr file to Mojave.iso:
mv ~/Desktop/Mojave.cdr ~/Desktop/Mojave.iso
- mv: This command is used to move or rename files and directories.
- ~/Desktop/Mojave.cdr: This is the source file that you want to rename. It is located on your Desktop.
- ~/Desktop/Mojave.iso: This is the new name for the file. After executing this command, the file will be renamed to Mojave.iso.
Spread the information to help others create a macOS Mojave ISO file!