
Want to install El Capitan from a USB? Just create a bootable El Capitan USB installer. It lets you install this classic version on unsupported modern Macs using OpenCore Legacy Patcher (OCLP) or update multiple compatible Macs to OS X 10.11.
Whether you're working on a Windows PC or a Mac running Sequoia, Sonoma, Ventura, Monterey, Big Sur, Catalina, Mojave, High Sierra, or Sierra, we will walk you through the entire process to download El Capitan to the USB.
| Install El Capitan on a compatible Mac from a bootable USB | Install El Capitan on an incompatible Mac from bootable USB |
| 1. Erase a 32 GB or larger USB drive to Mac OS Extended (Journaled). 2. Download the Mac OS X El Capitan installer on the Mac. 3. Connect the USB drive to the Mac and run the specific command in Terminal to create a bootable USB installer. 4. Connect the bootable installer to the target Mac. 5. Restart the Mac while pressing the Option key. 6. Choose El Capitan USB installer. 7. Choose Disk Utility from the macOS Utilities window, erase the startup disk, and then back to click Install OS X. | 1. Download El Capitan DMG file and the TransMac app on the Windows PC. 2. Connect a USB drive formatted with Mac OS Extended (Journaled), GUID. 3. Use TransMac to restore Mac OS X El Capitan DMG onto the USB to make a bootable USBn installer. 4. Connect the El Capitan bootable USB to the incompatible Mac. 5. Connect an empty USB drive to the Mac. 6. Download and use OpenCore Legacy Patcher on the incompatible Mac to install El Capitan on it from the bootable USB. |
How to create an El Capitan bootable USB from a Mac
To install El Capitan from a USB on a Mac, you should create a bootable El Capitan USB installer first. This task requires using Terminal and can be a bit complicated. Be sure to follow our step-by-step guide closely.
Step 1. Prepare the necessities
The purpose of this step is to reduce the creation failure.
✅ Prepare a 32 GB or larger USB drive formatted with Mac OS Extended (Journaled), GUID Partition Map.
✅ Free up more space on your Mac
You'll need enough free space to store the full El Capitan installer. This is because you'll first download the installer to your Mac and then use Terminal commands to create the bootable USB of OS X El Capitan.
Truly, we can clean up our Mac manually by deleting unwanted files and emptying the Trash. However, it is time-consuming, and there are many stubborn junk files hidden on your Mac that lag your Mac's performance.
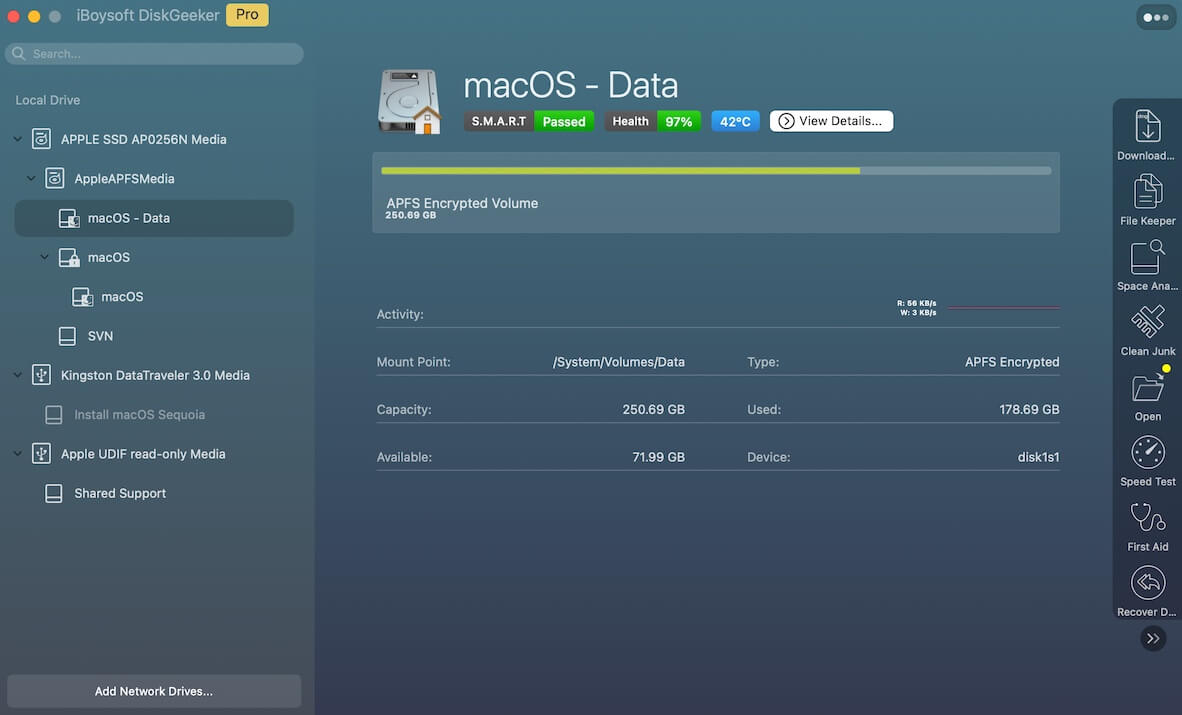
You can use a professional Mac cleaner like iBoysoft DiskGeeker to help you tidy up your Mac and free up much space.
- Download, install, and open iBoysoft DiskGeeker on your Mac.
- Select the Macintosh HD - Data or macOS - Data volume (the user data volume) from the left sidebar and click Clean Junk.
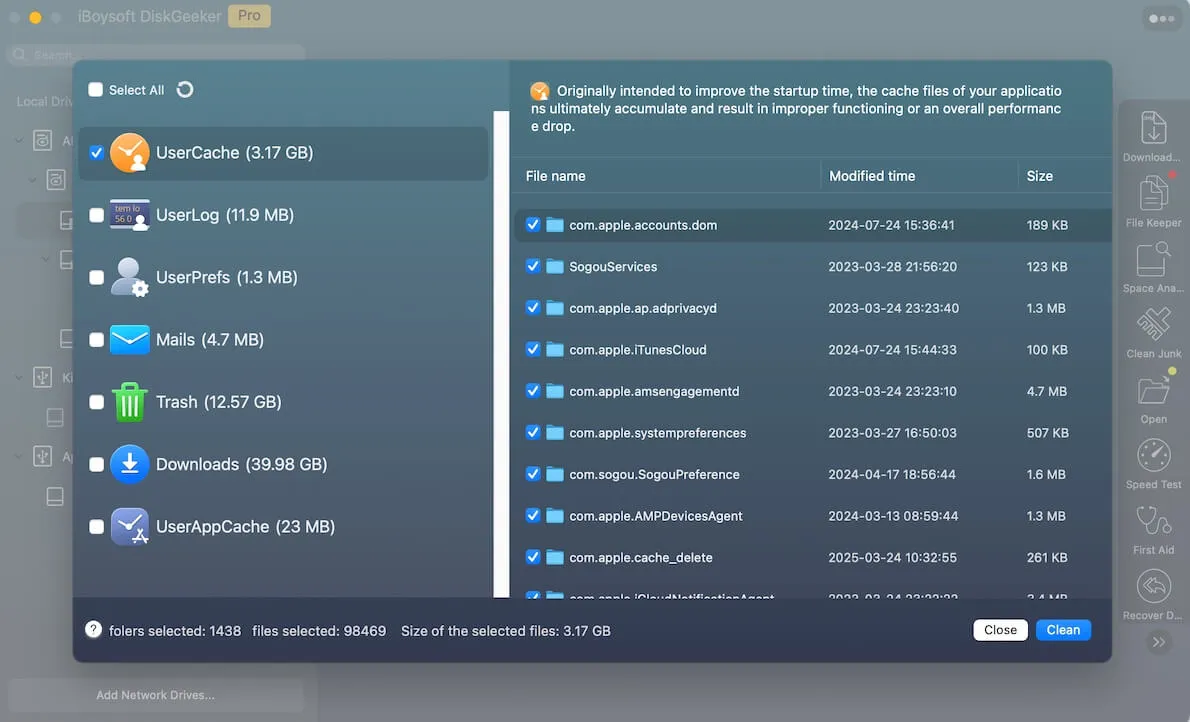
- Wait for the tool to scan the junk files on your Mac.
- Select the unwanted files from the search results and click Clean to directly remove them from your Mac.
Step 2. Download Mac OS X 10.11 El Capitan installer
Here are the direct links to download the El Capitan installer. To avoid the download failure and the installer damage, ensure your internet connection stays stable throughout the download process.
If your Mac runs Yosemite or earlier or is compatible with Mac OS X 10.11 El Capitan, click the following link to download the installer from the App Store:
Download El Capitan full installer (size: 6.21 GB)
Note: After downloading Mac OS X El Capitan from the App Store, it would automatically jump to start the installation. Quit the process, or else, El Capitan will install on this Mac. You can find the El Capitan pkg installer in the Applications folder.
However, most of us use modern Macs that don't support El Capitan. You probably receive the "Update not found" error when downloading El Capitan from the App Store.
In this case, click the link below to download the Mac OS X El Capitan DMG file. Then, use TransMac to create an El Capitan bootable USB installer with the DMG on a Windows PC.
Download El Capitan DMG (size: 6.2 GB, from archive.org)

Step 3. Create a bootable Mac OS X El Capitan USB on a Mac
- Connect the USB drive to your Mac.
- Open Terminal from Launchpad > Other.
- Enter the following command into the Terminal window. It is used to create a bootable Catalina installer on the USB drive.
Here, Applications represents the location where the macOS Catalina installer stays. If it is not stored there but in another place like the Downloads folder, replace Applications with Downloads. Besides, you should replace MyVolume with your USB drive's name.sudo /Applications/Install\ OS\ X\ El\ Capitan.app/Contents/Resources/creatElnstallmedia --volume /Volumes/MyVolume --applicationpath /Applications/Install\ OS\ X\ El\ Capitan.app - Type your admin password and press Return to permit the Terminal to do the task.
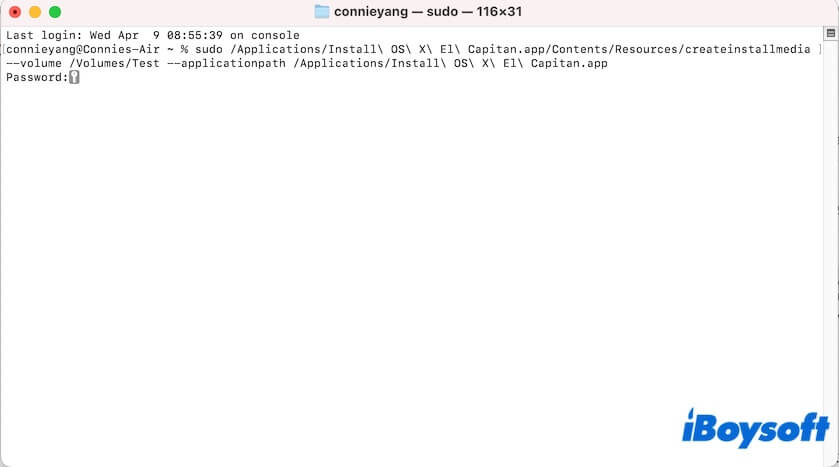
- Enter Y when prompted whether to erase the USB drive and press Return.
- Wait for the creation process to finish and quit Terminal.
Tell your friends the detailed method to create a bootable USB of OS X El Capitan on a Mac.
How to create a bootable El Capitan USB from Windows
Similarly, you need to do some preparations first when creating a bootable El Capitan USB from Windows.
- Prepare a 32 GB or larger USB drive formatted with Mac OS Extended (Journaled) (also called HFS+) and in GUID Partition Map.
- Download the El Capitan DMG file (size: 6.2 GB, from archive.org)
- Download TransMac and install it on your Windows computer. This application is widely used to create macOS bootable USB installers from a Windows PC, as it lets you read and write files on macOS-compatible drives (like APFS and HFS+) on Windows.
Then, follow the steps to create a bootable El Capitan USB installer from Windows:
- Right-click TransMac, choose Run as administrator, and click Yes to allow this tool to make changes on your Windows PC.
- Click Run on the prompt.
- Click File on the TransMac toolbar > Open Disk Image.
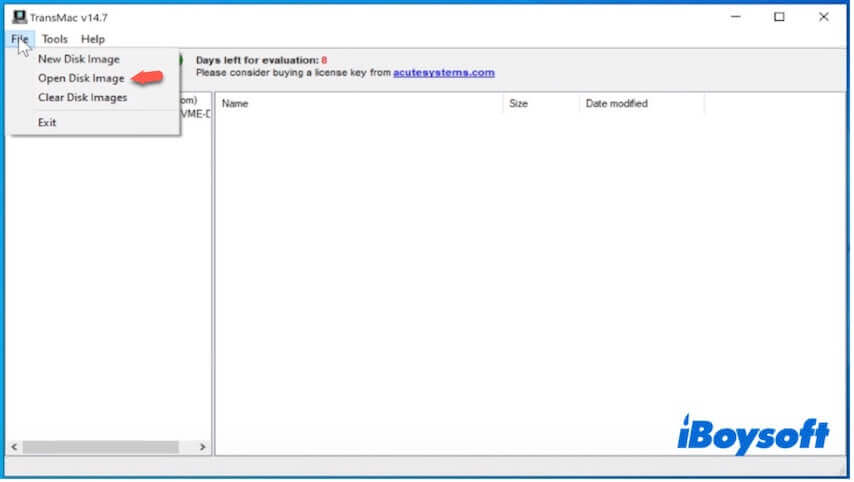
- Choose the Mac OS X El Capitan DMG file and click Open.
- Select InstallOS.dmg > Install Mac OS X.
- Drag and drop the InstallMacOSX.pkg file to the desktop.
- Click File again > Open Disk Image.
- Choose the .pkg file you've put on the desktop and click Open.
- Click Tools on the TransMac window > Settings, choose Show hidden and system files, and click OK.
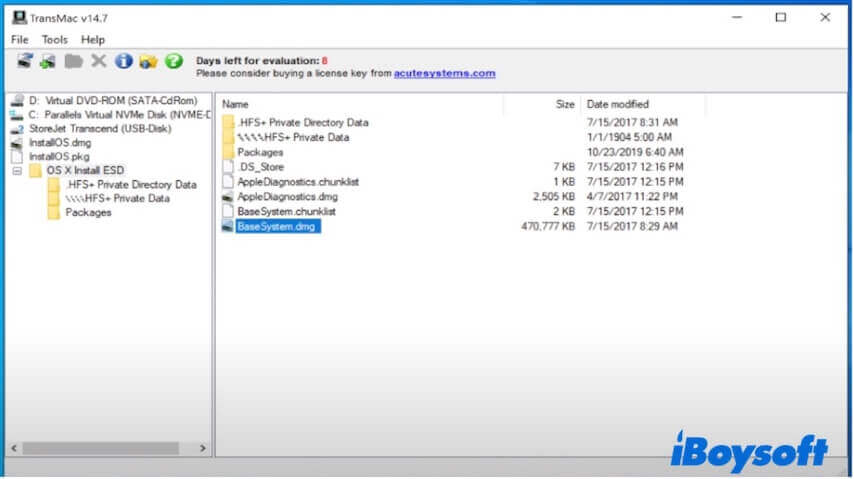
- Select InstallMacOSX.pkg > OS X Install ESD > BaseSystem.dmg and drag it to the desktop.
- Enure TransMac is open.
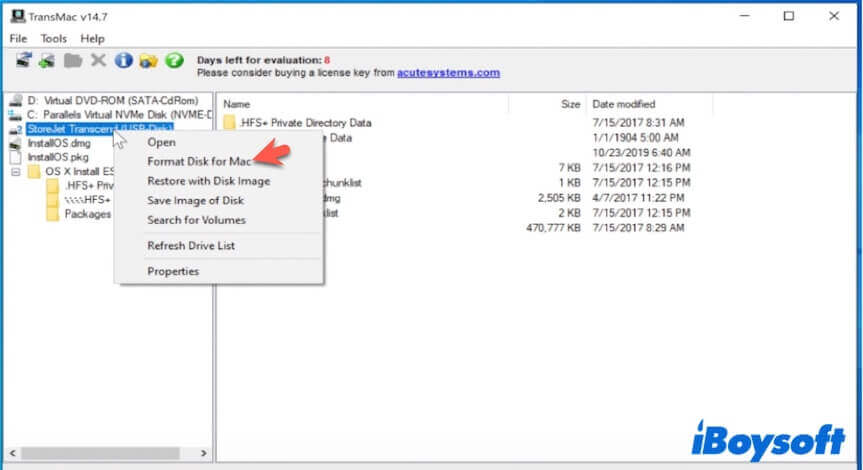
- Connect the prepared USB drive to the PC, right-click it from TransMac's left sidebar, and choose Format Disk for Mac.
- Fill in the information to format the USB.
- Right-click the USB drive and select Restore with Disk Image.
- Choose BaseSystem.dmg > Open and click OK > Yes to begin restoring.
Now, you get a bootable El Capitan USB installer from Windows. For more details about the creation process, follow: How to Create a macOS Bootable USB from Windows.
Share the steps to create a bootable El Capitan USB installer from Windows.
How to install El Capitan from a USB on a Mac
Now, you can install El Capitan from the bootable USB on a Mac.
Install El Capitan from a USB on a compatible Mac:
- Simply connect the El Capitan bootable USB to the target Mac.
- Restart the Mac and press the Option key until you see the startup options.
- Choose the El Capitan bootable USB and press Return.
- When your Mac enters the macOS Utilities screen, select Disk Utility, and format the startup disk as Mac OS Extended (Journaled), GUID Partition Map.
- Quit Disk Utility, click Install OS X from the utilities window, and follow the on-screen guide to finish installing Mac OS X El Capitan.
Install El Capitan from a USB on an unsupported Mac:
If you want to use the bootable USB to boot an incompatible Mac, you need to use OpenCore Legacy Patcher (OCLP).
Here's how to install El Capitan from the bootable USB on an unsupported Mac:
- Download OpenCore Legacy Patcher on the incompatible Mac.
- Open the application and click Build and Install OpenCore.
- Once it detects your Mac model, click Build OpenCore > Install to Disk.
- Connect an empty USB drive to the Mac and set it as the target disk.
- Install OpenCore to this empty USB drive.
- Continue to connect the El Capitan bootable USB to the Mac.
- Restart your Mac and press the Option key.
- Choose OpenCore USB from the startup options.
- Once the OpenCore loads, you'll see new boot options. Choose the El Capitan USB installer from them and press Return.
- Select Disk Utility to erase the startup disk (Mac OS Extended, GUID).
- Quit Disk Utility and click Install OS X.
- Follow the on-screen instructions to finish installing El Capitan on the incompatible Mac
Share this post about how to install El Capitan from a bootable USB created on a Mac and Windows.