
Intro: Reasons and ways to install Windows 10
When your computer is injected by the virus and crashes down to stop working or your Windows version is too old to work as fluent as years ago, then you have to install a new Windows operating system. Your target Windows should be Windows 10, which is for its safety and powerful functions the most popular OS in the world now. The method written in this article applies to Windows 7, Windows 8, and Windows 10, but here, I'll just take the Windows 10 installation from USB for example as their installations are not that far from each other.
Note: If you want to install Windows 11 from a USB, don't miss: Windows 11 bootable USB download.
Nowadays, there are 3 ways in the mainstream to install the Windows 10 OS
- Through an external USB drive. It is the most common way.
- Through a CD. It means that you have to prepare an untapped CD and meanwhile your computer is equipped with a CD-ROM drive. Compared with the first method, besides the difficulty of obtaining, the only difference is that they are two completely different mediums that store the data with completely different principles.
- Download Windows 10 ISO file and run the setup.exe directly. This method requires that your computer can start up to normal work.
Recommended way to install Windows 10
Through an external USB drive is thought to be the most common way to implement when your OS has crashed down. To make that, you have to prepare a bootable external USB drive.
Guide to make a bootable external USB drive to install Windows 10
① Prepare an external USB drive and connect it to a workable Windows computer.
② Download Windows 10 ISO file from Microsoft's official website.
If you need to download a specific Windows 10 ISO for free, follow:
Windows 10 Home ISO Download
Windows 10 Pro ISO Download
Download Windows 10 without Media Creation Tool
Download Windows 10 22H2, 21H2, 21H1, 20H2 ISO Files
③ Download the latest Rufus (a tool for making a bootable USB drive) and unzip it.
④ Run the rufus.exe, then it will be like this:
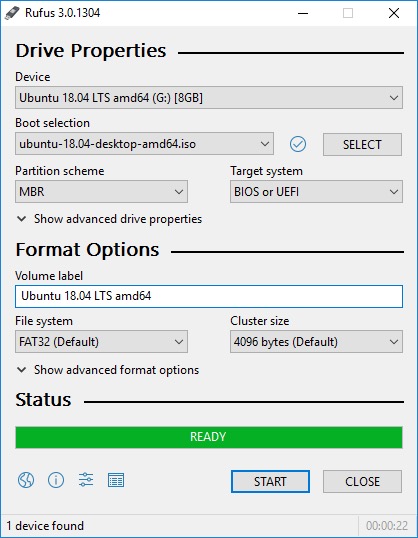
⑤ Select the parameters depending on your computer's "physical truth".
⑥ Right-click the "START", and wait for its completion.
Read this detailed guide to create installation media/bootable disk for Windows.
There's an easier way to make a bootable USB, follow: Create Windows 7 Bootable USB Installer
Problems possibly show up when making the bootable external USB drive
1. Fail to burn the iso file to the external USB drive
The most common reason for that: You make the file system of your external USB drive in some other formats instead of NTFS/exFAT. Any single Windows 10 iso file is no less than 4GB whereas now only NTFS/exFAT can hold that kind of file.
How to get it away: Just transform your external USB drive's file system to NTFS/exFAT.
2. Confused when Choose a boot combination
There are two choices when you choose the combination of boot system, disk partition format, and boot mode. The iron triangle is the foundation for a computer to boot to work.
The first combination is BIOS+MBR+Legacy boot mode.
BIOS is a kind of OS boot system, and MBR is a kind of out-of-date disk partition format that can only be guided by the Legacy boot mode. By the way, this ancient boot system is going to be completely replaced in 2020.
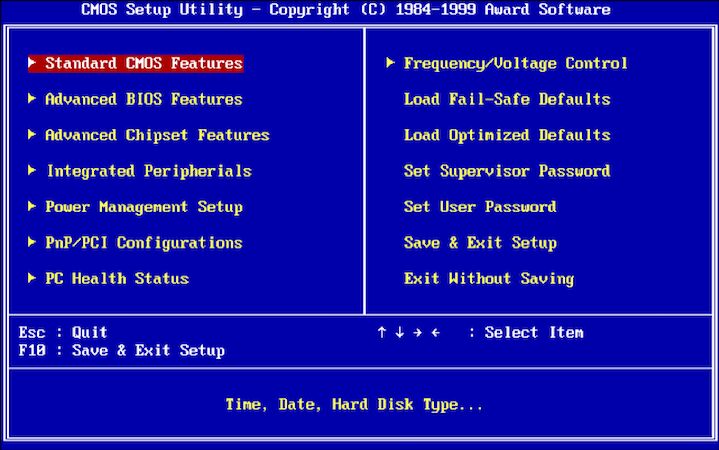
Shown as above, this is how a BIOS setup interface looks like. It's typical for its sparse options and can only be operated through a keyboard.
The second combination is UEFI+GPT+UEFI boot mode.
UEFI is an upgraded version of BIOS while GPT is the counterpart of MBR and the UEFI boot mode responds to the Legacy boot mode.

The setup interface of the UEFI boot system is no longer decorated by the deep blue background, plus that more parameter options are added. This new-coming ruler on some occasions can be set up through a mouse. Compared with the Bios, the UEFI has been greatly developed, click to know more secrets between BIOS and UEFI!
How to use a bootable external USB drive to install the Windows 10?
① Quickly press the F1/F2/F10/Delete/ESC (different brands have different hotkeys and in hotkeys even exists the combination of plural keys, like CTRL+ALT+ ESC) to enter the BIOS setup interface during the computer restart/startup process. You'd better do that right after you have pressed the power button for that the BIOS bootable time is quite limited. Try a possible key once at a time if you're not sure which one is correct.
② Choose USB as the first prior boot device.
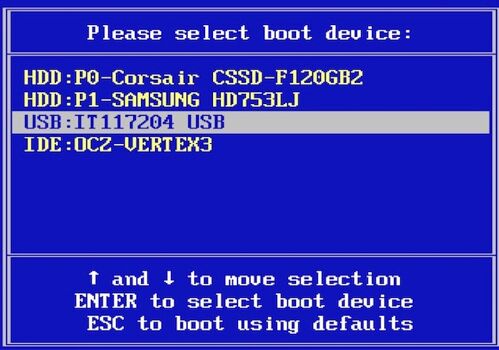
③ Save and exit.
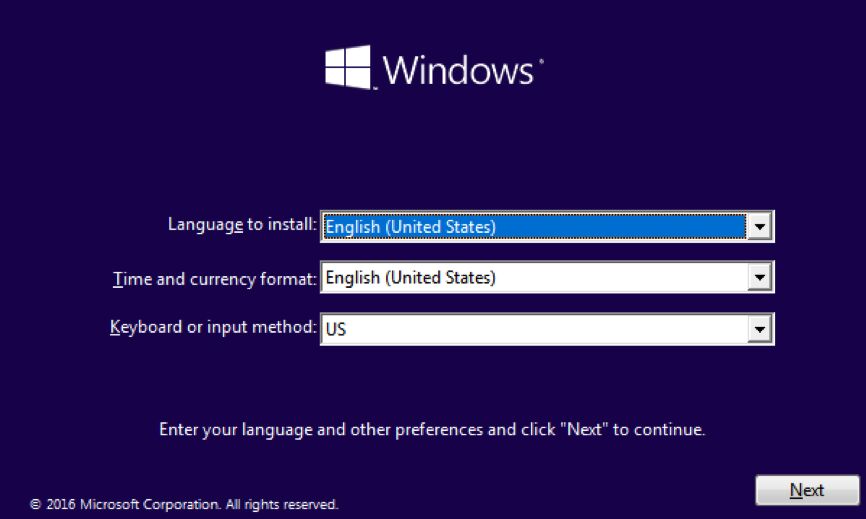
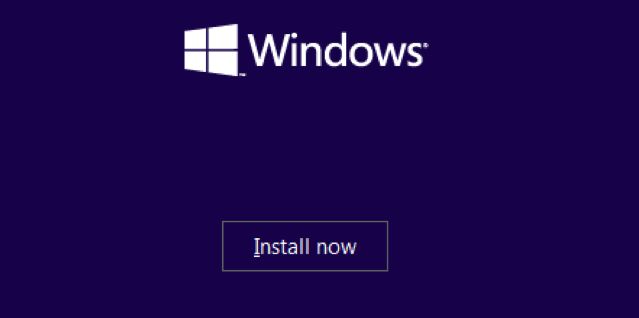
④ Then the screen will come to this interface. Just click "Next".
⑤ Click "Install now".
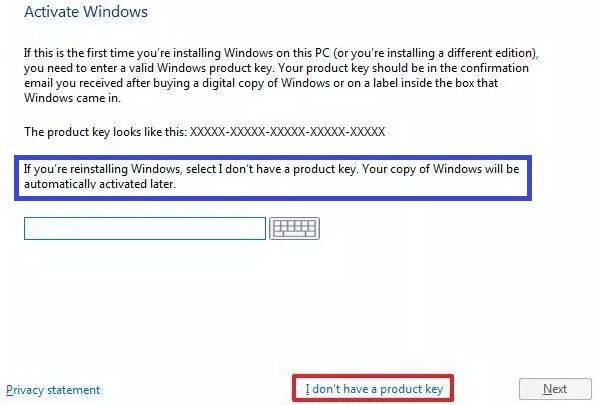
⑥ Type in your product key if you bought one or click "I don't have a product key" and "Next" to go ahead.
⑦ Select a version.

Note: Each version has its respective product key.
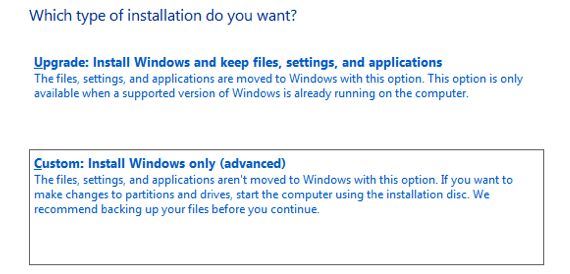
⑧Upgrade or Custom: If you choose to upgrade, then you can reserve your data; if you choose Custom, then all your data will be lost, so you have to do a backup in advance.
· There will show up such a dialog box when you choose the first option.
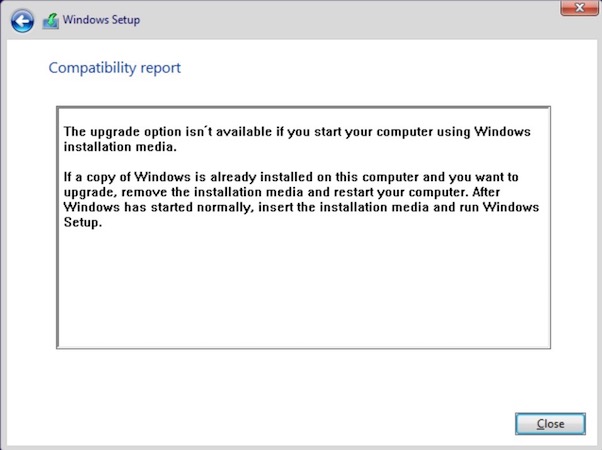
It means that not until your computer completes a normal startup and enter the desktop as usual can you set up the installation.
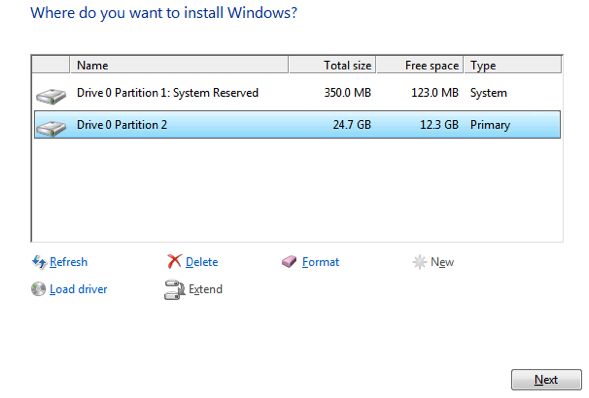
⑨ Choose a partition to install your Windows 10 OS.
· When you have installed an old Windows OS, there will show up a dialog box like this,
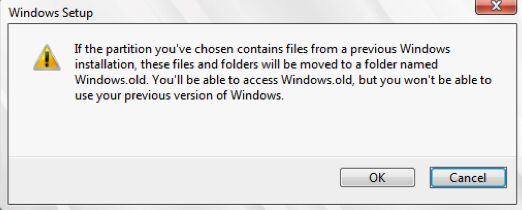
and if you click "OK", then the new Windows OS will be installed in the checked partition coexisting with your old Windows OS. Of course, you can reject that by clicking "Cancel" and choosing another partition to install.
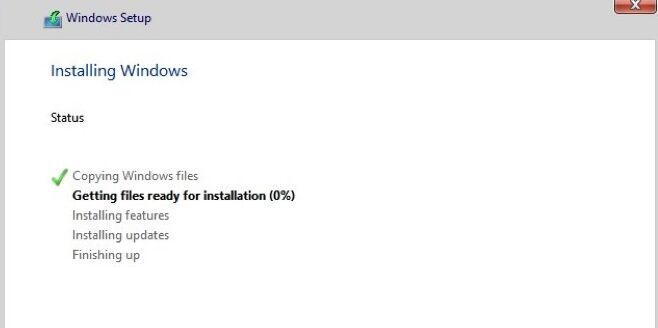
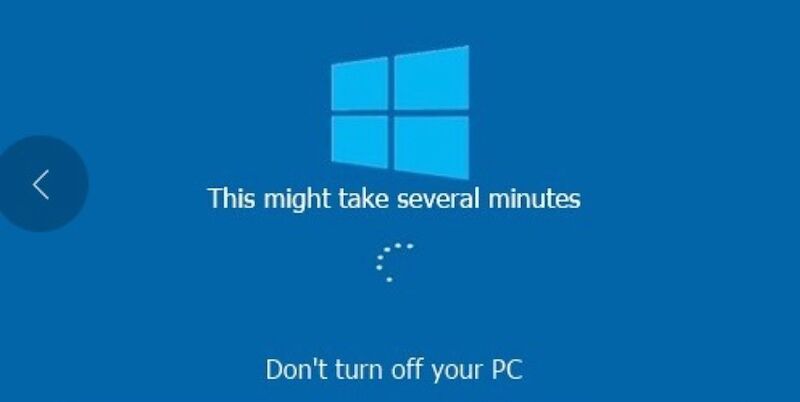
⑩ Installing Windows.
Warning: Your computer is likely to repeat the whole installation procedure time after time!
Your first boot device has been modified to the external USB drive in step ②. if you don't unplug the external USB drive when the installation is over and meanwhile disable all the other boot devices in the BIOS setup, then the computer will restart, and boot from the external USB drive. All this bootable USB drive can do is to help you install a Windows OS time after time.
Two methods to overcome this problem:
Solution 1: Besides the USB, enable other boot options as spares.
Solution 2: Unplug the USB when "Getting files ready for installation" becomes "100%".
⑪ When you have finished the installation, your computer will restart automatically.
· If you unplugged your external USB drive in step ⑩, the computer may show you such a screen:
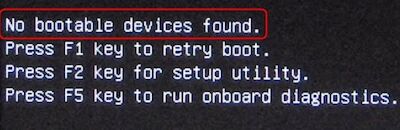
Why would this happen? That's because when you only enable "boot from USB Device" and disable other boot methods, such as CD-ROM Drive and SATA Hard Drive,
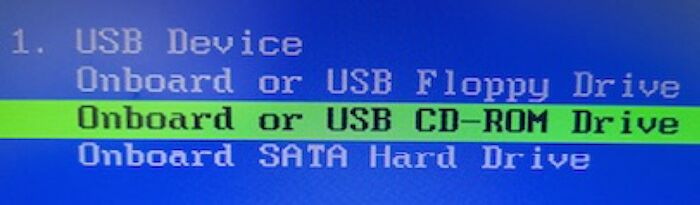
"No bootable devices found" will trap you here forever if you unplug the external USB drive.
Solution : Press F2 key for setup utility. As you have copied the whole OS files in step ⑩ to your computer hard disk, you can enable "boot from Hard Drive".
Note:
1. Only the keys of Up, Down, Delete, Enter, Esc, Space are usable.
2. It's impossible to change the physical location of the boot device options. You can only enable or disable them as a boot device by pressing the Space key.
3. The computer will boot strictly as what has been set in the BIOS setup. The boot order can be changed whenever you want.
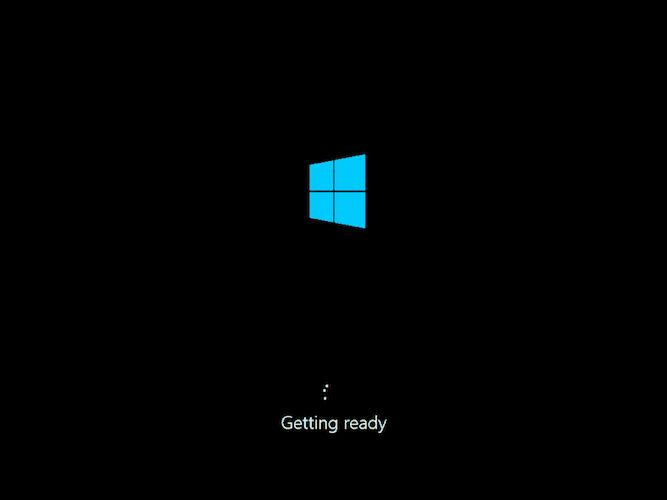
⑬ Save and Exit. Then your computer will after the new OS installation, start its first journey to the startup, which will take you several minutes.
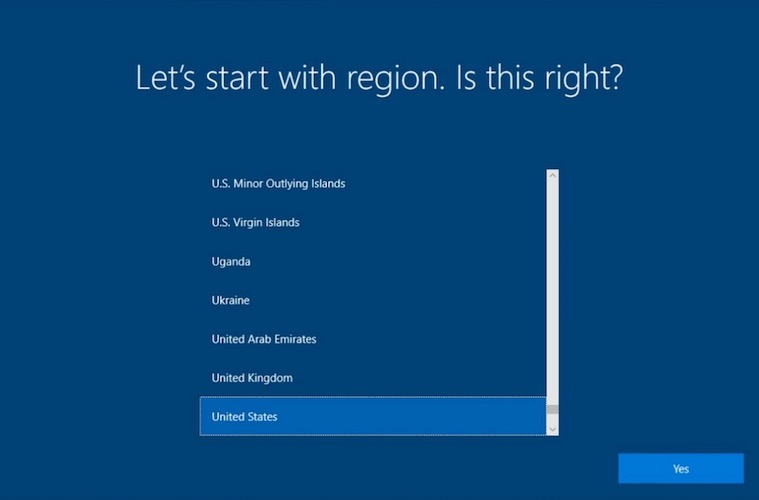
⑭ Set the region.
⑮ Keyboard set.

⑯ Configuration of the installation done so far.
⑰ Login and enter the new system.
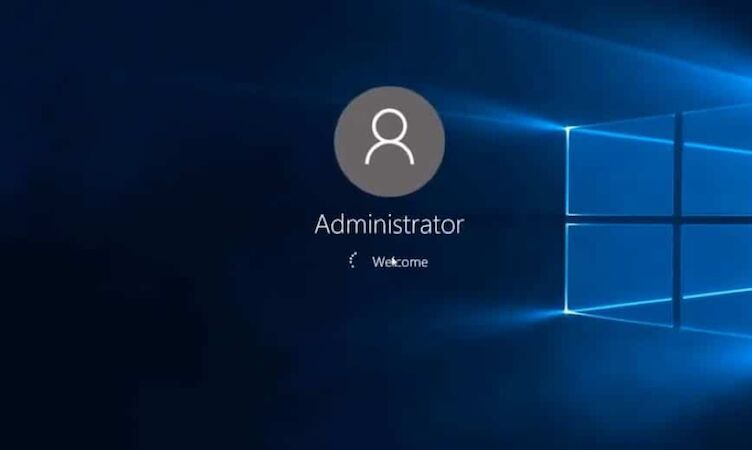
Enjoy your Windows 10 operating system!