You may never notice your Mac's DNS cache as it works in the background secretly. It enable you to access the target website successfully through the browser once you send the requests.
However, recently, you ask for visiting some websites but are redirected to malicious sites or feedback with 404 errors, it indicates certain attackers or viruses may be inserted in the DNS records on your Mac and prevents you from accessing the web properly.
Don't worry too much about that. We have solutions. This article will guide you to flush DNS cache on Mac in steps. Then, when you go to a website, you won't be redirect to the malicious websites or get 404 errors anymore.
What is DNS cache?
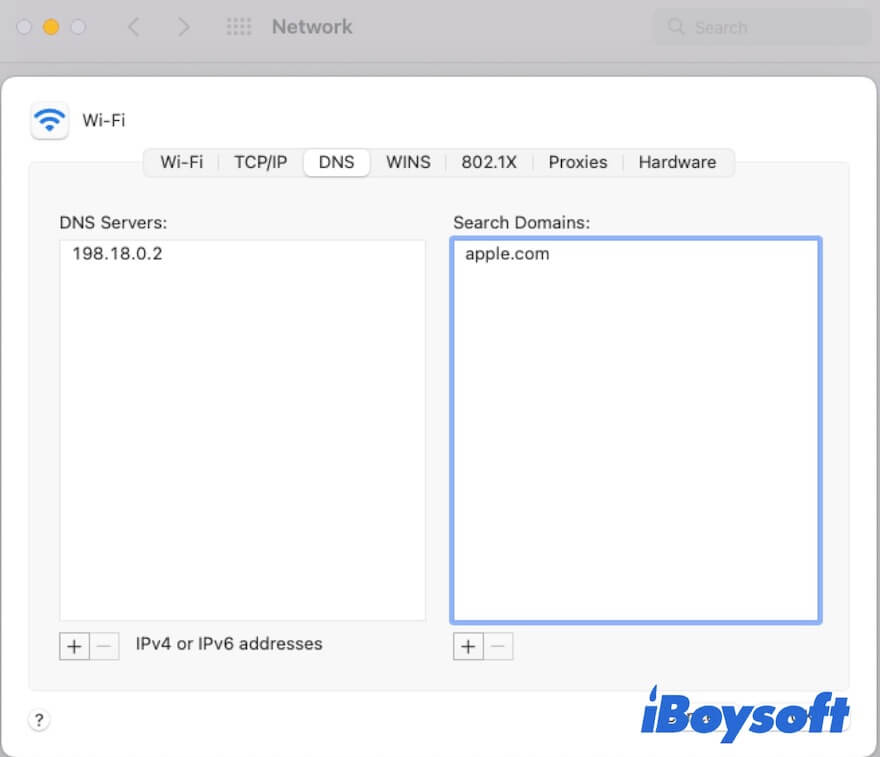
Every time you enter a URL into your web browser to load it, a DNS (Domain Name System) lookup process is initiated. And the DNS cache is the temporary database that records all the recent DNS lookups.
While, the IP addresses for the visited domains are included in DNS lookups. So, the system can answer your browsing queries from the cache instead of costing more time to reroute to DNS servers. That is why less loading time uses when you access a website at the second time.
What does a DNS flush do?
Network attacks or viruses can make DNS cache corrupt, leading the IP address mapping of some websites get corrupted. In that case, the browser may redirect you to an poor, malicious, or 404 website instead of your target site.
While, flushing DNS can remove the exist DNS lookup information, and then get the refreshed data. Consequently, the corrupted or attacked DNS cache can be deleted as well. After that, you can visit your desired website normally. Therefore, you're recommended to refresh the DNS cache regularly to avoid improper results when asking for browsing some websites.
If this explanation helps you learn about the function of flushing DNS on Mac, share it with more people.
How to flush DNS cache on Mac?
If you are redirected to a malicious or 404 website when browsing the web recently, refreshing your macOS DNS cache files can resolve this problem. Flushing DNS on Mac running macOS Monterey, Big Sur, Catalina, or earlier requires the Terminal utility. And depending on the macOS versions, you need to run different command lines.
Flush DNS on macOS Monterey, Big Sur and Catalina:
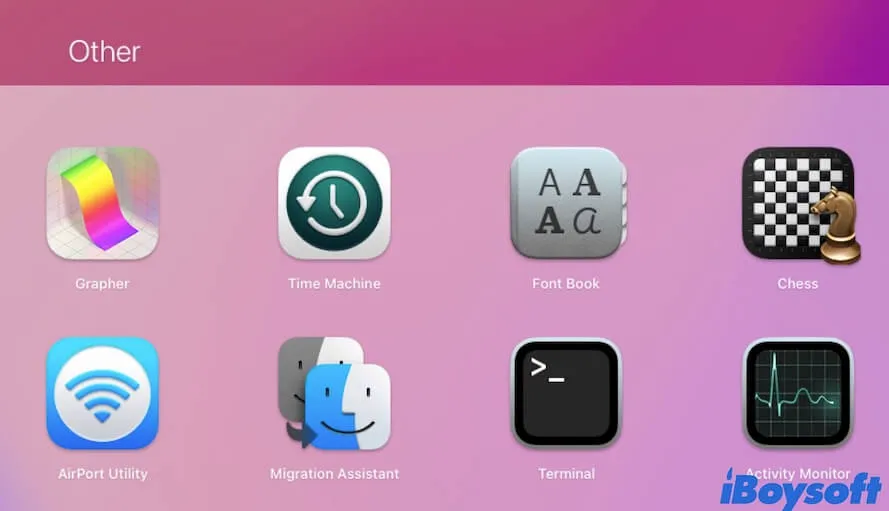
- Open Launchpad > Other > Terminal. Or you can press the Command + Space shortcut keys to open Spotlight. Then, enter Terminal to open it.
- Copy and paste the following command to the Terminal window.sudo dscacheutil -flushcache; sudo killall -HUP mDNSResponder
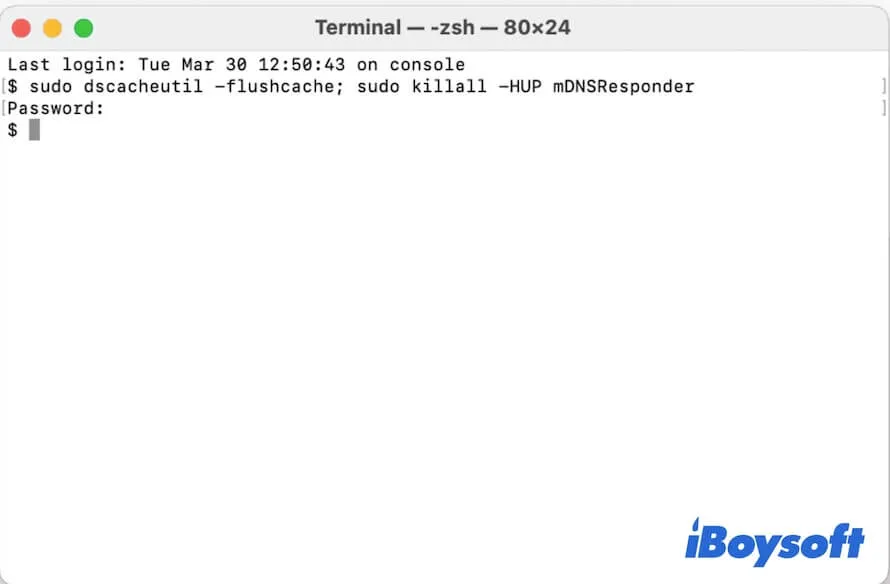
- Enter your admin password and hit Return.
Flush DNS cache on macOS Mojave and earlier using Terminal, you need to run the corresponding commands listed below:
| macOS 10.14 (Mojave), macOS 10.13 (High Sierra), macOS 10.12 (Sierra), OS X 10.11 (El Capitan) | sudo killall -HUP mDNSResponder |
| OS X 10.10 (Yosemite) | sudo discoveryutil udnsflushcaches |
| OS X 10.9 (Mavericks), OS X 10.8 (Mountain Lion), Mac OS X 10.7 (Lion) | sudo killall -HUP mDNSResponder |
| Mac OS X 10.6 (Snow Leopard) | sudo dscacheutil -flushcache |
| Mac OS X 10.5 (Leopard) | sudo lookupd -flushcache |
| Mac OS X 10.4 (Tiger) | lookupd -flushcache |
Share the way to use Terminal to flush DNS on Mac with your friends.
How to clear cache files on Mac with the professional Mac cleaner?
Cleaning the cache files on your Mac regularly is not an easy job. But if you let it go, the accumulated system cache files will interfere your Mac performance. Just as the DNS cache causes you fail to load the right website.
So, it is necessary to removing the cache files on your Mac frequently. If you don't want to waste time to do the cache cleaning job or don't know how to clean them correctly, you can choose a professional Mac cleaner to help you.
iBoysoft DiskGeeker is right here for you. This Mac cleaning utility is specially used to clear up the junk files from your Mac, including the system cache files, user logs, app cache, etc. With it, you don't need to spend too much time looking for useless files on your Mac and also don't use the complicated way that even running Terminal to erase the cache files from your Mac.
This tool can help you remove the system cache files including flushing DNS cache on Mac within clicks. All you need to do is to install the software and let it scan your Mac hard drive, then it will return you the removable junk files in all types. You only need to click the Clean button to delete them from your Mac.
Here's how to use iBoysoft DiskGeeker to clean cache on your Mac:
- Free download and install iBoysoft DiskGeeker on your Mac.
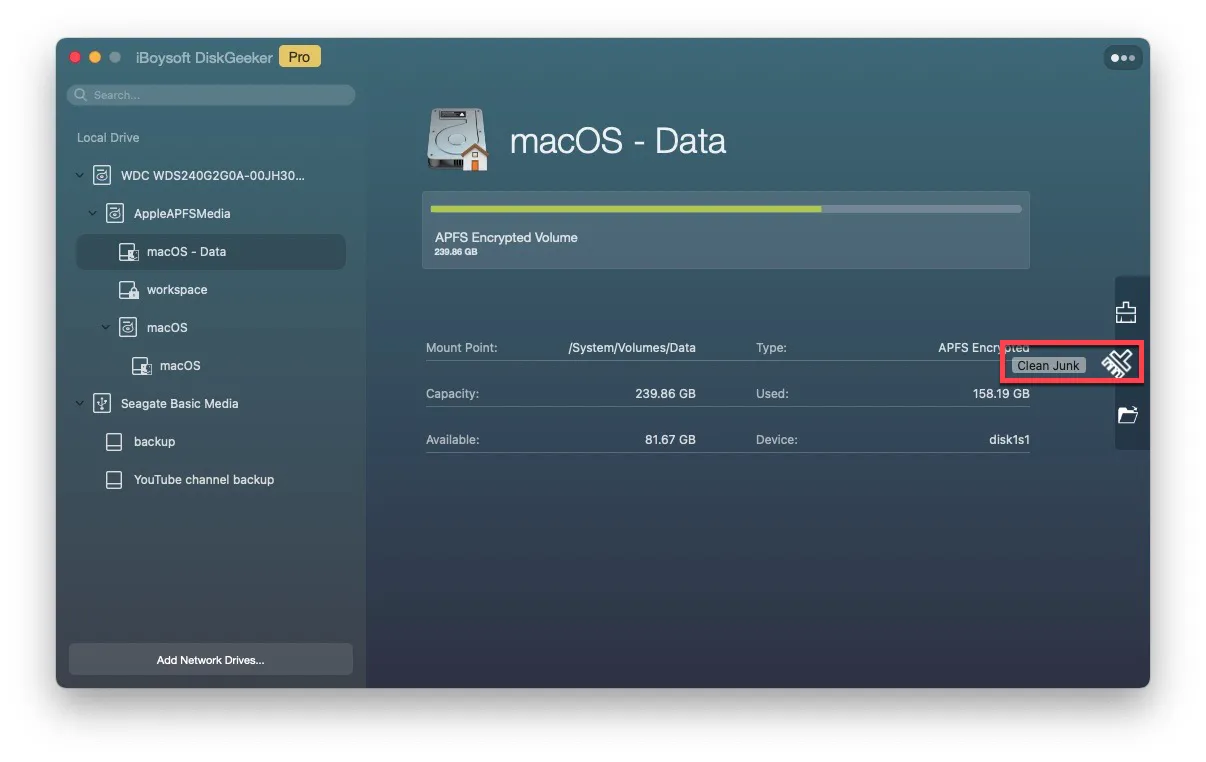
- Launch this software and select your Mac startup disk (usually labeled macOS, macOS - Data, Macintosh - HD, or Macintosh HD - Data).
- Click Clean Junk on the right-side toolbar.
- From the scanning results, choose the cache files and other unwanted files.
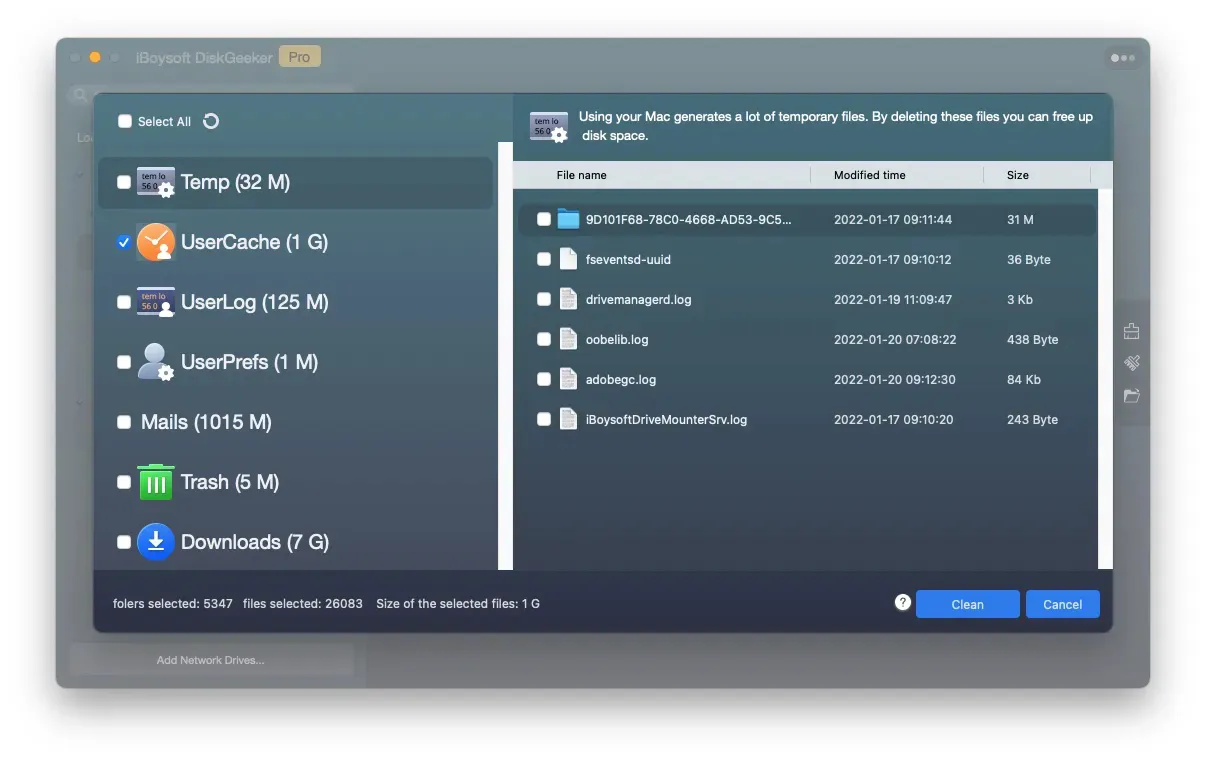
- Click Clean > OK to remove selected cache and other files from your Mac.
You can share this useful cache cleaning tool with more people who are seeking it.
Verdict
Flush DNS cache on your Mac is the best way to fix the website loading problems. If you are also troubled in being redirect to malicious and 404 pages when browsing the webs, you can follow the way in this post to flush DNS on Mac with Terminal.
Clearing up DNS cache is a routine job for you. Thus, if you think it is complex to flush DNS on Mac with Terminal, you can choose a Mac optimizer or cleaner tool like iBoysoft DiskGeeker to help you.
FAQ about flush DNS Mac
- Q1. Is flushing DNS safe?
-
A
Yes, it is safe to flush DNS. Although flushing DNS clears all the DNS lookup data, the updated DNS lookup information will be created from DNS servers next time when the browser sends a new lookup request.
- Q2. Do I need to flush DNS?
-
A
If you’ve been having problems in accessing certain websites lately like facing with 404 errors or being inexplicably moved to the poor pages, you are supposed to flush DNS.
- Q3. Does flushing DNS speed up internet?
-
A
No, flushing DNS will slow down your internet speed. That’s because all the saved DNS lookups are deleted. When you browse a website, it will send request to the DNS server rather the already existing DNS cache. This will take relatively longer time.
