Cloning your drive is an effective method for transferring data between computers or protecting your files. Whether you're transferring to a new Mac, upgrading to a larger disk, or simply protecting your data, you can quickly and effortlessly do it by cloning. Have you already upgraded to macOS Sequoia and want to clone macOS Sequoia to an external hard drive? This is the right post for you.
Preparing for cloning macOS Sequoia to an external hard drive
Although it sounds simple, cloning might be challenging if you don't have any help. But a minor error could destroy your important files. For flawless instructions, simply follow these steps and clone with ease. You need to make a few preparations before continuing.
Target drive: Select a target drive that can accommodate all of the source disk's data. Ideally, the target drive should be at least as large as the source drive.
Mac with macOS Sequoia installed: Have macOS Sequoia installed on your Mac before you proceed to clone. You can check the macOS version info via the Apple menu > About This Mac.
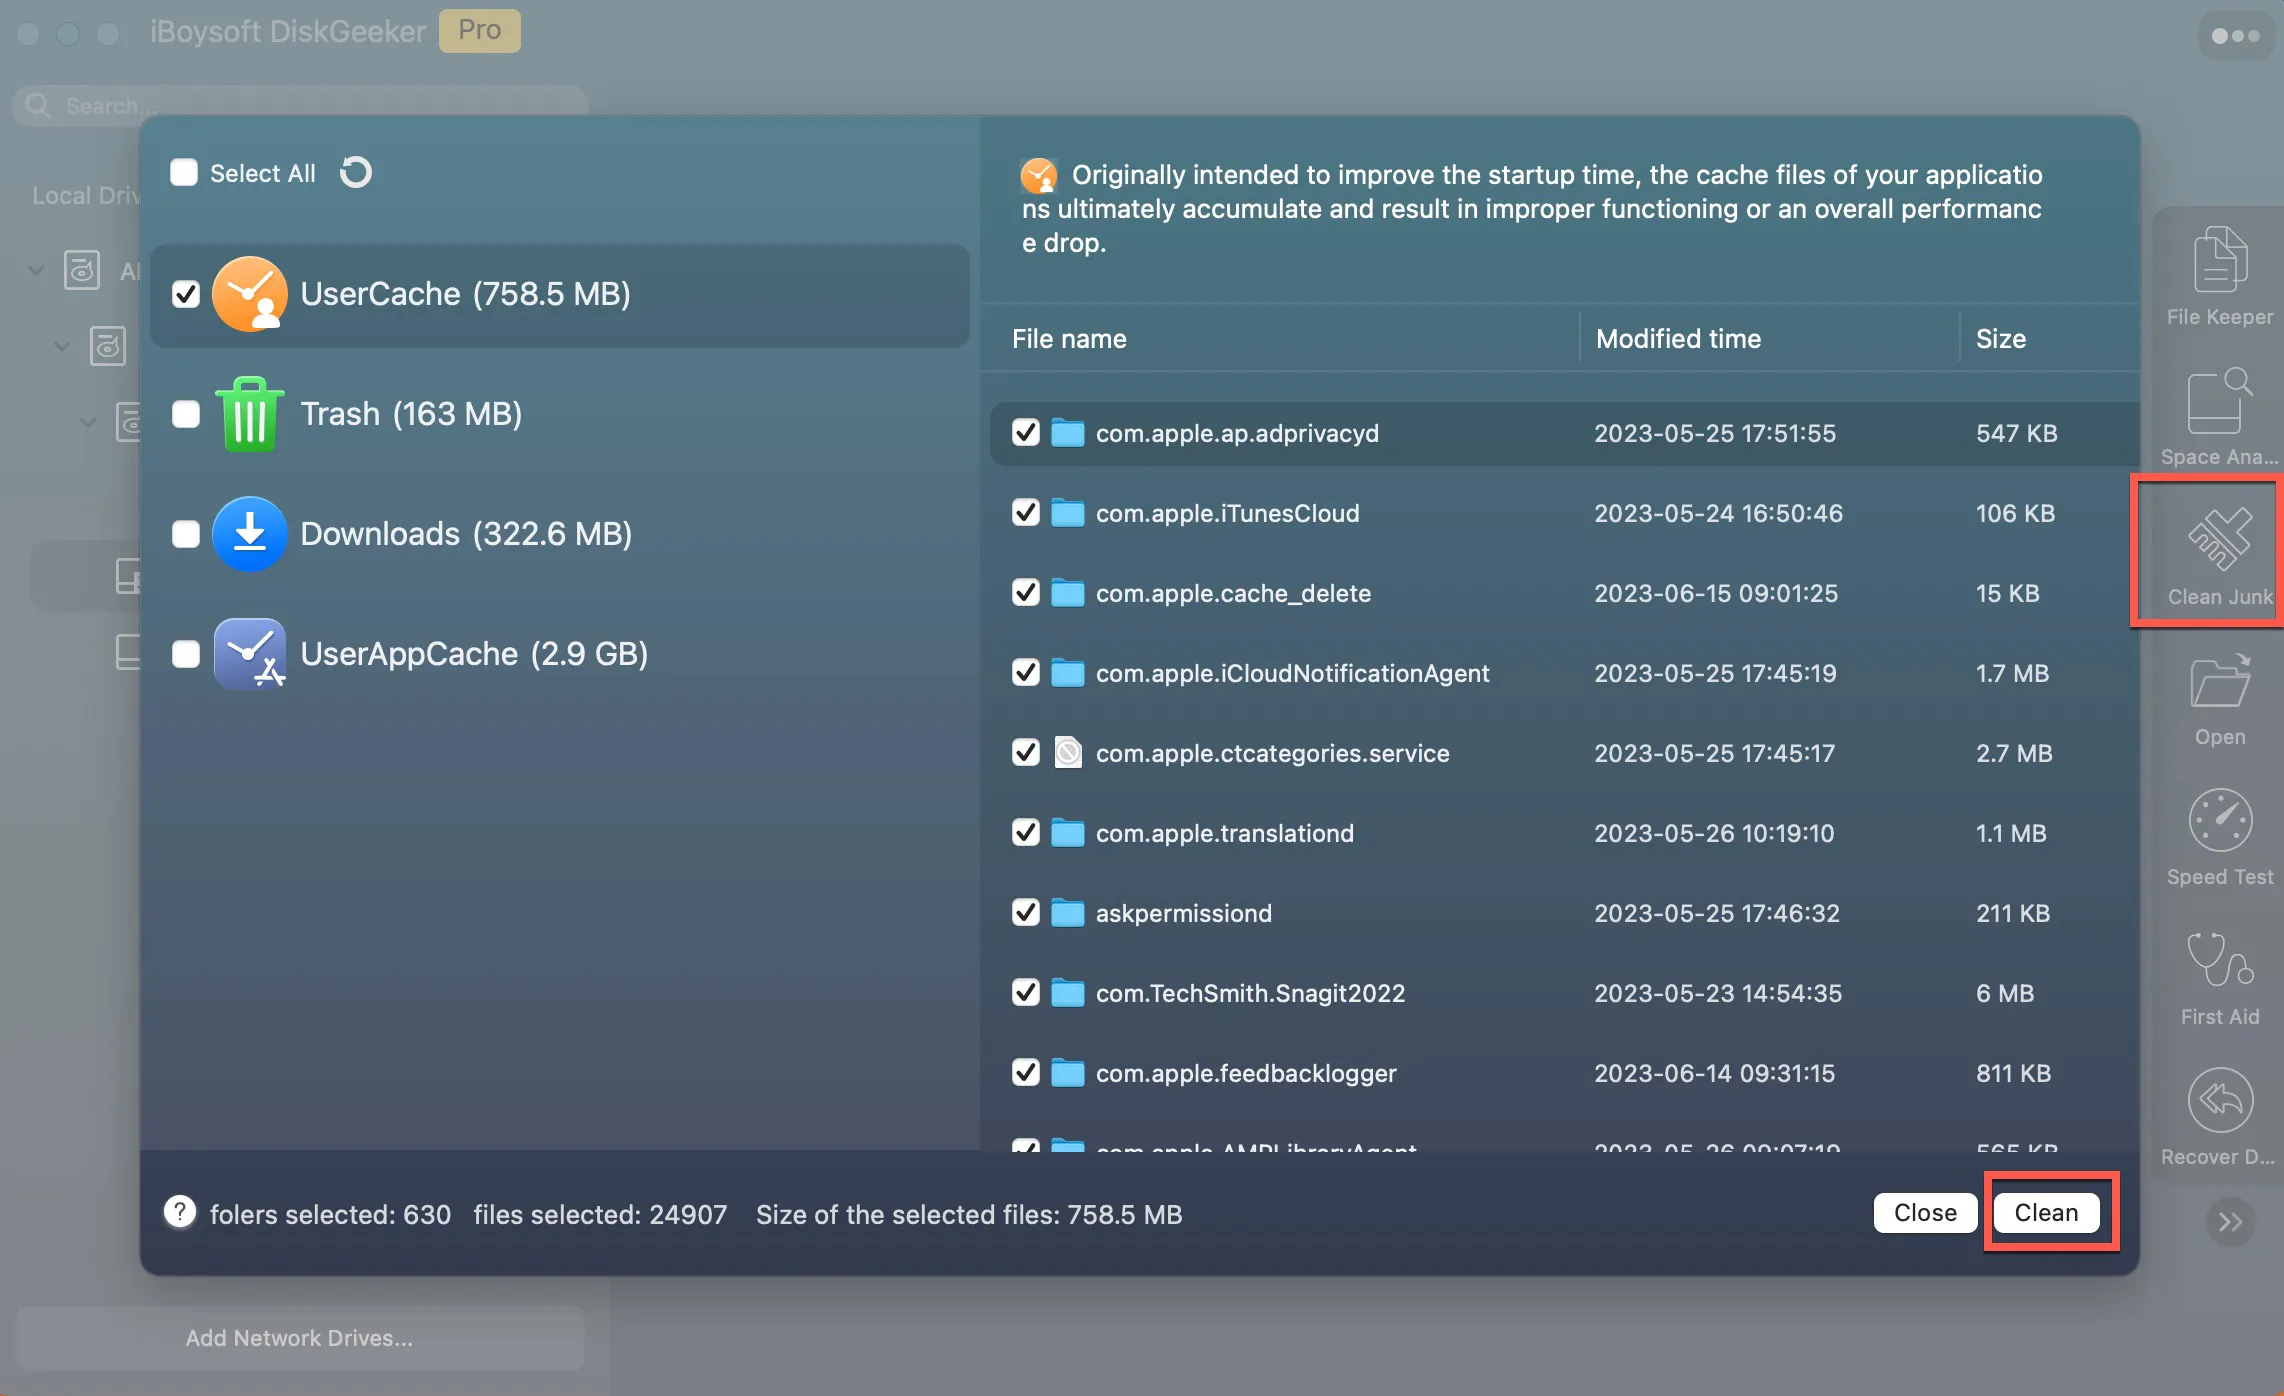
Clean up the Mac hard drive: The time of the cloning process depends on the total size of the files on the source disk. Therefore, you can first clean junk files and unwanted items on the Macintosh HD volume and then start to clone, making the process faster and easier to succeed.
iBoysoft DiskGeeker is a good choice to clean up the Mac hard drive. Its features Clean Junk and Space Analyze help you quickly find junk files and large files on your device and enable you to collect all unwanted items and remove them altogether in one click.

Free download and install iBoysoft DiskGeeker to clean up the Mac hard drive!
How to clone macOS Sequoia to an external hard drive step-by-step?
Disk cloning is very different from Time Machine backup(Clone VS. Time Machine Backup) because the former enables you to duplicate not just specific files and folders but also the operating system and all installed applications. To put it another way, cloning is the process of making an exact duplicate of your current disk that you may use on a different device or, if needed, the same Mac.
Clone hard drive on macOS Sequoia with Disk Utility
To clone hard drive on macOS Sequoia, the built-in Disk Utility is what you need. First, you will need to format the external hard drive on Mac, and then you can continue to clone macOS Sequoia to an external hard drive. Let's see the detailed steps:
- Connect your external drive to the USB port on your Mac.
- Launch Disk Utility from the Applications folder > Utilities.
- Select the connected external drive under External in the left sidebar.
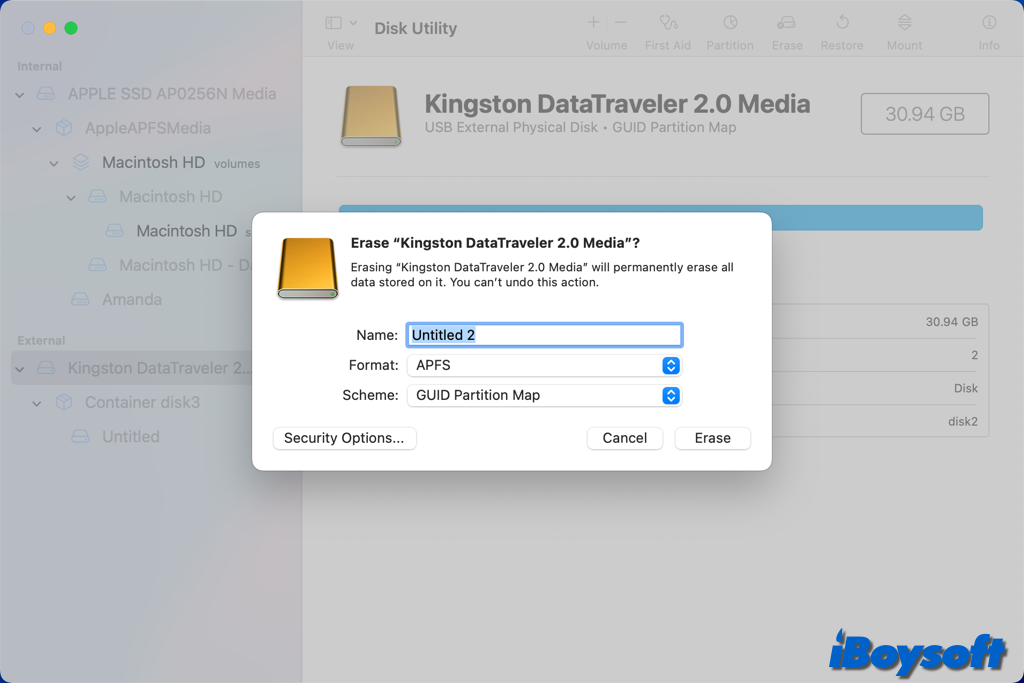
- Click the Erase tab in the toolbar of Disk Utility.

- Name the drive and select APFS from the format list.
- Click Erase, and click Done once the process is complete.
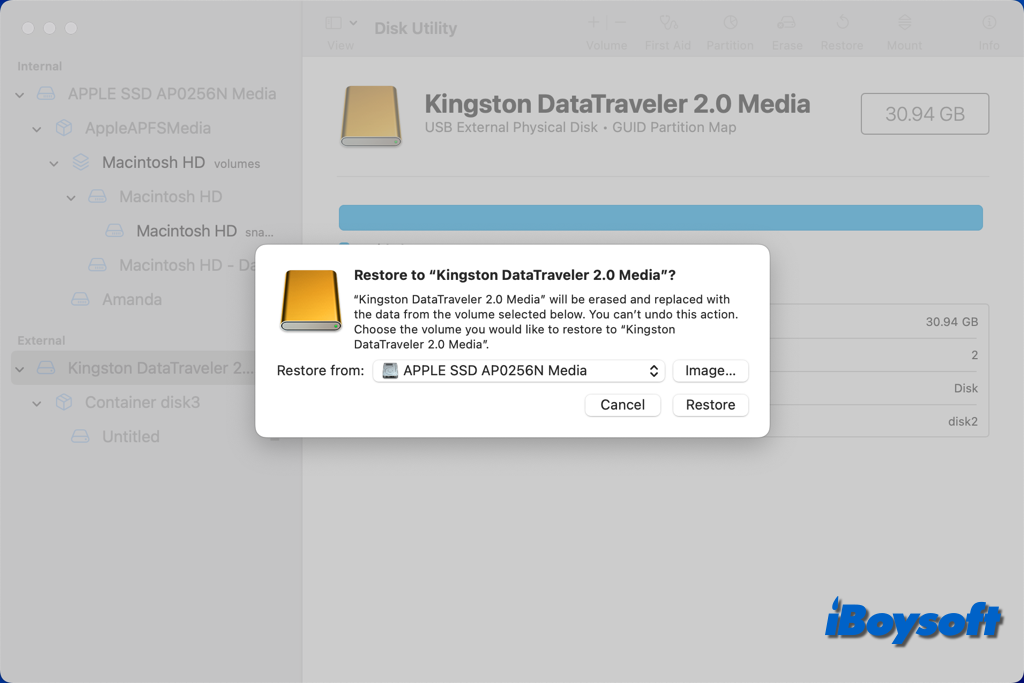
- Select the formatted external drive as the target drive, and click Restore.
- On the new pop-up window, choose the Mac hard drive from the drop-down menu as the source drive, then click Restore to start the cloning process.

- A status bar displays. When it's finished, click Done.
Restore your Mac from a clone on macOS Sequoia
- Shutdown your Mac and connect your external drive to Mac.
- Turn on your Mac and immediately press and hold Command and R keys to enter macOS Recovery Mode.
- On the macOS Utilities screen, select Disk Utility, and then click Continue.
- Choose your Mac hard drive, and click on Restore from the toolbar.
- Select your external drive next to Restore From.
- Choose your Mac's hard drive next to Restore to and click Restore.
- When the restoring finishes , restart your computer.
Share to help others clone macOS Sequoia to an external hard drive!
