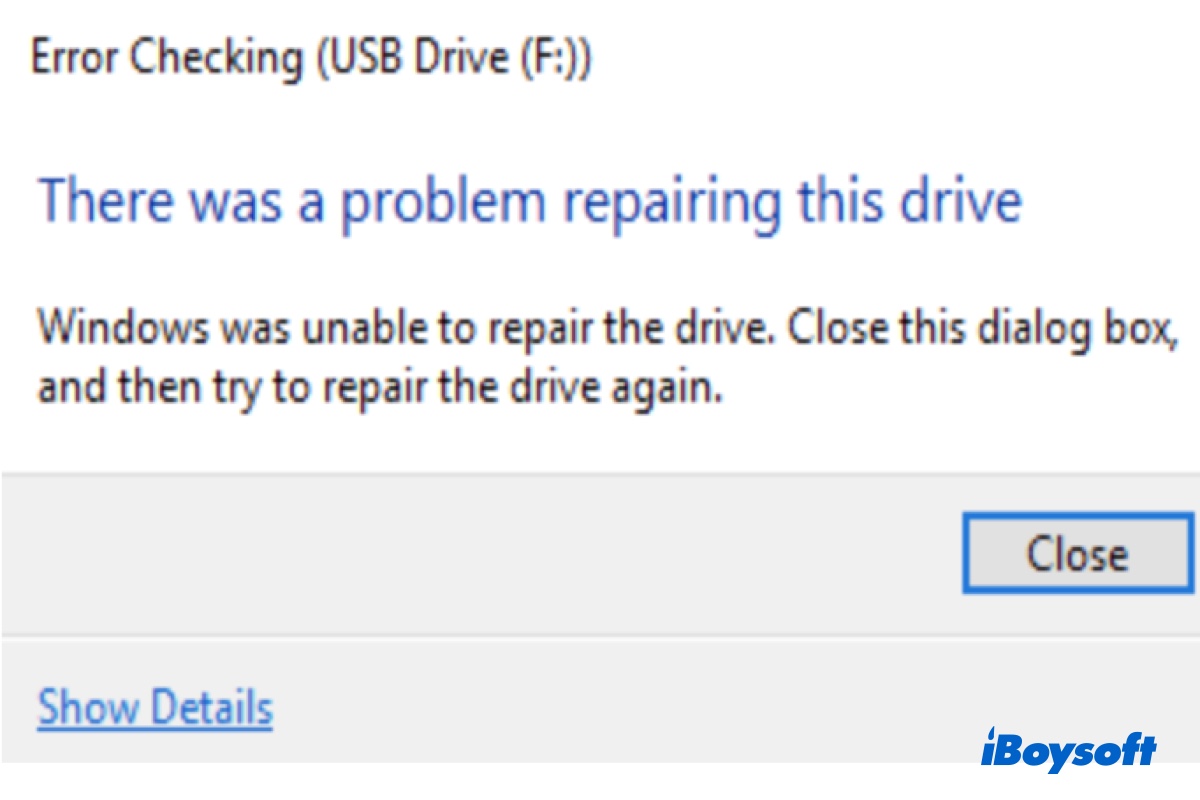
Have you ever encountered this error message: "There was a problem repairing this drive. Windows was unable to repair the drive. Close this dialog box, and then try to repair the drive again." when you plug in a portable USB pen drive or external hard drive to your computer running Windows 11/10/8/7?
When this error prompt appears on your computer, it means your external drive may get corrupted and cannot be fixed by Windows. You should repair it right now to avoid it getting severely corrupted and all files on it not being accessed.
This post will walk you through the reasons why your Windows PC gives you such an error prompt and the methods to fix ' Windows was unable to repair the drive'. Just keep reading.
Why Windows was unable to repair the drive
As aforementioned, this error simply means you have a bad or corrupted drive that can not be repaired by the built-in Windows tool. Generally, it is caused by the following reasons:
- Damaged file system: The file system on this drive is damaged or corrupted due to unexpected power loss, system crashes, and Virus/Malware infection.
- Bad sector: Bad sector means the tiny storage space on your disk is defective or permanently damaged. As a result, it won't hold new data or respond to read requests from the operating system.
- Unsafe ejection: You may have ejected the drive without clicking on the 'Safely remove hardware' option, which will damage your drive.
No matter what reason cause your Windows PC showing 'Windows was unable to repair the drive', you should give your drive a repair to make it function normally.
If you think this article is helpful, share it with more people.
Recover data immediately when Windows can't repair the drive
To fix 'Windows was unable to repair the drive', it's recommended to back up or recover your files on this drive first because any human error during the repair process may result in data loss. If you can access your drive, you can back up it with Windows Backup and Restore. If you can't access the drive, recover files from it with a data recovery program.
iBoysoft Data Recovery is one of the best data recovery software that provides the highest recovery rate as compared to other file recovery tools in the market. It can recover files from a corrupted Windows or from a damaged SSD, HDD, USB flash drive, or SD card successfully. Besides, it can recover deleted photos, videos, audio, Office documents, and much more on Windows 11/10/8/7/Vista/XP and Windows servers.
How to recover files when Windows can't repair the drive? Simply do the following:
Step 1: Free download, install and Launch iBoysoft Data Recovery.
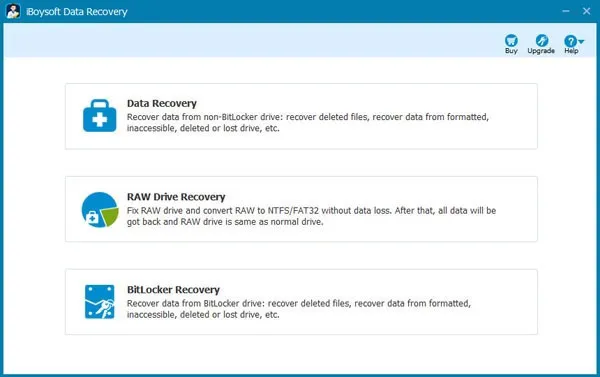
Step 2: Select the Data Recovery module from three recovery modules. If your external hard drive is BitLocker-encrypted, then you should choose BitLocker Recovery to recover data from the drive.
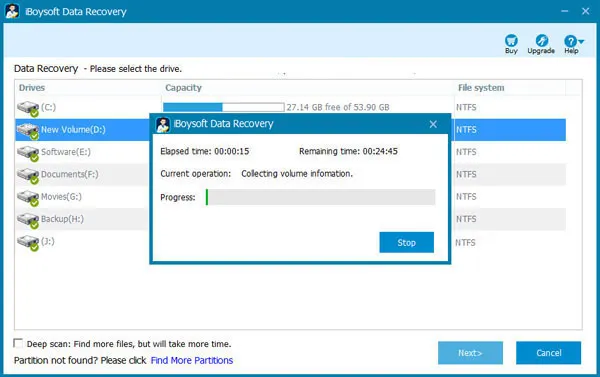
Step 3: Select the drive that Windows is unable to fix and click Next to start scanning. You can use Deep scan for all lost file recovery. If you just want to find and recover some deleted files on this drive, you can use Quick scan mode.
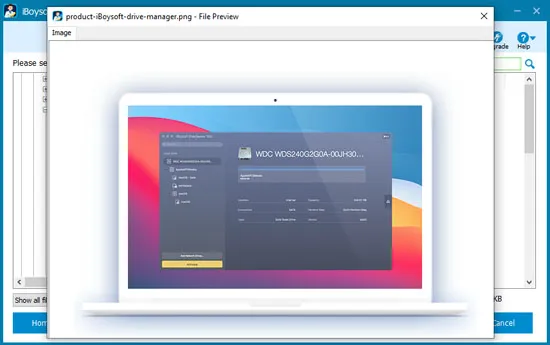
Step 4: Filter the scanning results and preview recoverable files. The preview function helps you find the correct files you want to recover when they have multiple similar versions.
Step 5: Select the checkbox in front of the files you want to retrieve and click the Recover button. You will be asked to select a location to save the recovered files. Do not save the recoverable files to the corrupted or damaged drive as any changes on the original drive might cause more corrupt files and even permanent data loss.
Before you quit the iBoysoft file recovery software and start to fix the drive, make sure you have recovered all your important files.
Please share this informative post on your social media, thanks!
Fix Windows was unable to repair the drive
Now that your files are safe, you can go ahead to do the following to fix 'Windows was unable to repair the drive'.
Fix 1: Boot into Windows Safe mode
To fix Windows was unable to repair the drive, the first thing you can do is boot it into Safe Mode. This method is used to figure out if the "Windows was unable to repair the drive" issue is caused by conflicts of installed programs, drivers, services, etc. You can follow the following steps to boot into Safe Mode:
- Press the Windows logo key and R key together.
- When a dialog box appears, type msconfig in the search box and click the OK button. This will open System Configuration.
- Click the "Boot" tab and select the "Safe boot" option. Then click "Apply" and "OK".
- Click the "Restart" button to restart the computer. Before clicking the button, please save any open and unsaved files.
Fix 2: Run CHKDSK in the command prompt
CHKDSK, a cmd command, is used to check the logical and physical errors of the file system and file system metadata of a volume on Windows. Here you can use this utility to check and repair your disk.
- Click on the start button and type in cmd.
- Right-click on Command Prompt and choose Run as administrator from the right-click menu.
- Now type the following command and hit Enter. Here X means your drive letter, make sure that you enter the right drive letter:chkdsk x: /f /r
- Then the check disk process starts to run, this command will locate the bad sectors on the target disk, analyze physical disk errors, and recover readable information. If any problems are found, the system will fix them automatically.
Fix 3: Run the System File Checker tool
System File Checker, a useful utility in Windows, can scan for corruptions in the hard drives and restore corrupted files. Here's how to use the System File Checker tool to scan corrupted files and perform a repair.
- Press the "Windows" key and type cmd.
- Right-click "Command Prompt" and choose "Run as administrator".
- Type the following command into the Command Prompt window and press "Enter" to run a full system scan.sfc /scannow
- Wait a few minutes for the scan process to complete and then exit out of the Command Prompt.
- Restart the PC and preview whether the issue is fixed or not.
Fix 4: Troubleshoot Hardware and Devices
In all Windows systems, there is a Hardware and Devices troubleshooter, designed for fixing errors with storage devices. Here's how to use it:
- Click on the Windows Start button and scroll down to find the Windows System folder.
- Click to expand this folder and choose Control Panel within it.
- Choose to View by Small icons.
- Select Troubleshooting from the listed items.
- Locate Hardware and Sound from the right-side pane.
- Choose the Configure a device option under it.
- Click on the Advanced option in the pop-up window so as to Apply repairs automatically.
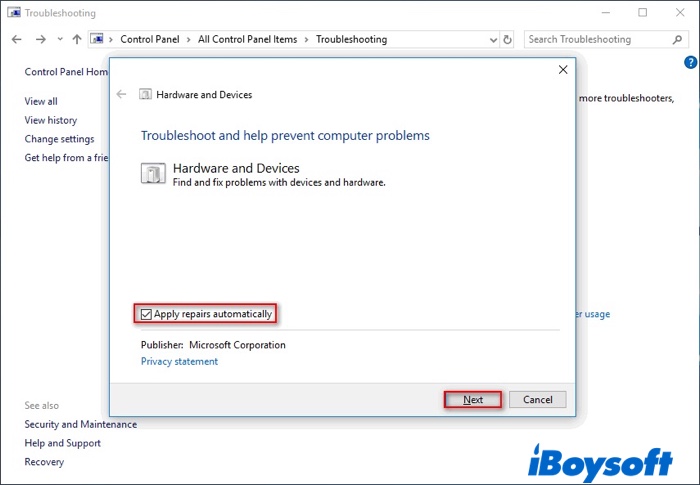
- Hit the Next button and then follow the instructions to finish the repair process.
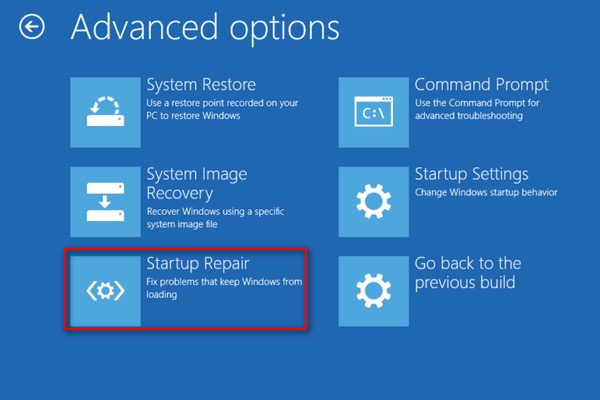
Fix 5: Run Startup repair
Startup Repair, a popular tool built-in in Windows, aims to scan and repair the errors that may interrupt the loading process of the computer system. Here's how to use it:
- Click on the Windows Start button.
- Scroll down to select the Settings option.
- Select Update & Security (Windows Update, recovery, backup).
- Choose Recovery from the left-hand pane.
- Find the Advanced startup section from the right pane.
- Click on the Restart now button.
- Select the Troubleshoot button from Choose an option window.
- Select the Advanced options from Troubleshoot window.
- Hit the Startup Repair button from the Advanced options window.
- Select the correct account and type the corresponding password.
- Click on the Continue button and wait for the scanning process to finish. If any problem is found, the tool will fix it.
We'd be appreciated it if you share this post with more people.
FAQs about Windows was unable to repair the drive
- QHow do you fix there was a problem repairing this drive?
-
A
To fix there's a problem with this drive. Scan the drive now and fix it, you need to boot the computer into Windows Safe Mode. Then you can run chkdsk command, Run sfc /scannow, or run Startup Repair to fix Windows repair disk error.
- QHow do I bypass a repair drive?
-
A
When Windows deems that there is something wrong with the hard drive, a message to scan and repair your drive is like to appear. You can try to fix the issue in Safe Mode using tools like System File Checker and Deployment Image Servicing and Management.
- QDoes repairing a drive erase it?
-
A
The Scan and Fix option is not supposed to delete files, but it can happen depending on the type of damage your removable drive has sustained. Therefore, you should back up your files before using the scan and fix option. If you've already lost files, you can try recovering them using data recovery software.