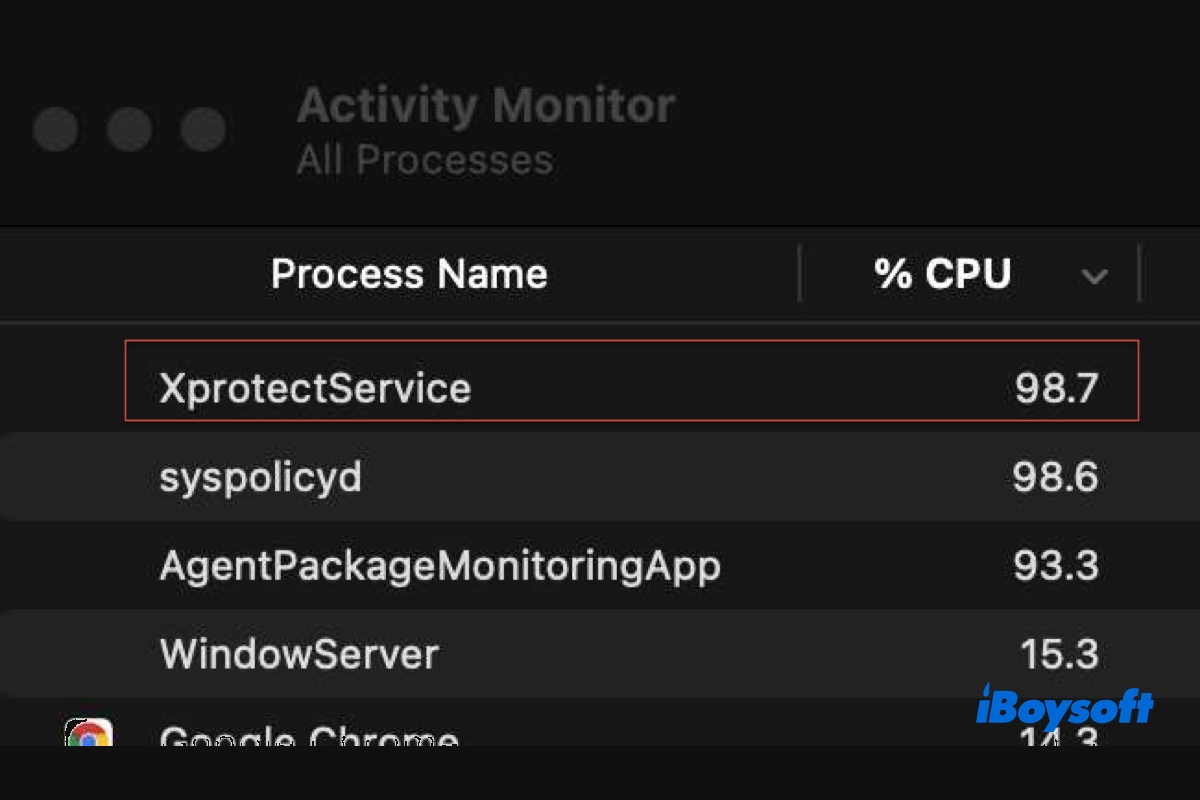
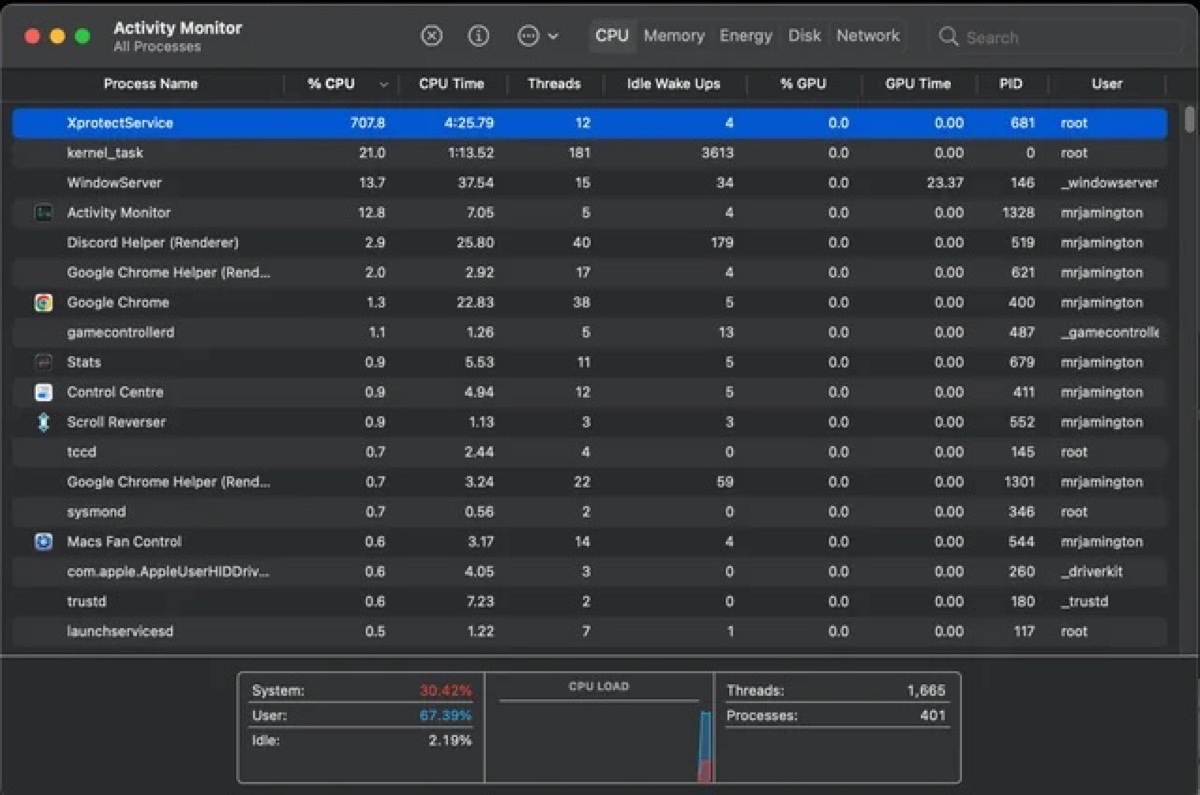
If you find a process called XprotectService using a significant amount of CPU in Activity Monitor, you're not alone. Many Mac users had similar experience. Some even encountered a 707% CPU usage from XprotectService, as you can see from the picture below.
So what is XprotectService on Mac and how can you prevent it from consuming so much CPU on your Mac? Let's discover the answers in the following paragraphs.
What is XprotectService on Mac?
XprotectService is part of XProtect, Apple's built-in anti-malware technology. It runs in the background and prevents malicious programs from opening on your Mac.
When an app is launched for the first time, is being changed, or has updated signatures, XprotectService will work actively to verify if the file's content matches any recognized virus definition.
If it does, it will inform you that the file will damage your computer and ask you to move it to the Trash.
If no virus is detected, it will notify you when and where the program is downloaded and confirm if you want to open the file.
It's also prepared to tackle new threats, as it's powered by YARA signatures, which are constantly updated to keep pace with malware evolution.
How to fix XprotectService high CPU usage on Mac?
XprotectService may consume high CPU usage when it's scanning for viruses, updating its malware definitions, or conducting system checks. If you just upgraded macOS, I suggest you wait patiently for a while, as XProtect is likely refreshing its malware signature database.
But this usually won't hold your CPU's resources for a long time. If XprotectService keeps draining the CPU, it's probably stuck somewhere. Try the following solutions to fix it:
Fix 1: Reboot your Mac
When XprotectSerice is CPU-intensive, you can shut down your Mac and restart it. This closes all processes on your Mac and starts them afresh. If XprotectService is having trouble verifying certain file, a reboot will allow it to start the scanning again.
Fix 2: Boot into Safe Mode
If it continues to use a high level of CPU utilization, boot into macOS Safe Mode and then restart normally. Safe Mode is a diagnostic mode that loads only the files and applications essential to run the operating system. It prevents third-party startup items from loading, clears caches, and runs a quick check for the startup disk.
Fix 3: Uninstall the offending app
Another way to stop XprotectService's high CPU usage on Mac is to find the file that's causing the CPU spike and remove it. Take the following steps:
- Open Terminal from the Applications > Utilities folder.
- Monitor the CPU spike closely in Activity Monitor.
- Once XprotectService exhibits an intensive CPU load, run the following command in Terminal:sudo lsof -c XprotectService
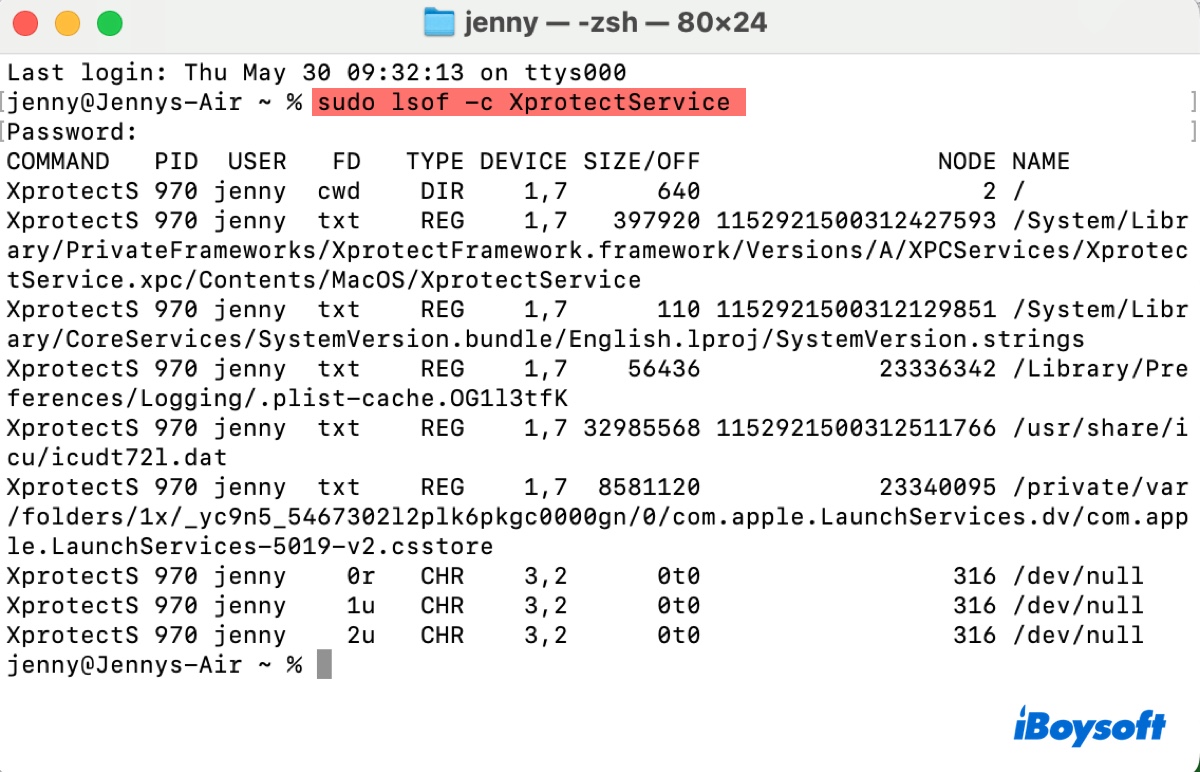
- Enter your administrator login password and hit Enter.
Terminal will return the apps XprotectService was working on during the CPU spike. If the application isn't essential, uninstall it completely with iBoysoft MagicMenu to prevent it from ever causing troubles.
Step 1: Download and install iBoysoft MagicMenu.
Step 2: Open it, select Extensions, and add the extension "Uninstall App."
Step 3: Right-click the app in Finder and click Uninstall.

Step 4: Click Uninstall to fully remove the app and its files.

Help others fix "XprotectService Mac High CPU usage" by sharing the solutions!
How to disable XprotectService on Mac?
If XprotectService is slowing your Mac down to process files you know are secure, you can disable it. Here's how:
- Open the Apple menu > System Settings/Preferences.
- Select Software Update.
- Click the button next to "Automatic Updates" or the Advanced button on macOS Monterey or earlier.
- Uncheck the box beside "Install Security Responses and system files," or "Install system data files and security updates."
- Click Done or OK.
If this doesn't work, you can disable SIP in macOS Recovery to turn off XprotectService. Once the specific issue is resolved, you can re-enable SIP to protect your system from malware and viruses.
Share this post if you find it helpful!