Encountering the "The document could not be autosaved. The file has..." error on Mac can be frustrating, especially when you are in the middle of important work.
This error typically indicates that the system is having trouble saving your file automatically, which can lead to data loss if not addressed promptly.
I get this message whenever I work on a document in Pages, but I got The … could not be autosaved. The file has been changed by another application. How do I stop it happening? No one else is accessing the document, just me. -Apple. community
Fortunately, there are several effective solutions you can try to fix this problem and prevent it from happening again, keeping your documents safe.
Methods to remove The document could not be autosaved
There are step-by-step methods for you to fix; try them one by one.
# 1 Ensure Full Disk Access
Sometimes, the app you are using might not have the necessary permissions to save files automatically. To get Full Disk Access:
- Apple menu > System Settings > Privacy & Security.
- Click Full Disk Access and add the + button to get the applications (such as Pages, Word, or Numbers).
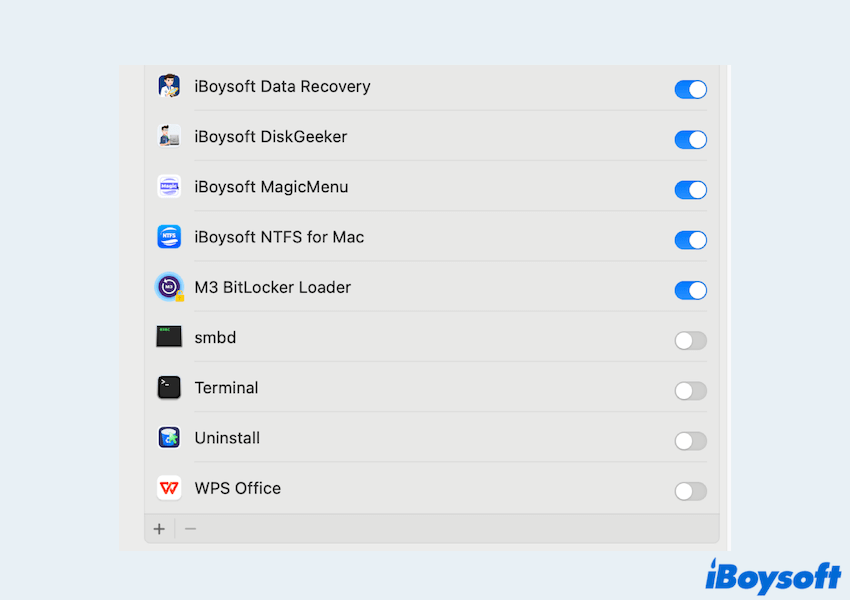
- Restart the app and try saving your document again.
# 2 Verify file permissions
Incorrect file or folder permissions can prevent autosave from working properly.
- Right-click the file or folder.
- Select Get Info.
- Under Sharing & Permissions, ensure your user account has Read & Write access.
- If necessary, click the lock icon to make changes.
# 3 Disable the Autosave option and save files manually
If the Pages document could not be autosaved, temporarily disabling the Autosave function can help you regain control over your files.
- Open the application's preferences/settings and look for Autosave options.
- Disable autosave if available.
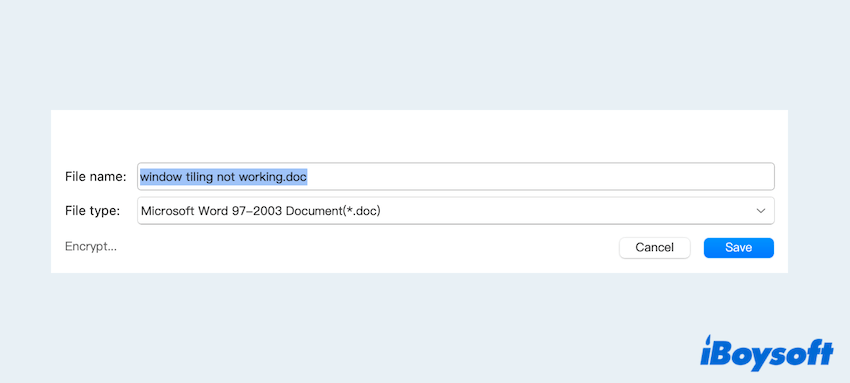
- Save your file manually using File > Save As to a trusted location like your Desktop or Documents folder.
# 4 Check macOS available space
Low disk space is a common but overlooked cause of saving issues.
- Apple menu > About This Mac > More Info.
- Scroll down and find Storage.
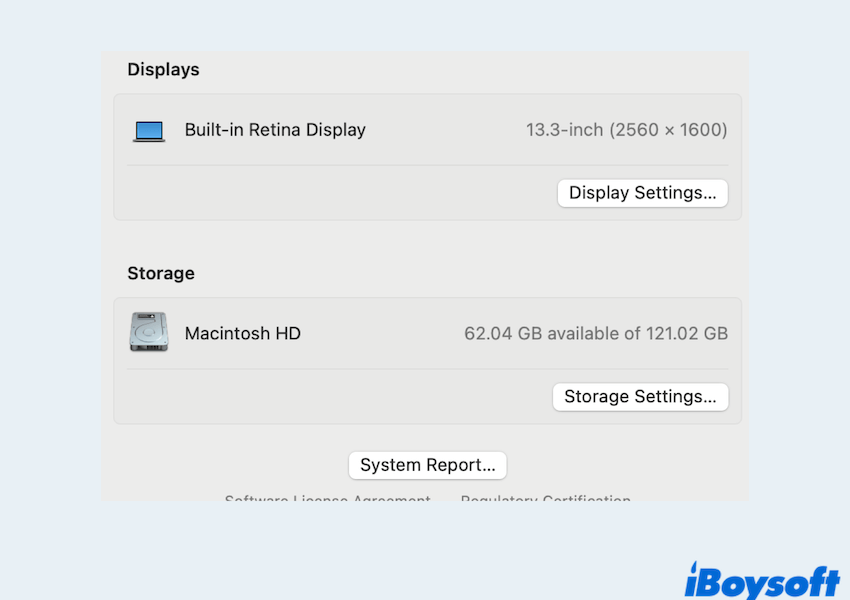
- If space is critically low, free up storage by deleting unneeded files, emptying the Trash, or moving data to an external drive or iCloud.
Read How to Free Up Mac Disk Space to clean up more space completely. Please share our post.
# 5 Duplicate, reopen, or export the file
If you're still encountering the autosave error on a specific document, like the document could not be autosaved you don't have permission, you can:
- Duplicate the file: File > Duplicate and try saving the new copy. Then close and reopen.
- Export the file as a different file type (like PDF or Word) to preserve your work.
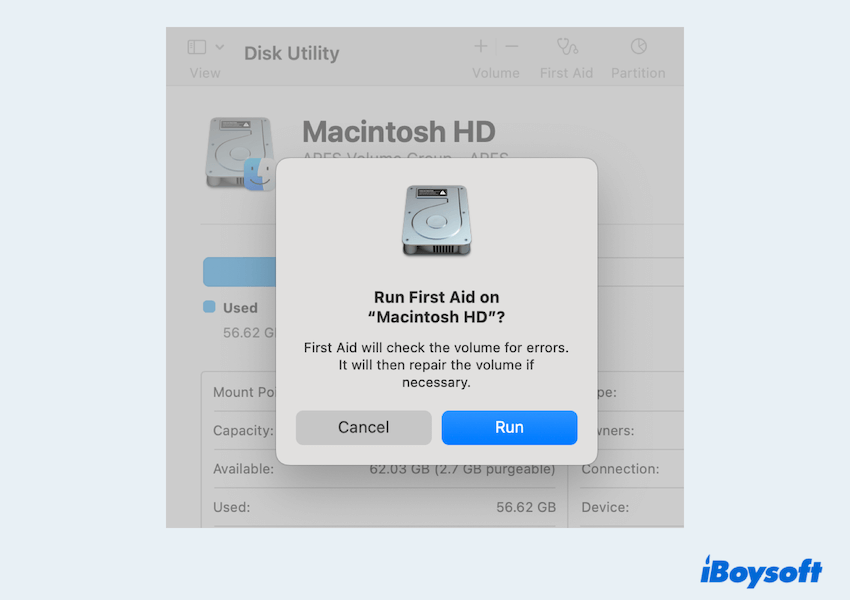
# 6 Use Disk Utility
Corrupted disk sectors can interfere with autosaving functions. Let's repair the disk errors with Disk Utility.
- Finder > Applications > Utilities > Disk Utility.
- Select your startup disk (usually named Macintosh HD).
- Click First Aid > Run and wait.
# 7 Reinstall the app
If none of the above methods resolve the issue, the problem might be with the app itself.
- Delete the problematic app completely on Mac.
- Re-download it from the App Store or the official website.
- Install it fresh and reopen your document.
Is the file still not opening or saving? You'd better recover it as soon as possible with some professional tools like iBoysoft Data Recovery for Mac, which can recover your unsaved, deleted, or lost files with a high success rate.
By following these steps, you should be able to fix the "The Document Could Not Be Autosaved" error on your Mac and avoid future disruptions. Regularly updating your system, maintaining enough storage, and checking permissions can significantly reduce the risk of encountering this issue again.
Share these ways if you feel they really help you.