The easiest way to convert the external hard drive to APFS without losing data on your Mac is to back up it first, then convert or format the external HDD in Disk Utility. Make sure you've already had a copy of your external hard drive before changing its file system to APFS, otherwise, you may encounter permanent data loss.
Follow these steps to convert your external HDD to the APFS format using Disk Utility:
- Make sure your external HDD is properly connected to your Mac computer.
- Launch Disk Utility on your device, you can find it by navigating to Launchpad > Other.
- Find the external hard drive you want to convert to APFS from the left column.
- Select that external HDD, right-click on it, then choose Convert to APFS from the drop-down menu. Wait for the conversion process to complete.
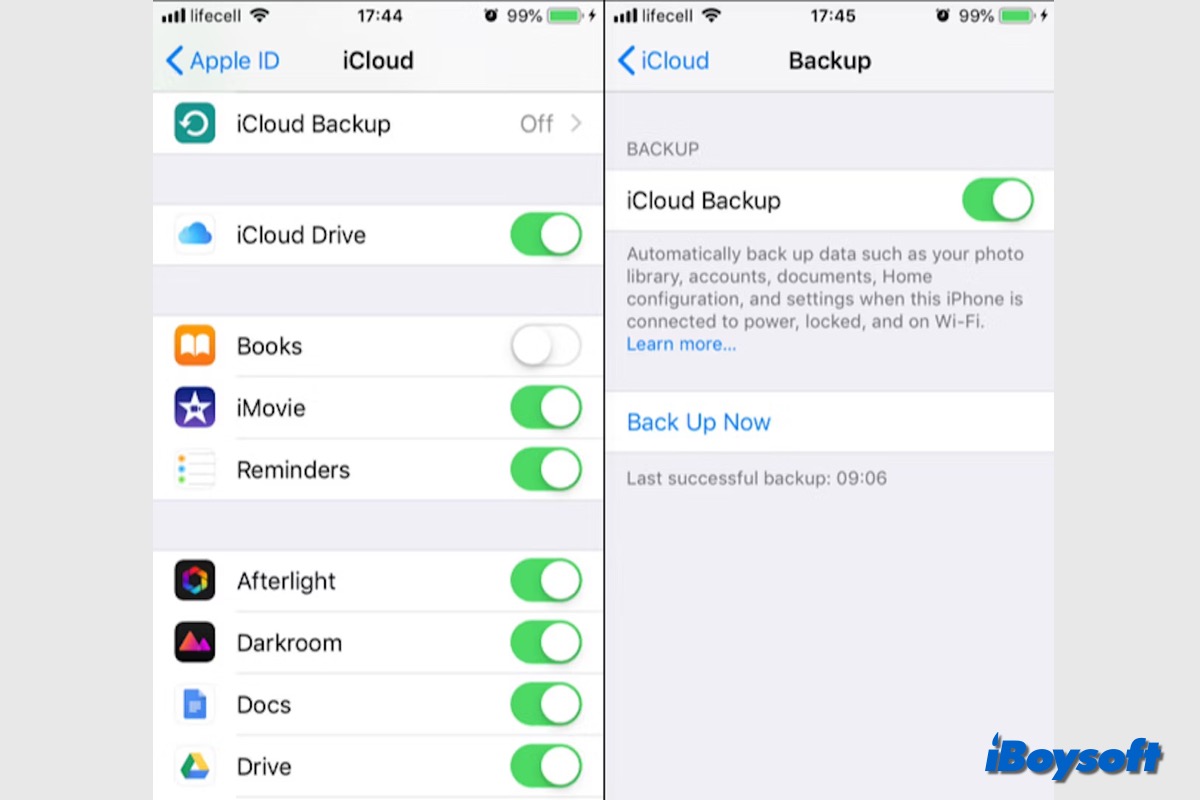
Also, there's one more option left for you to convert your external HDD to the APFS file system, formatting. Formatting will completely erase all data stored on that drive, so you'd better back up your data to iCloud storage space, or other disks first.
When the backup is done, you can follow these steps to format your external HDD to APFS:
- Connect your external HDD to your Mac computer, then open Disk Utility.
- Click View in the Apple menu, and choose Show All Devices (in case your external HDD is preset as not shown in Disk Utility).
- Select your external HDD in the left column, and click Erase at the top toolbar.
- Name the HDD, choose GUID Partition Map as the Scheme, and format it to APFS.
When the format is done, you can move all your data that you just backed up to another location back to your APFS-formatted external hard drive now!


