Sometimes, when you upload an image as an E-mail attachment, it may pop up an error message showing that the picture or photo is too large and can't be uploaded. In this situation, you need to reduce the picture size to meet the E-mail uploading requirements.
In addition to this, when lots of large pictures are stored on your Mac, your Mac will soon run out of storage, which may result in your Mac running slow. You can reduce the picture's size to free up space.
If you don't know how to reduce image file size on Mac, then you've come to the right place. This post will walk you through how to compress photos on a Mac to make its size smaller, just keep reading.
What is photo compression
Before you learn how to compress all of your photos on Mac, you may want to know what compression is and what happens when a photo or image is compressed.
Photo or image compression is the application of data compression technology to digital images, which purpose is to compress photos into a smaller size so that data can be stored and transmitted in a more efficient format. In addition, image compression is able to bring you the below benefits:
- Save more storage space
- Cost less image uploading/downloading time
- Post images on social media faster
- Have more choices for an image printing
Please share this informative post on your social media, thanks!
How to compress photos on Mac without losing quality
To compress a photo on Mac without losing quality, the best way is to find a professional and neat photo compressor. There are many of the best image compressors for Mac in the market, here we will use iBoysoft MagicMenu.
iBoysoft MagicMenu is capable of compressing photos on Mac in a simple way as well as compressing videos on Mac. It supports compressing various image formats, including jpeg, PNG, tiff, gif, etc. Besides, it can help you find duplicate photos on your Mac or MacBook so that you can free up Mac storage space by deleting duplicate images.
To compress a photo on Mac with iBoysoft MagicMenu, simply do the following:
- Free download, install and launch iBoysoft MagicMenu.
- Go to Mac Finder, and open the file folder which contains the photos or pictures you want to compress.
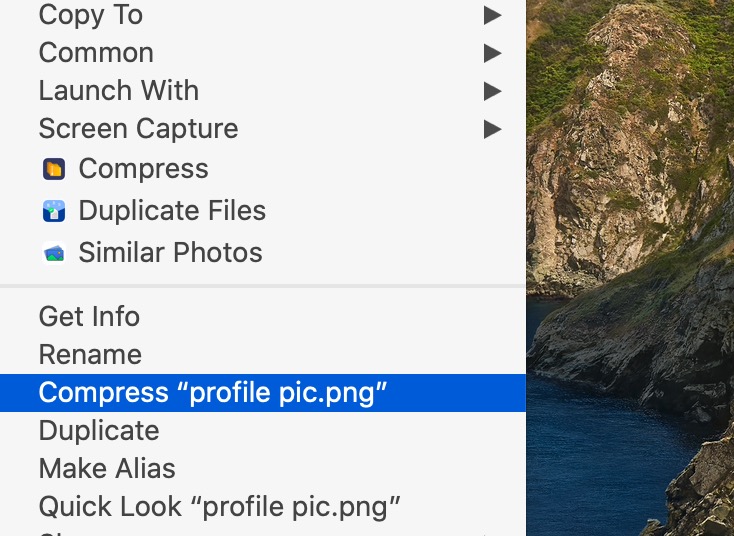
- Right-click on the picture and choose Compress "XXX" from the context menu. Here XXX is the name of your photo.
- Wait a moment, a new zip file should appear in the same folder, this is the compression file of your image. This zip file should be smaller than the original. Now, you can delete the original image to free up more space on Mac storage.
In addition to compressing a picture on Mac, to free up space on a Mac computer, another thing you can do is deleting duplicate images. If you're like me, loving to take pictures of everything from pets to friends, then your Mac may store more duplicate photos than you know. To delete duplicate photos on Mac quickly and easily, you can also use iBoysoft MagicMenu to help you.
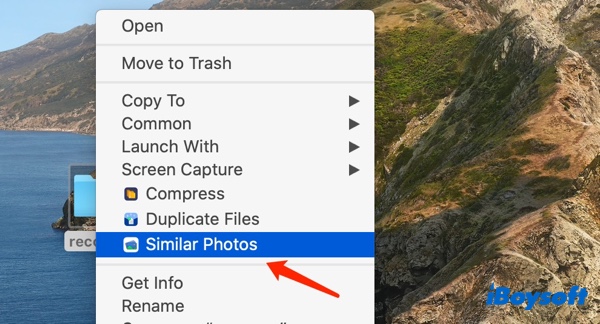
Launch iBoysoft MagicMenu first, then go to the file folder that has a huge possibility to keep duplicate photos. Right-click on this folder and click Similar Photos from the context menu. Then iBoysoft will begin the scanning process and when it finishes, you'll see the duplicate photos and other duplicate files if there are many. You can choose what duplicates to delete according to your needs.
If you think this post is useful, please share it with more people, thanks!
How to compress images with the macOS Preview app
Preview is a photo editor that is built into every Mac. Luckily, there's a feature in this application to allow you to compress your images. Just follow these steps to see how to reduce image file size on Mac using Preview:
- Click Launchpad and open the Preview app.
- Choose File > Open and select the photos you want to compress.
- Click Tools > Adjust Size.
- Adjust the Width and/or Height by pixel. You'll see an estimate of the new size in the Resulting Size section.
- Check the Resample Image option and click OK.
Note: If you want to compress multiple pictures at the same time. Before step 3, make sure you click on one of the thumbnails in the sidebar and then press Command + A on your keyboard to select all. Then, when you make your size adjustment, Preview will apply it to all of the images.
How to compress photos on Mac without applications
Of course, if you don't want to use apps to compress photos on Mac or the above 2 apps are not getting your images small enough, there are some online image compressors you can try. Below are the top 3 photo compressors in the market, you can try them if you can't compress files or folders on your Mac with the built-in tool and find out which suits your needs best.
1. TinyPNG
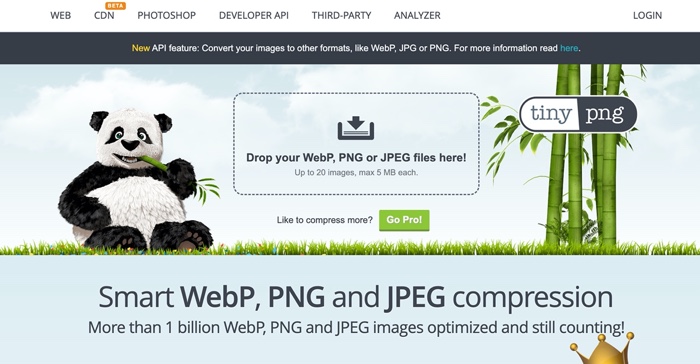
TinyPNG is a famous online one-click photo size reducer that uses powerful lossy compression techniques to reduce the size of the images. You can compress up to 20 JPGs or PNGs at once in TinyPNG, as long as they're all under 5 MB and there's no daily limit. If you want to compress as many files as you'd like simultaneously, you can pay to upgrade to their Pro plan, and the file size limit goes up to 75 MB for the Pro plan.
Here's how to compress images without losing any image quality in TinyPNG:
- Open the TinyPNG website.
- Drag the image that you want to reduce the image size in the TinyPNG compressor.
- Wait for the images to finish compression.
- Repeat the operations to compress other photos if needed and download all the compressed images.
2. Fotor image resizer
Fotor's online photo resizer is able to change the image dimensions and sizes of photos without quality loss. What's more, Fotor's online image resizer is totally free, so you can resize as many images as you need.
To resize and compress images with Fotor's online image compressor, do the following:
- Open Fotor online editor and click Resize Your Image Now. This will open a new window.
- Choose to drag or upload the images that you want to condense.
- Type the proportions you want in the "Width" and "Height" fields or enter a percentage to determine the size of the photo.
- Click Apply and then choose Download at the right corner of the window.
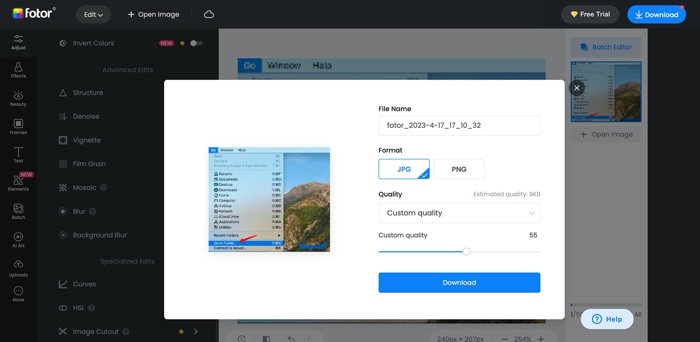
- Input the file name, choose a file format as needed, and click Download again to save the compressed image on your MacBook.
3. Optimizilla
Just like the above two tools, Optimizilla is also an online image size reducer. Optimizilla has no image file size limit or daily compression limits. But, you still can only compress 20 photos at one time.
To compress your photos on Mac using Optimizilla:
- Go to the Optimizilla website in your browser.
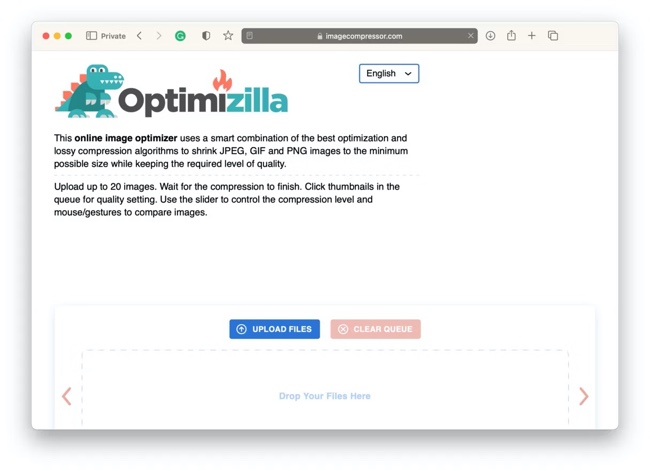
- Drag or upload the image you want to reduce its size to Optimizilla.
- Adjust it according to your needs and you'll be able to preview the compressed image file. If you're happy with it, click Download.
Final thoughts
Hopefully, this article has clarified the process of how to reduce an image file size on a Mac. Just as the aforementioned above, the best way to compress a photo on Mac is to use iBoysoft MagicMenu to help you. This powerful app is also capable of finding and deleting duplicate photos on your Mac to free up more space for you. If you're interested in this app, free download it and try it now.
We'd be appreciated it if you share this post with more people.
FAQs about how to compress photos on Mac
- QHow do I reduce the MB size of a photo?
-
A
To make a photo MB size smaller, you can compress it with macOS Preview. In macOS Preview, click Tools, and select Adjust Size. Then adjust the Width and Height by pixel. You'll see an estimate of the new size in the Resulting Size section. Check the Resample Image option and click OK to reduce the photo size.
- QHow do I reduce the size of a picture without losing quality?
-
A
To reduce the size of a picture without losing quality, use iBoysoft MagicMenu to help you. First, free download, install and launch iBoysoft MagicMenu. Then go to Mac Finder, and locate the photo or picture you want to compress. Right-click on the picture and choose Compress "XXX" from the context menu. Here XXX is the name of your photo. When the compression is finished, the picture size should be reduced.
- QIs it safe to compress images on Mac?
-
A
There is no need to be worried about the safety of compressing images with third-party software or macOS built-in app. Your original files will stay untouched on your system, so if you are unhappy with your compressed files, you can simply try again.