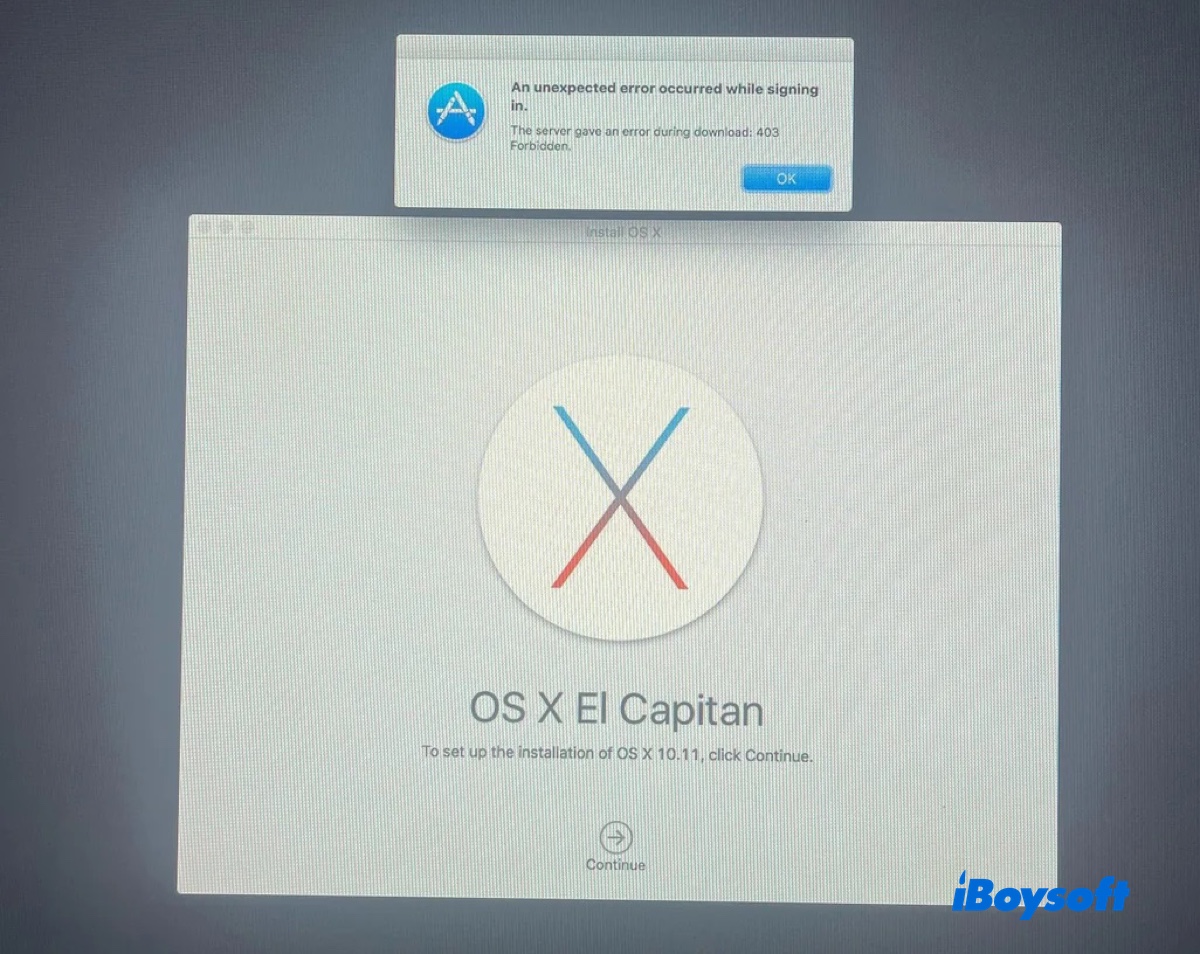
When installing an old OS X version, such as El Capitan or Yosemite, you may encounter an error message saying that "An unexpected error occurred while signing in. The server gave an error during download: 403 Forbidden." In this guide, we'll explain what that message means and how to fix the 403 forbidden error on Mac.
What is 'The server gave an error during download: 403 Forbidden?'
"The server gave an error during download: 403 Forbidden" indicates a blockage on the Apple server. That said, the requested OS X installer is blocked by server policy, possibly due to incorrect date and time, network issues, or a lack of proper credentials to access the installer.
This message usually occurs when you're trying to download and install an old Mac OS version on an old Mac.
Share the information about error 403 forbidden!
How to fix 403 forbidden error on Mac?
Here are the solutions to fix "The server gave an error during download: 403 Forbidden" when downloading or installing El Capitan, Yosemite, or another macOS version.
Fix 1: Change date and time in Terminal
If the data and time provided by the server is not the same as your Mac's or the root certificate for the installer is expired, you may receive the 403 forbidden error. To fix it, you should correct the date and time or push the date of your Mac back to somewhere when the OS X version is still supported.
- Turn off your Mac.
- Press the power button, then immediately press and hold Command + R.
- Release the keys after seeing the Apple logo.
- Open Utilities > Terminal from the menu bar.
- Type date followed by MMDDHHMMYYYY (Month, Date, Hour, Minute, Year) and hit Enter. Example: Enter 031918152015 for March 19, 6:15 p.m. 2015.
- Try installing OS X again.
Fix 2: Use Option-Command-R
Instead of using Local Recovery, you can boot with Option-Command-R to enter the Internet Recovery mode. This allows you to reinstall the latest macOS version available to your Mac.
Fix 3: Start from a NetBoot server
If your Mac supports starting up from a NetBoot volume, you can start up from a NetBoot server to reinstall OS. Connect your Mac to an Ethernet connection, boot it up, then hold down the N key. After it boots up, select a desired macOS version from the server and finish the installation.
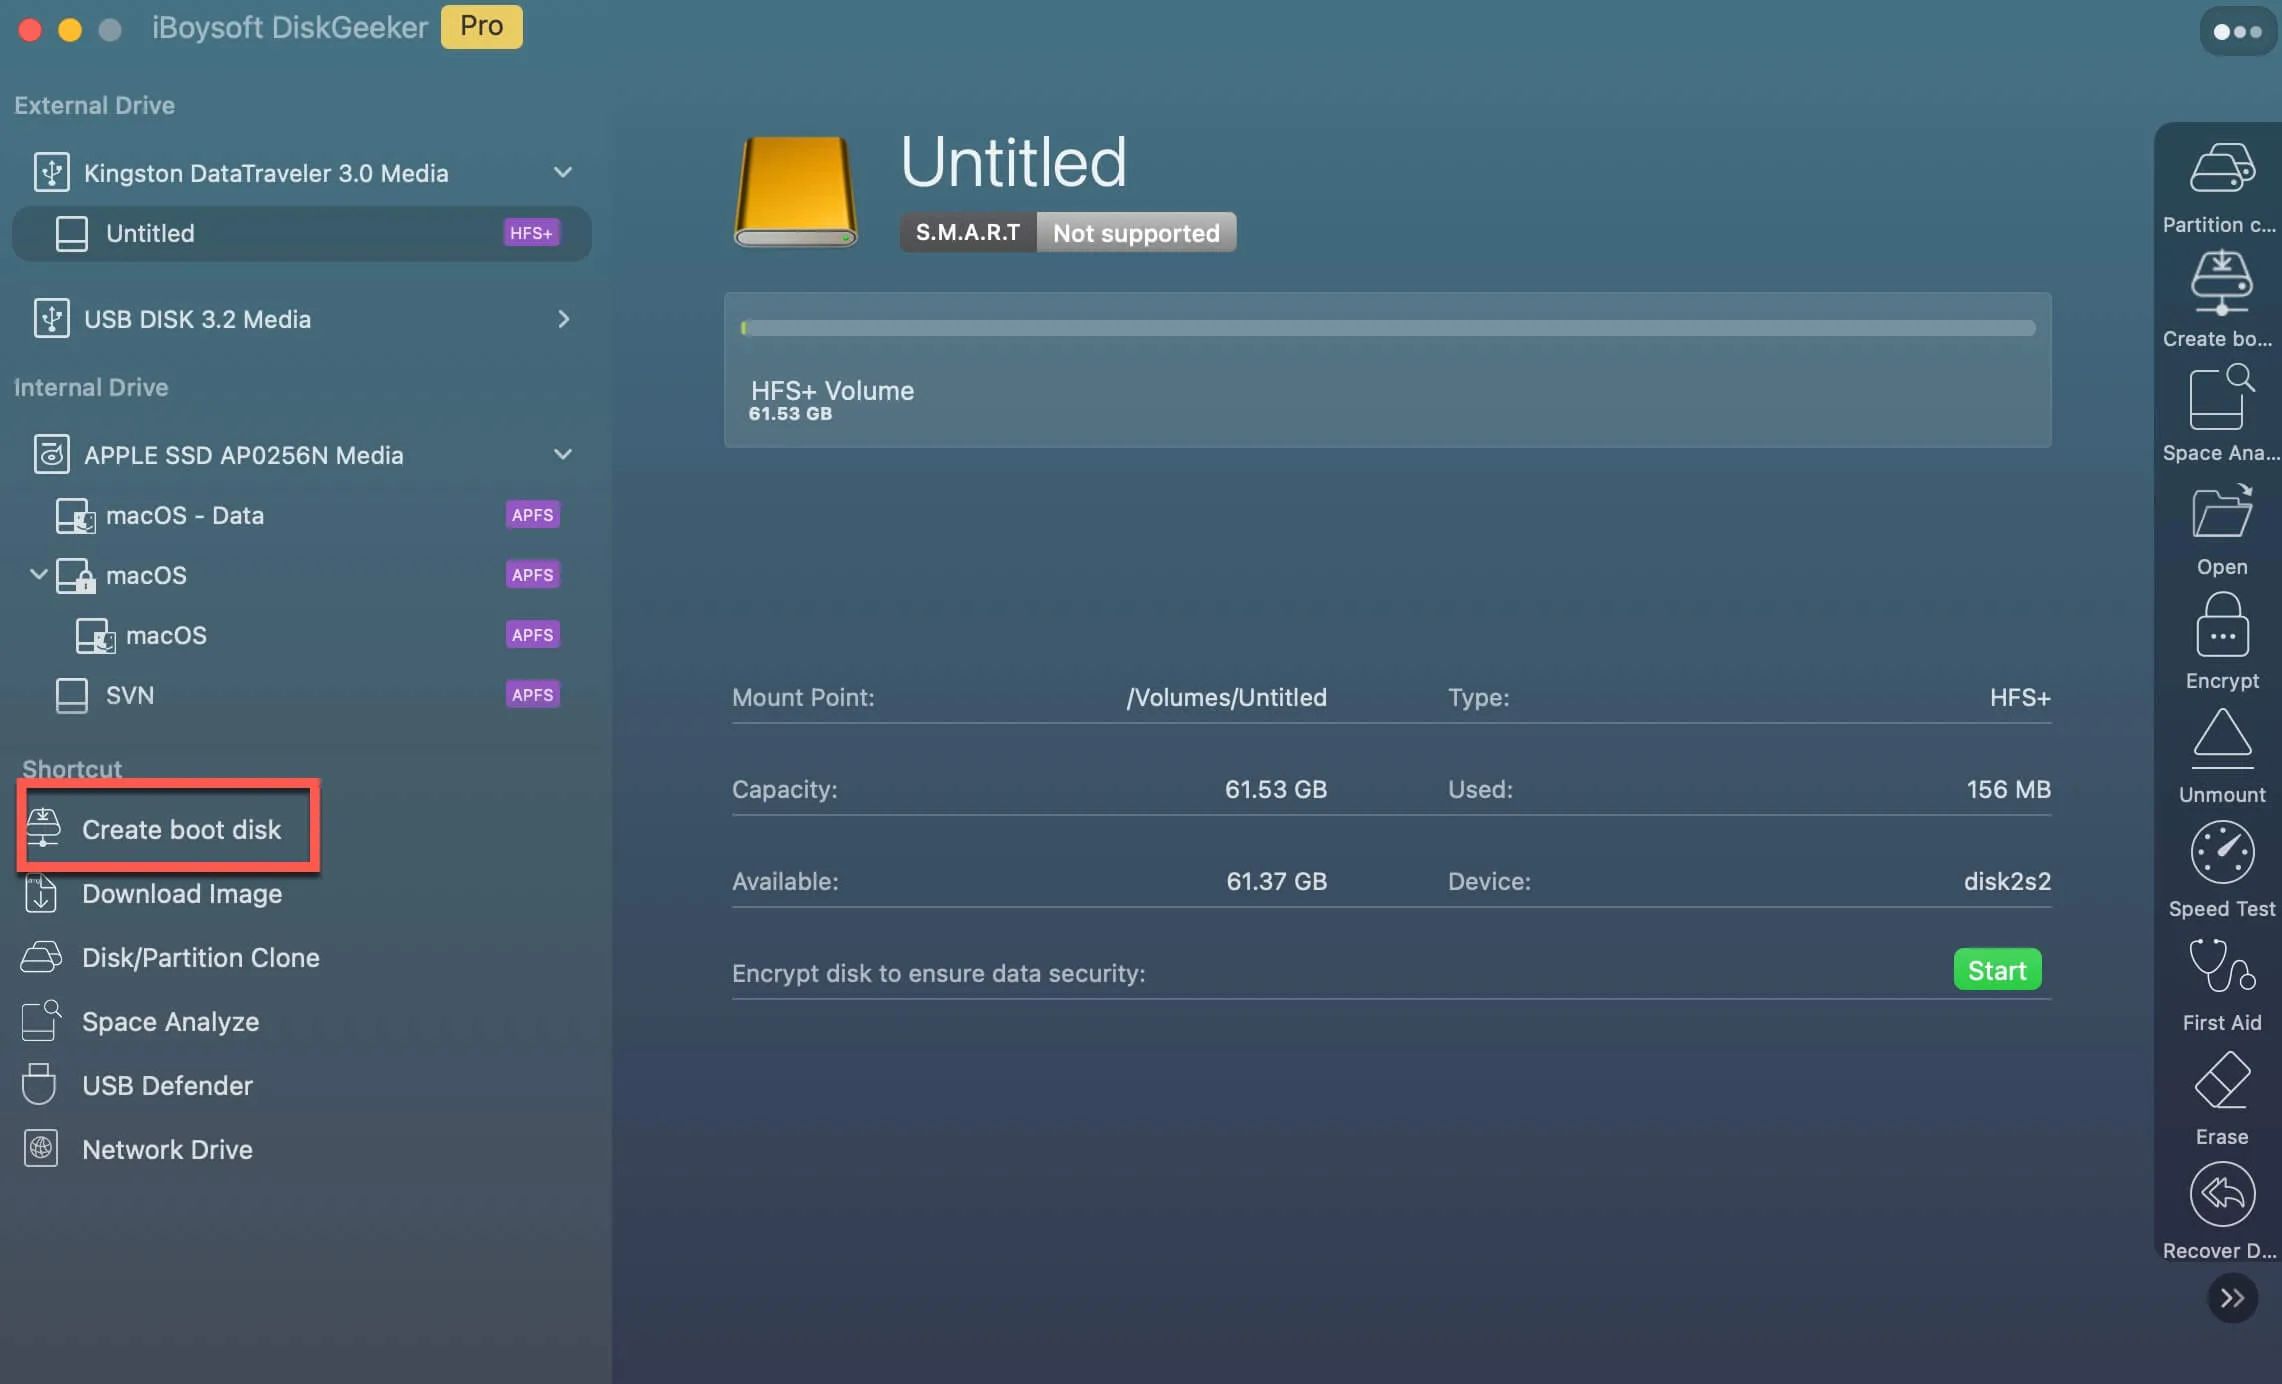
Fix 4: Create a bootable USB installer
If the 403 forbidden error still shows up, consider installing OS X from a bootable USB installer. To do this, you can manually create the bootable USB installer from a DMG file or use a disk creator like iBoysoft DiskGeeker for Mac.
Here's how to easily create a bootable USB installer for OS X with iBoysoft DiskGeeker:
Step 1: Free download, install, and open the software.
Step 2: Connect an external drive with larger storage than the macOS installer to your Mac and ensure it's backed up.
Step 3: Choose Create boot disk from the left side.
Step 4: Select your external drive and click Select.
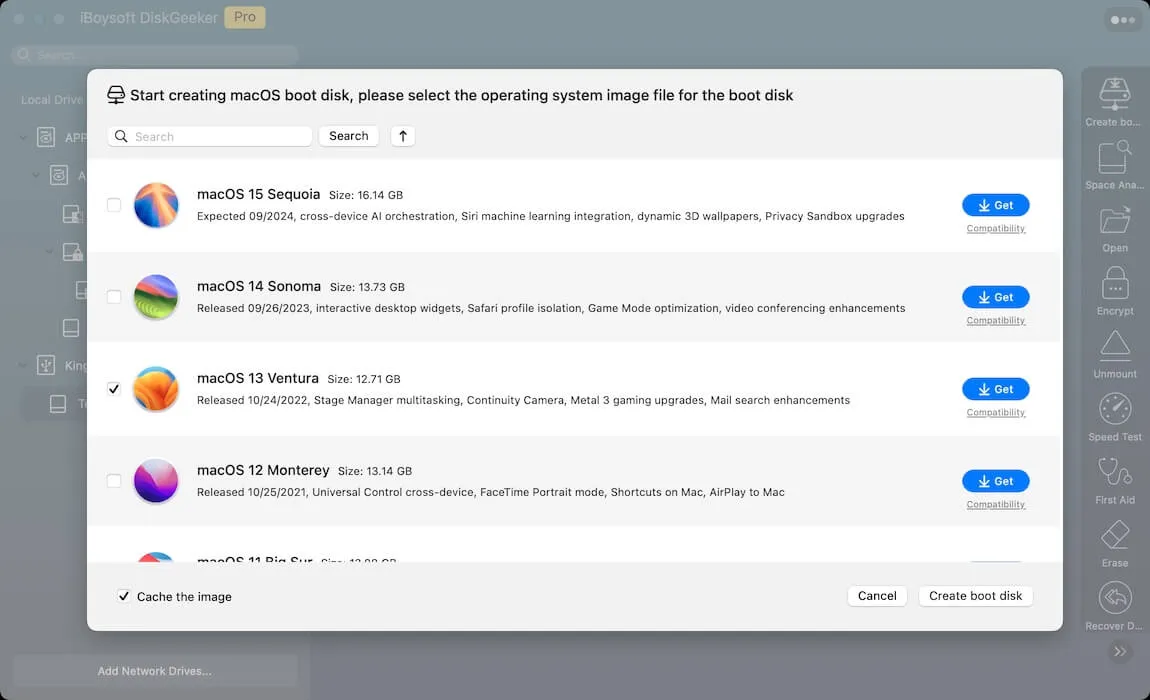
Step 5: Choose the macOS version you need and click Create boot disk.
Step 6: Wait for the installer to be downloaded, and then the software will automatically create the bootable drive.
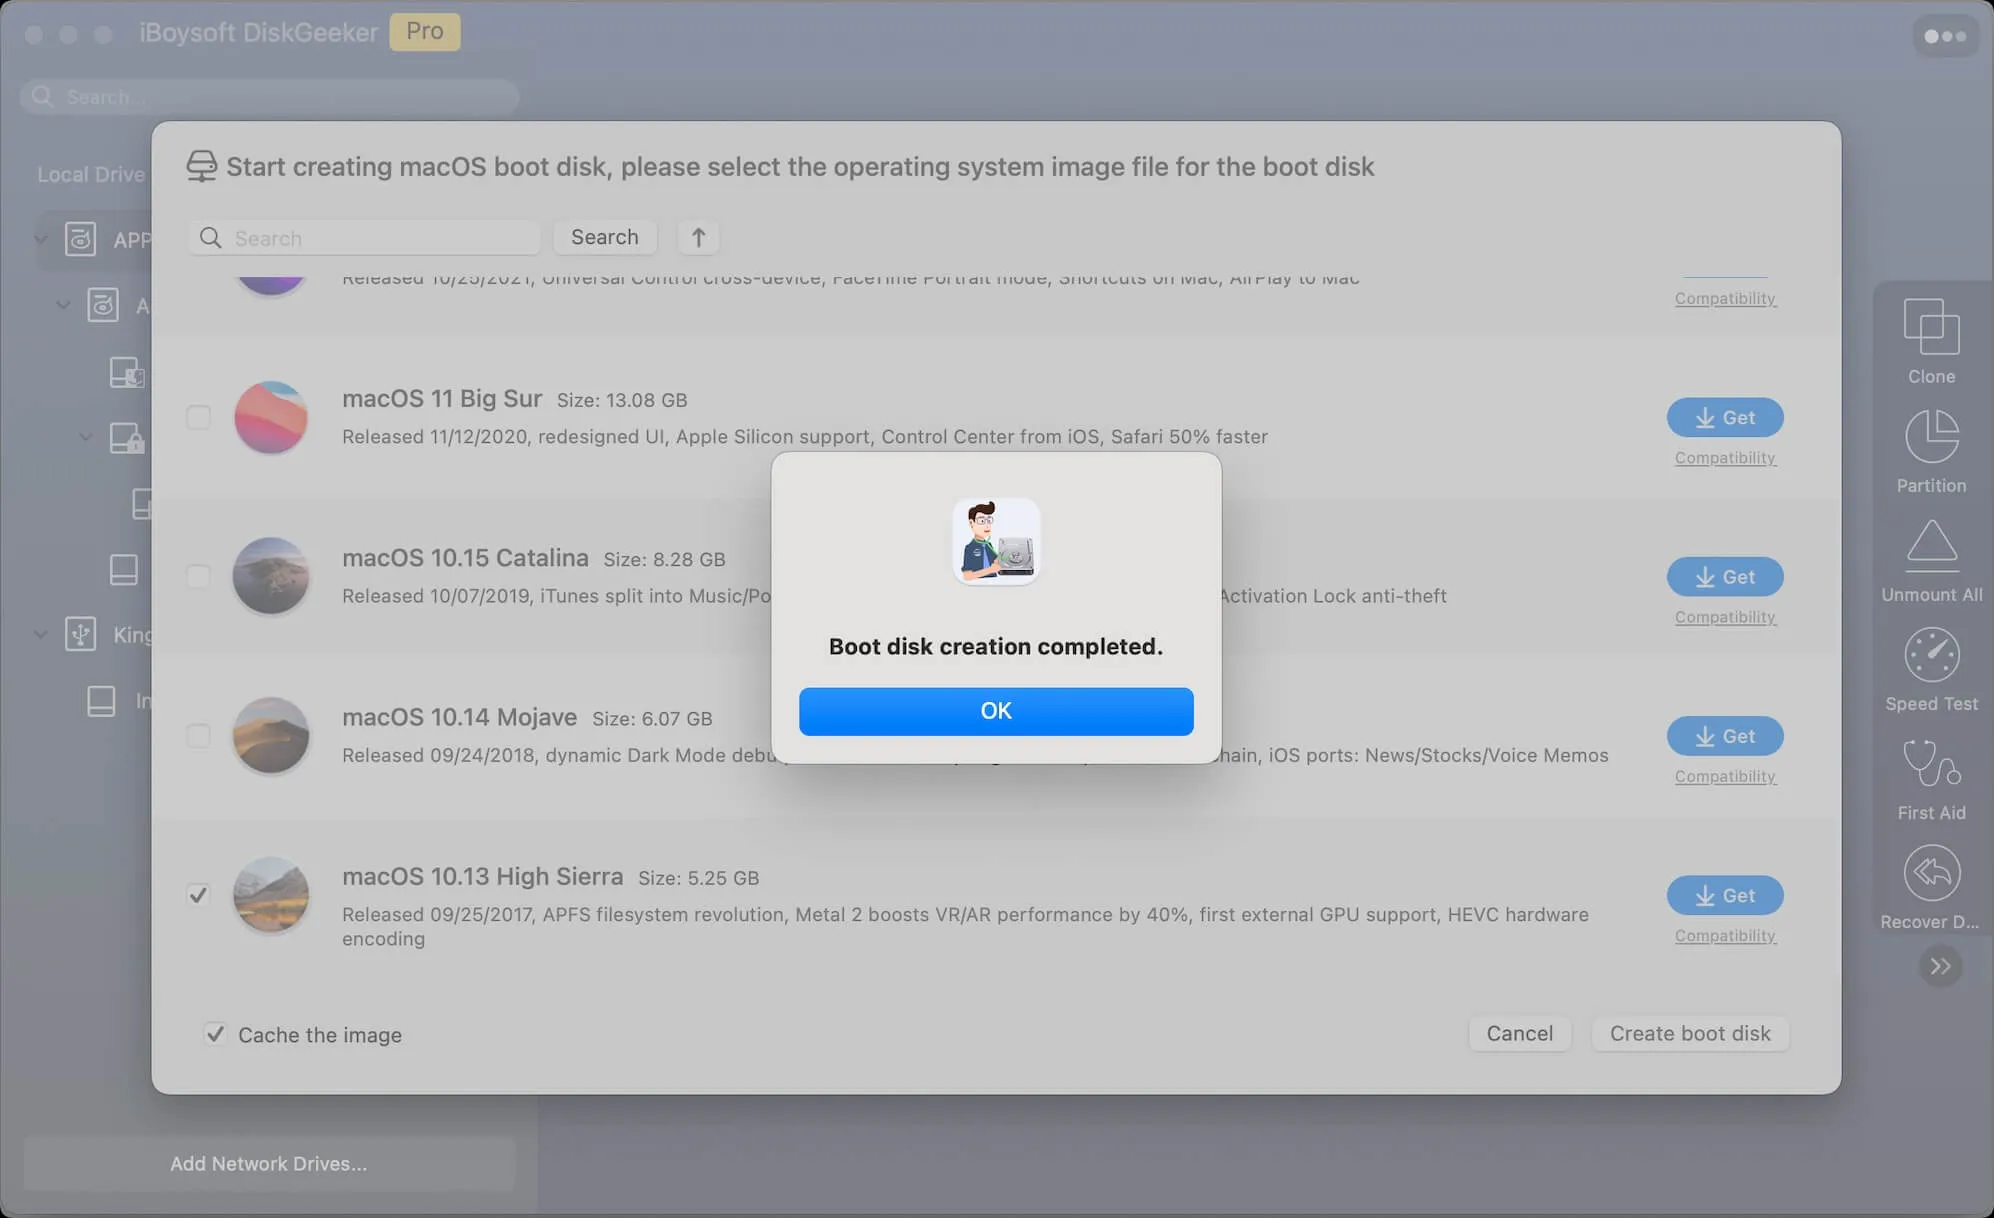
Once you have the bootable USB installer, you can boot your Mac from the external drive to install the system.
Share this guide to help others fix the 403 Forbidden error when installing macOS!