Things you should understand before using any third-party option.
Before You Start: Do You Actually Need a Big Sur DMG?
If you're searching for a macOS Big Sur DMG, chances are you've already hit a wall with Apple's official options.
Before going further, it's worth pausing for a moment.
A DMG file isn't something everyone needs. You might need a Big Sur DMG if:
- You're setting up a virtual machine.
- You need an installer you can reuse offline.
- You manage more than one Mac and want a local copy.
On the other hand, you probably don't need a DMG if:
- You just want to reinstall macOS on a single Mac.
- Apple's installer is still available on your device.
If the official installer works for you, that's usually the safest and simplest route.
Does Apple Still Offer macOS Big Sur as a DMG?
At this point, Apple no longer provides an official way to download macOS Big Sur as a DMG file. In practical terms:
- The App Store download is missing on many Macs.
- Apple Support no longer hosts Big Sur disk images.
- In some cases, you may only see an online installer — or nothing at all.
If you specifically need a DMG file, there isn't an Apple-supported option anymore.
That's where most people get stuck.
When Third-Party Tools Become the Only Option
Once Apple stops distributing a DMG, the remaining choices are third-party solutions. That's not ideal, but it's the reality with older macOS versions.
iBoysoft DiskGeeker offers a way to download and create a macOS Big Sur DMG when Apple's official channels are no longer available.
It's important to be clear about one thing: This is not an Apple-official method.
If you can still install Big Sur through Apple's installer, you should use that instead.
Why Use a Tool Instead of Downloading a Random DMG?
Some users try to download Big Sur DMG files from unknown websites. That approach comes with obvious risks.
Using a dedicated tool doesn't make the process risk-free, but it does help avoid common problems such as:
- Unknown or modified disk images
- Incomplete or corrupted downloads
- Files with unclear origins
Even so, any third-party DMG should be treated with caution.
If you're not sure where a file comes from or how it will be used, it's better not to proceed.
How to Download macOS Big Sur DMG (For Experienced Users)
This approach is intended for users who already understand how macOS installation media works and are comfortable verifying downloaded files.
If that doesn't describe you, this may not be the right path. General Steps:
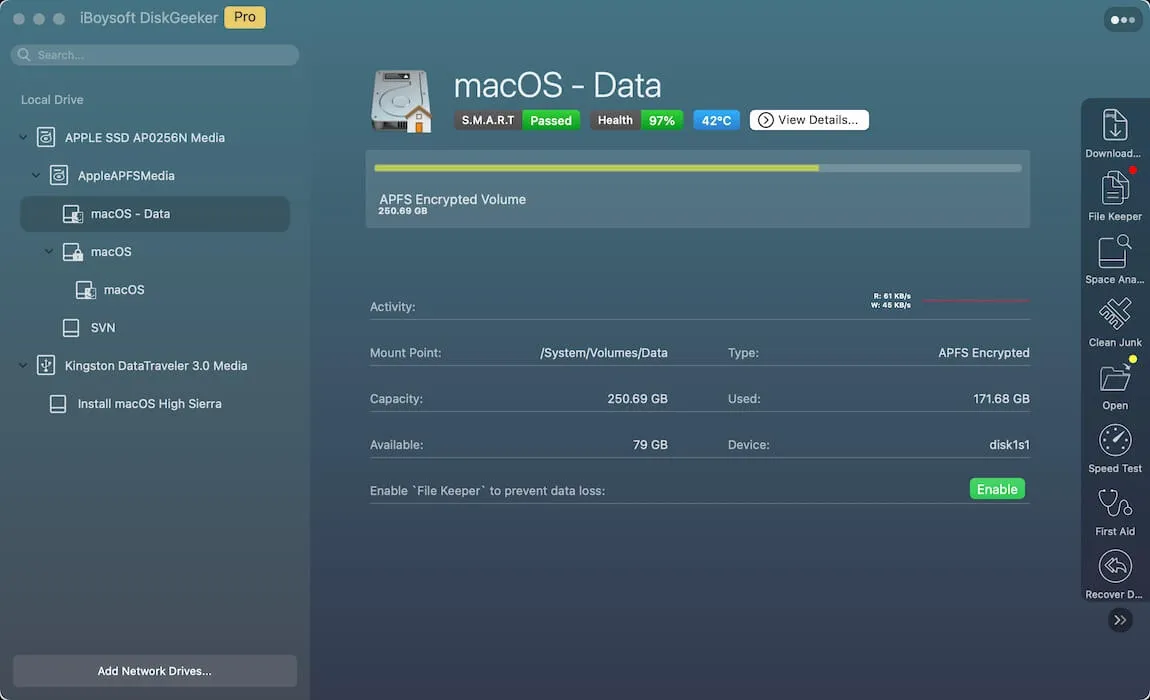
- Open iBoysoft DiskGeeker.
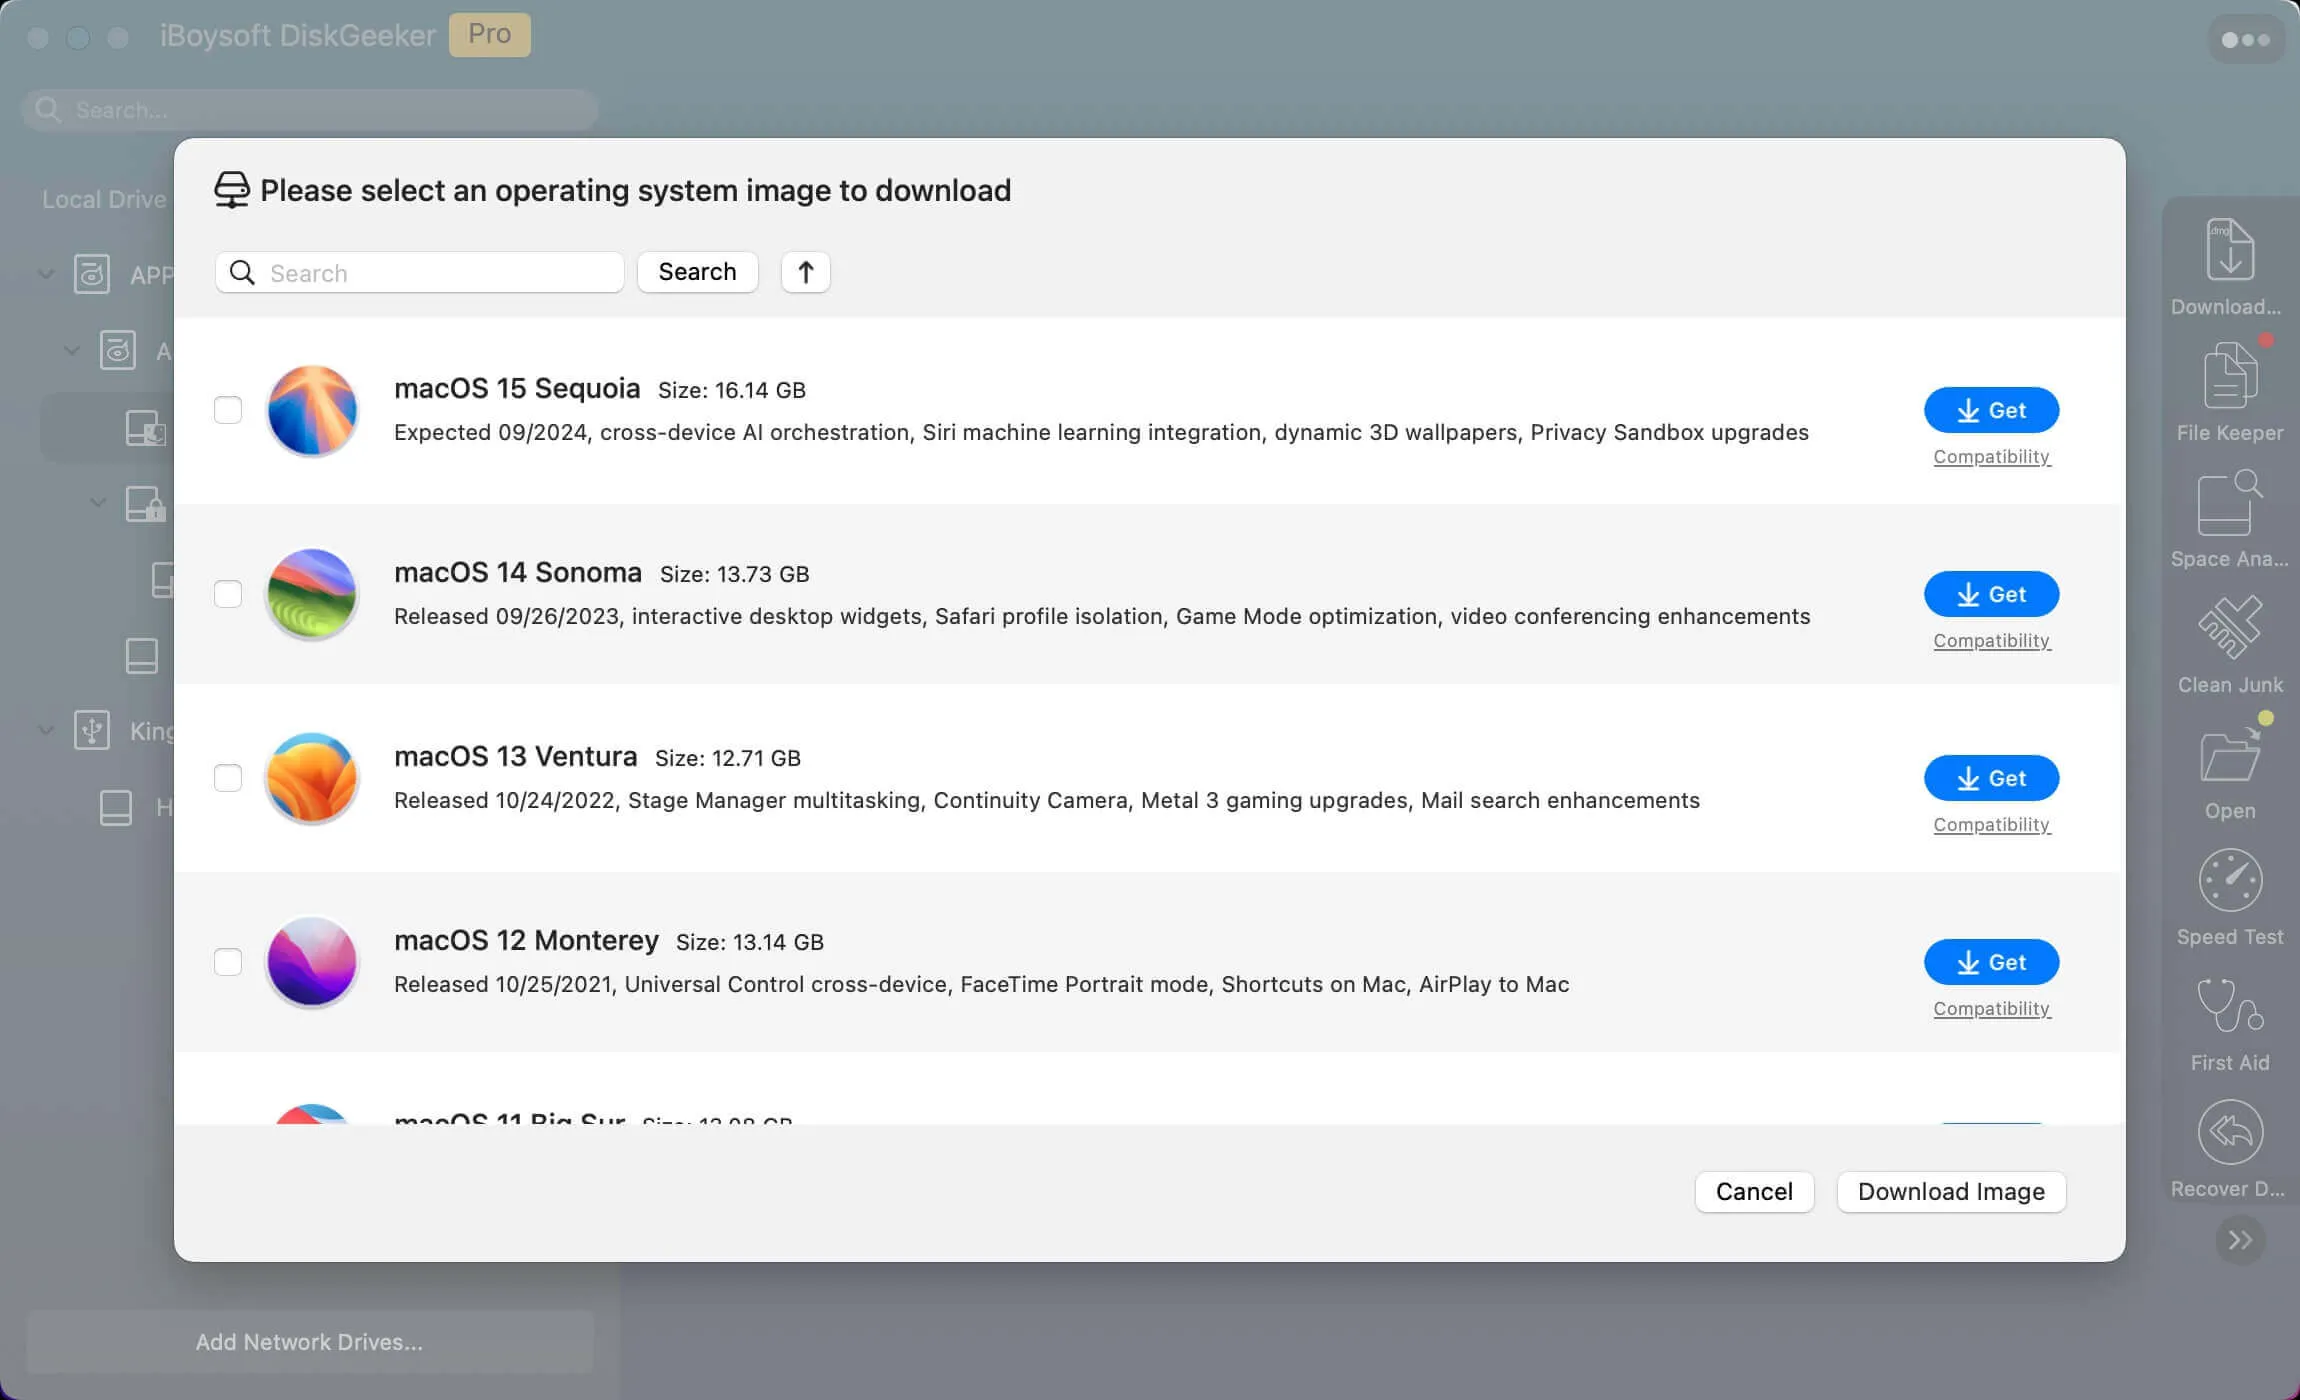
- Launch it, and click the Download Image button.

- Click the Get button next to macOS Big Sur.

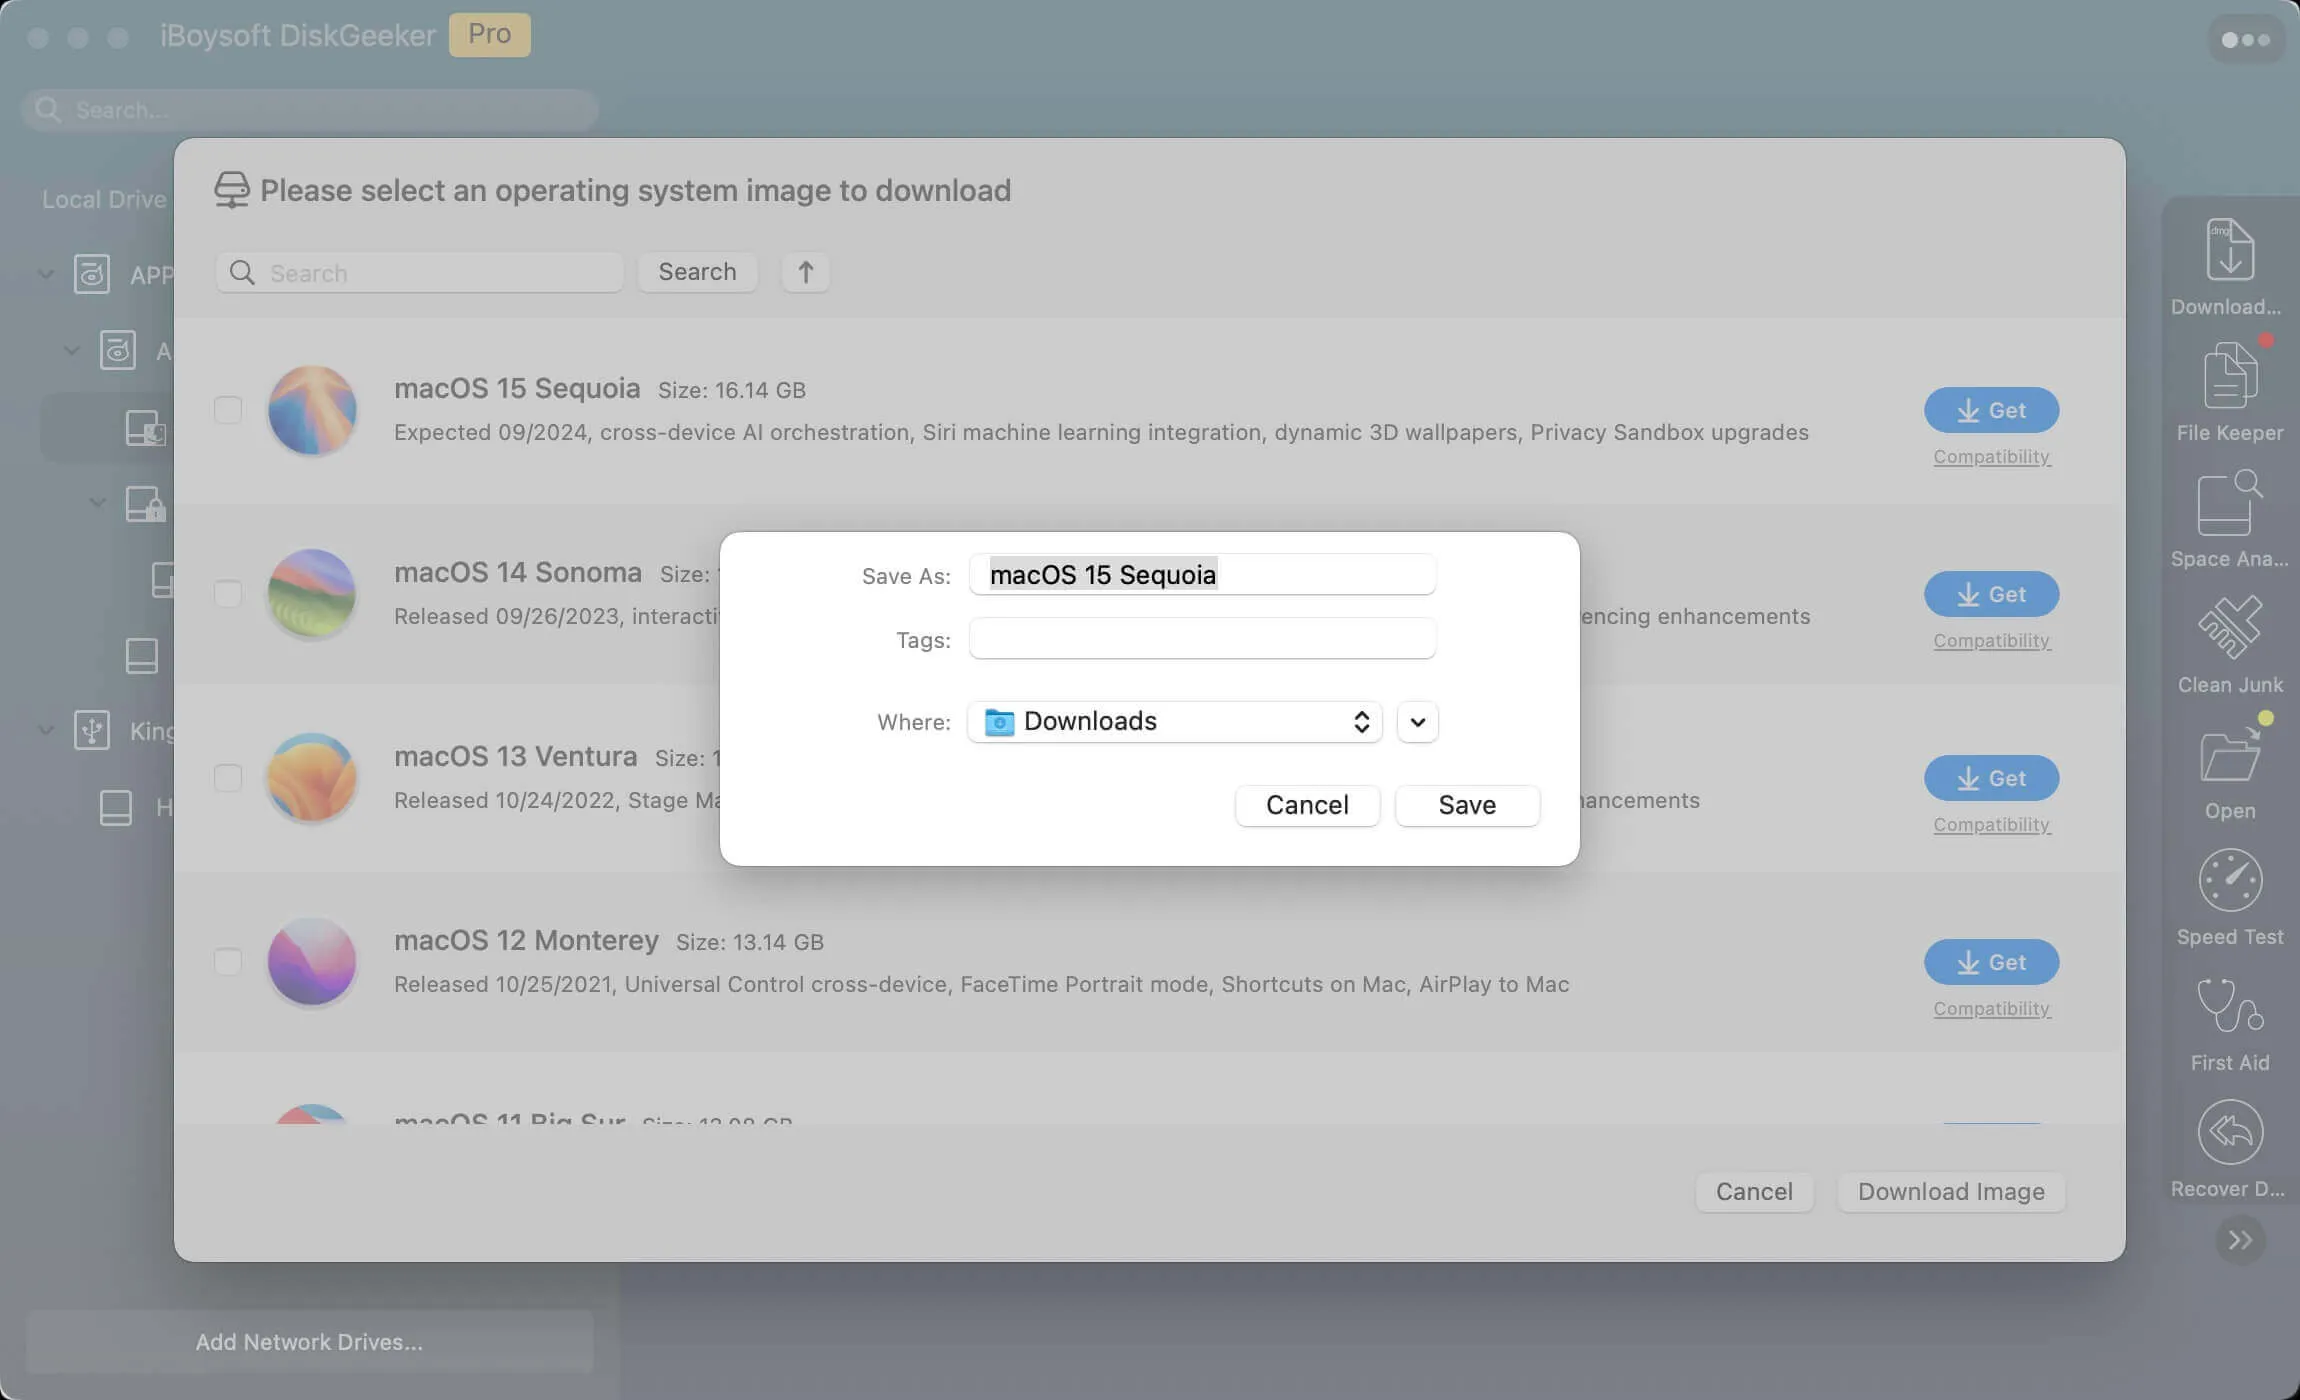
- Select the destination to save the macOS Big Sur DMG file.

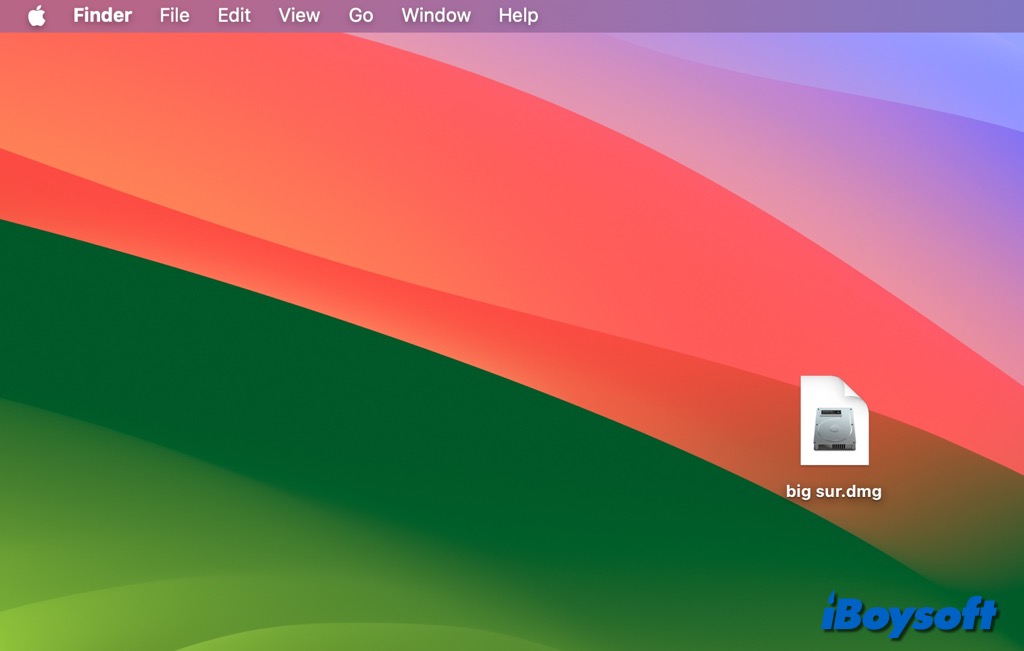
- Wait for the process to finish.
You can save it to your Mac or download the macOS Big Sur DMG file to an external SSD, HDD, USB flash drive, pen drive, SD card, or other external peripheral by connecting it to a Mac with a suitable Mac docking station.
If you're unfamiliar with these workflows, it's safer to stop here rather than guess.
Share this post to help more people who want to get the macOS Big Sur DMG file!
Risks and Limitations You Should Be Aware Of
Before using a macOS Big Sur DMG, keep the following in mind:
- Apple can revoke certificates for older installers.
- Some newer Macs don't support booting or installing Big Sur.
- Using the wrong installer can lead to installation failures or data loss.
If anything feels unclear at any point, stop and reassess.
This process is optional, not something you have to force.
Final Notes
macOS Big Sur DMG files are mostly irrelevant today because Apple no longer supports this use case.
Third-party tools like iBoysoft DiskGeeker exist to fill that gap, but they're not a replacement for official Apple support.
Before using any DMG file, make sure you understand:
- Why you need it
- What limitations it has
- Whether an official option is still available to you
If you can avoid third-party installers, that's usually the better choice.
If you can't, proceed carefully and deliberately.
You may also be interested in: macOS High Sierra ISO Download.
FAQ
- QDoes Apple still provide macOS Big Sur DMG?
-
A
No. Apple no longer offers macOS Big Sur as a downloadable DMG file. If you need a DMG specifically, there isn't an official Apple option available anymore.
- QShould I use a third-party DMG if Apple's installer still works?
-
A
No. If Apple's installer is still available on your Mac, it's generally safer to use that instead.
- QCan I use a macOS Big Sur DMG on any Mac?
-
A
Not necessarily. Some newer Mac models don't support installing or booting macOS Big Sur, even with a valid DMG.
- QIs it safe to use a macOS Big Sur DMG from a third party?
-
A
There's always some risk. Tools can help reduce common issues like broken downloads, but they can't guarantee everything will work in every situation.
- QWhat should I do if I'm unsure about any step?
-
A
Stop and double-check before continuing. If something doesn't make sense, it's better not to proceed.
