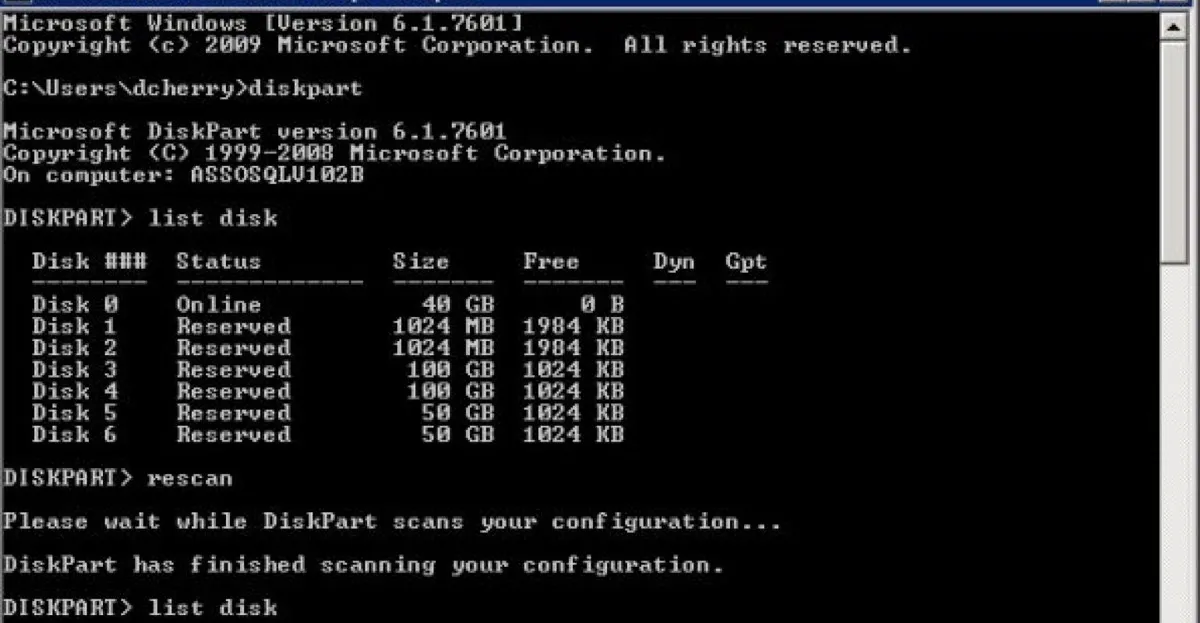
When your hard drive is detected and recognized, Windows will assign your drive a letter and a numeric disk ID to better identify a certain disk. You can use Disk Management to change a drive letter if you don't like the assigned drive letter or if you have a drive that doesn't have a drive letter yet. How to change disk numbers in Windows?
This article will introduce how disk enumeration works in Windows and tell you how to change disk ID of a drive, especially switch disk 0 and disk 1.
How does Windows assign drive numbers?
The location of the SATA port on the motherboard that a drive is plugged into determines the disk number of that drive. Some motherboards have markings right on the board that let you know what port corresponds to what number.

In other words, the number assigned to your SSD, HDD, or other storage devices, also known as disk ID, is the physical address of a SATA port. You can set up a boot order for all SATA ports in BIOS, and then Windows decides master and slave drives by your BIOS boot order.
By default, the first hard drive with a Windows OS will be assigned as C: and Disk 0 in Disk Management because it needs to boot up first. Then other devices will be given disk numbers 1, 2, 3, etc.
However, the story is different for an M.2 SSD with NVMe. Drives connected to SATA ports get priority in numbering order. Therefore, even though your NVMe SSD is the boot drive, it always goes by the last number because it is connected to an M.2 slot. It will display in Disk Management shown below. This is no solution to change the disk number for an NVMe SSD in Windows and nothing to worry about.
- NVMe = Disk 2 (C: )
- SATA1 = Disk 0 (D: )
- SATA2 = Disk 1 (E: )
Is this information helpful? If you nod, please share it.
Why do you need to change disk numbering?
There is usually no need to alter disk numbers because they just signify different physical connections on a motherboard. But one situation is an exception - when your startup disk (not an NVMe SSD) which contains a Windows operating system is not listed as disk0.
Here is an example from the Superuser forum:
A desktop system had two drives (Assigned C and D, which were enumerated in Disk Management as Disk 0 and Disk 1). A new SSD was added as the boot drive, after copying the C drive to the SSD. The SSD was connected to SATA 0 (master) port on the motherboard. The previous C Drive was moved to SATA 2 and is reformatted as a non-booting NTFS partition. The D drive remained on SATA 1.... However, the list in Disk Management is re-ordered. Disk 0 is the previous Disk 2 (D Drive) on SATA 1, Disk 1 is the new Boot Drive (now C) on SATA 0, and Disk 2 is the former C Drive (now assigned E) on SATA 2...Is there any way to re-order the Disk number assignments? What actually does determine the Disk number enumeration?
In this case, after the user added a new boot drive to the SATA 0 port, the boot drive was not assigned the corresponding disk0 but disk1. The user wanted to switch disk1 to disk0.
Can you change disk ID numbers?
The response is a clear negative if you mean that you wish to alter the physical SATA port order on your motherboard. The precise placements or enumeration of these ports cannot be changed.
However, if you want to change the disk numbering of the slave hard drives or assign the boot drive with the correct order which is disk0, it is possible to do so.
Thanks for sharing in advance.
How to change disk numbers in Windows?
There is no need to mess with the disk numbers for average users because it is not easy. You can read the following advice if you have a good cause to.
How to change the disk number of the boot drive from disk1 to disk0:
- Back up data of the current boot drive.
- Reformat the current boot drive to a Windows format - NTFS, FAT, or exFAT.
- Reinstall Windows OS to the drive you want to use as a boot drive.
- Go to BIOS and set up the new boot drive as the first drive to boot. Then the new boot drive will be disk0.
How to change the disk numbers of other slave drives:
- Unplug all secondary drives, also known as slave drives, that don't contain the operating system.
- Connect the drives to your Windows PC in a different order. Then you will find the disk IDs of these disks have changed.
Conclusion
This article helps you understand how disk number enumeration works and if you can change the disk ID of a drive. As long as everything seems fine, most users won't need to change disk numbers or be concerned if the boot drive is not Disk 0.
Your friends may be happy to see this article too.