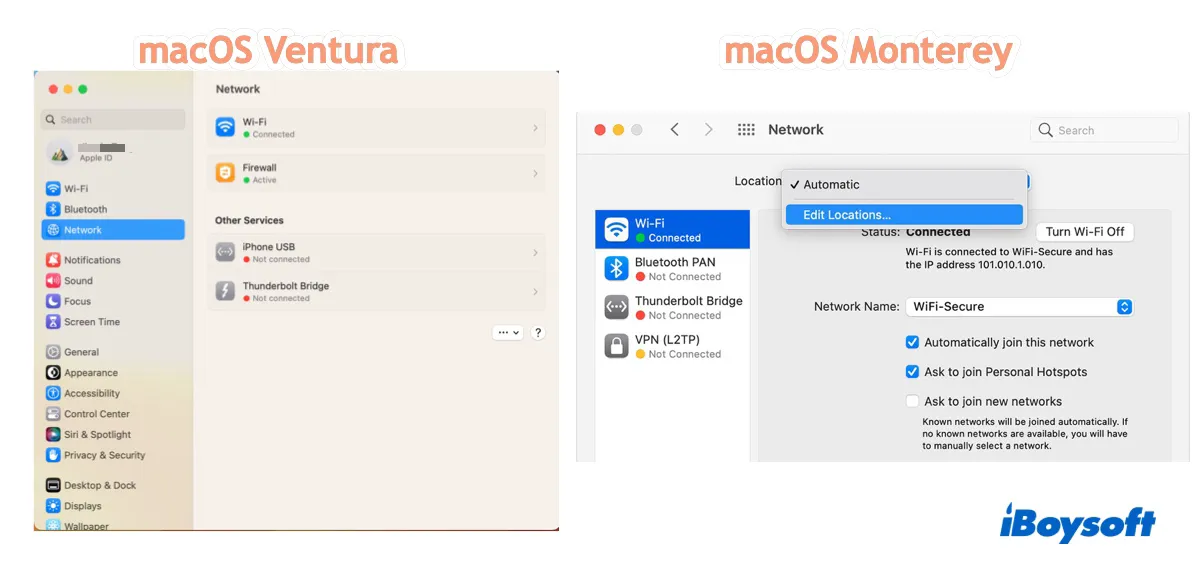
While the latest macOS Ventura brings in plenty of new or improved features, it has also chopped off some. One of the removed features is "Network Locations," which resided in previous System Preferences. It allowed users to quickly switch between different sets of network configurations of WiFi, Ethernet, and other network settings on Mac, based on their current location.
Fortunately, the functionality is still there on macOS Ventura. You will just need to manage them through command lines. This post will explain how to use Network Locations on macOS Ventura.
When will you need to use network locations on macOS Ventura?
Being able to switch between different network locations on Mac can be especially useful in the following circumstances:
- The settings you use at one location don't allow your Mac to connect to the same type of network at another.
- Prioritize different types of networks at different locations. For instance, you may prefer Ethernet at work and WiFi at home.
- Troubleshoot network issues without losing the current network settings.
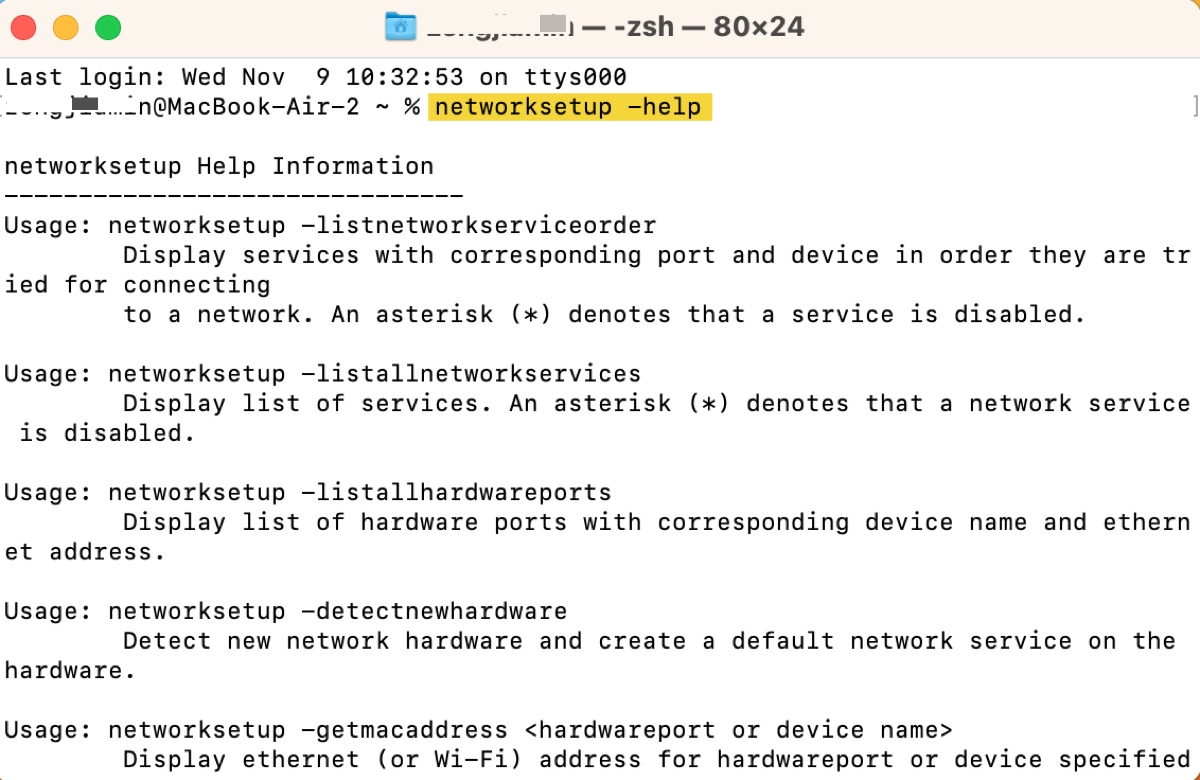
To use network locations on macOS Ventura, you'll need to employ the networksetup tool in Terminal. You can go through these steps to get a list of its usage:
- Open Finder, and click Applications > Utilities > Terminal.
- Double-click Terminal to launch it.
- Type in the command below and hit Enter.networksetup -help
How to create a new network location on macOS Ventura?
The first step to using location-based network settings on Mac is to create a new network location, as guided below.
- Launch Terminal from the Applications > Utilities folder.
- Input the following command and hit Enter to add a new network location on Mac.
If you want to create an entirely new location without any network configured: (Replace Name_of_Location with yours.) networksetup -createlocation Name_of_Location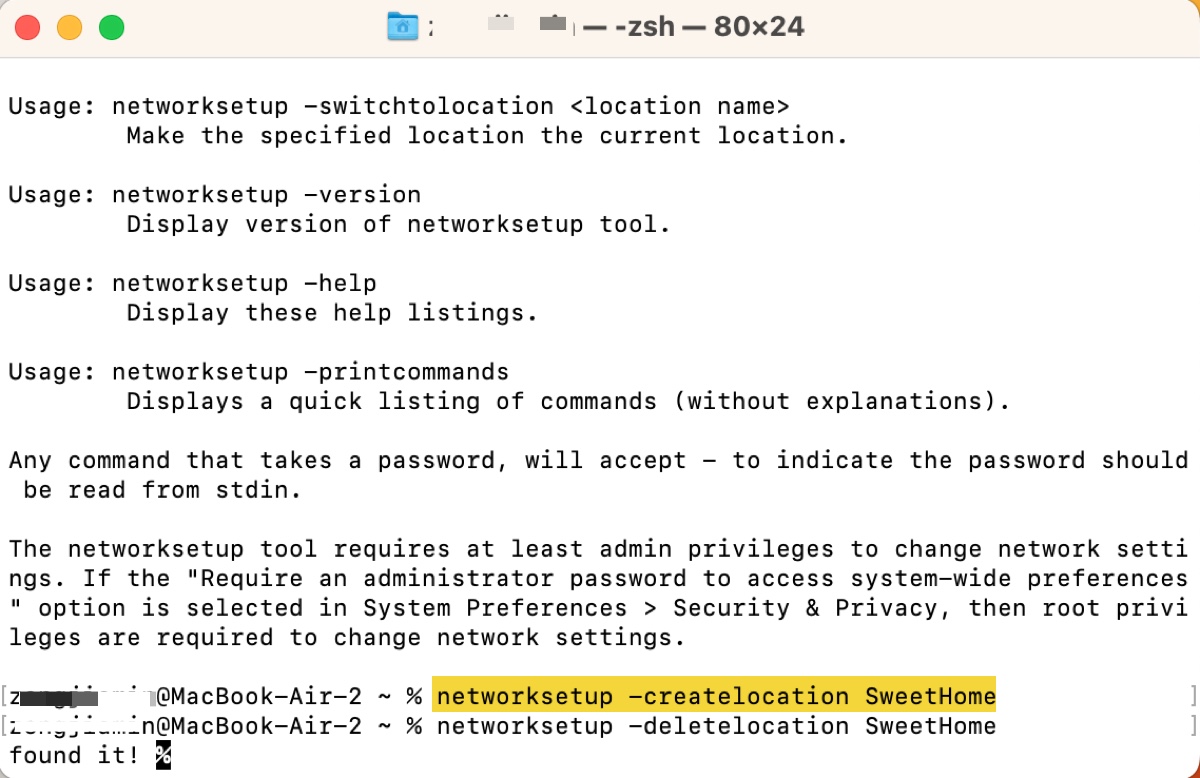
If you want to create a new location with default services:networksetup -createlocation Name_of_Location populate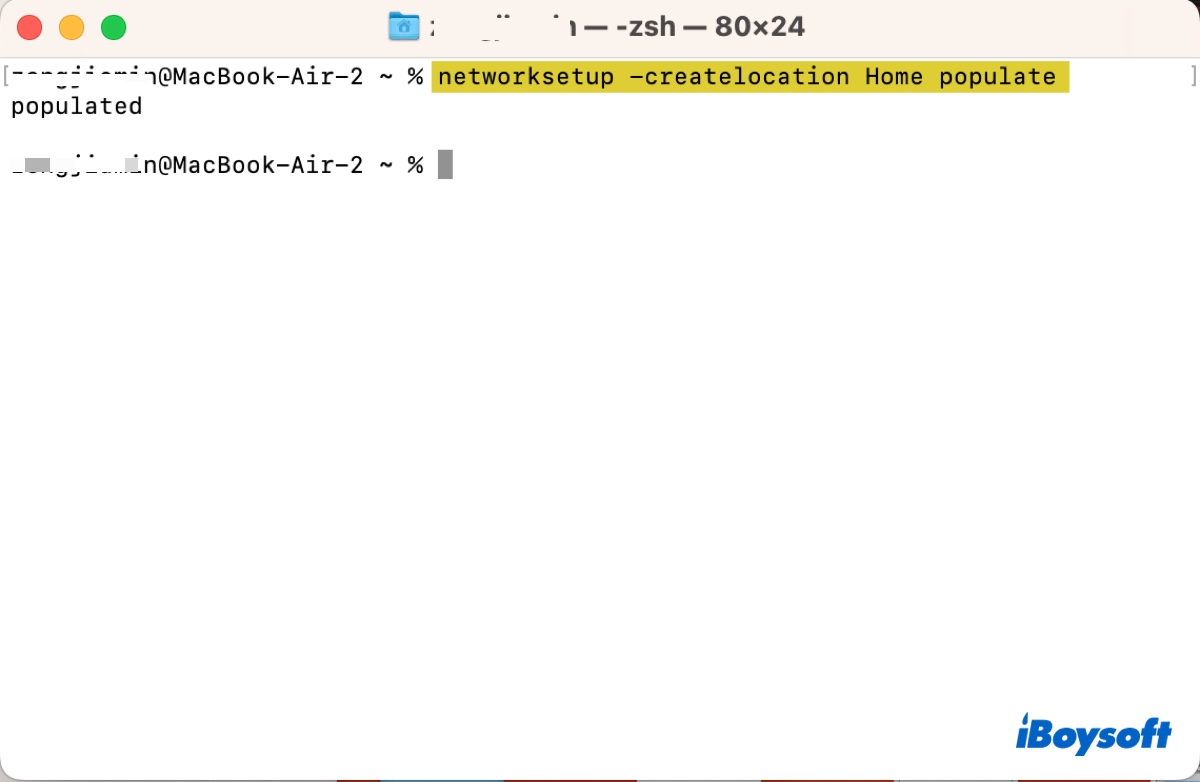
Once the network location is created, you can customize your WiFi, Ethernet, and other network settings specific to this location in System Settings after switching to it.
Kindly share this post if you find it helpful.
How to switch between network locations on macOS Ventura?
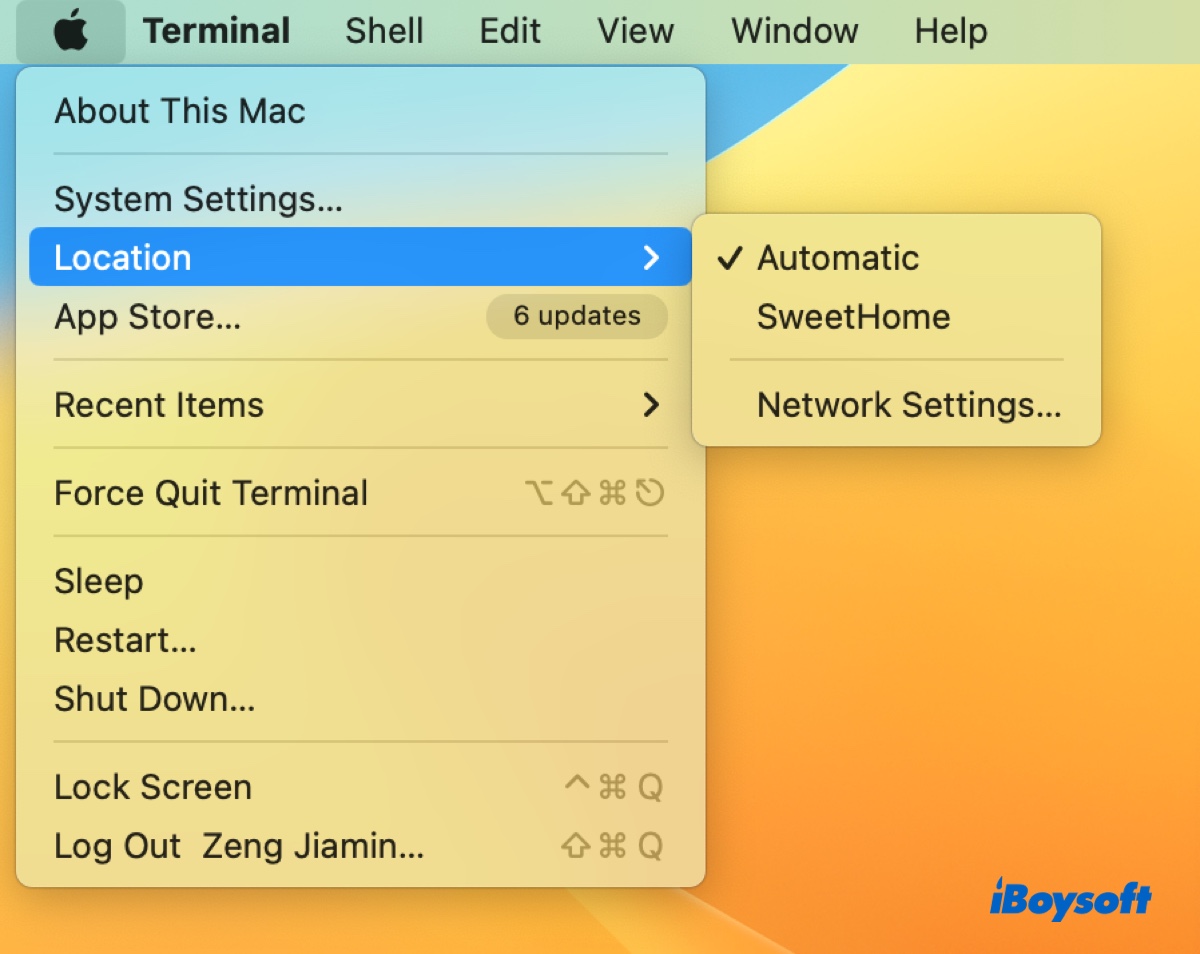
Before macOS Ventura, you have two ways to switch between network locations: from the "Network Locations" pop-up menu in System Preferences or the Location button in the Apple menu. The former is gone on macOS Ventura, but you can still use the fast-switching control in the Apple menu. Follow the steps below:
- Click the Apple menu at the top-left corner.
- Select "Location" and choose the one you want to switch to.
How to configure a network location on macOS Ventura?
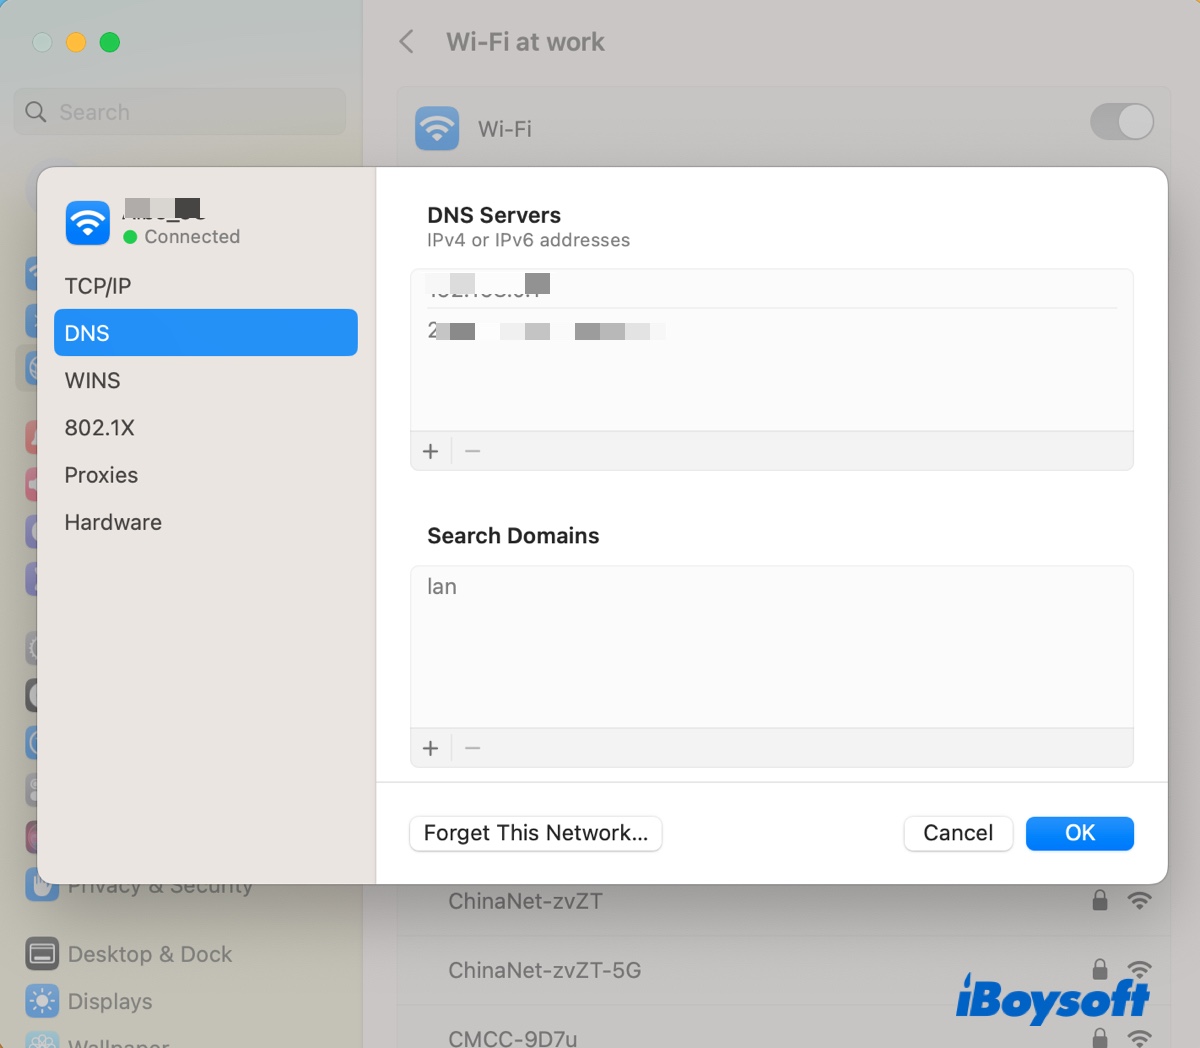
After changing to a different network location, you can configure its IP address, DNS, DHCP, etc. If it's a newly-created location with no network configuration, you must set up the network first.
- Open the Apple menu > System Settings.
- Click Network. (Skip to step 7 if you only need to adjust an existing network.)
- Click the button under "Other Services."
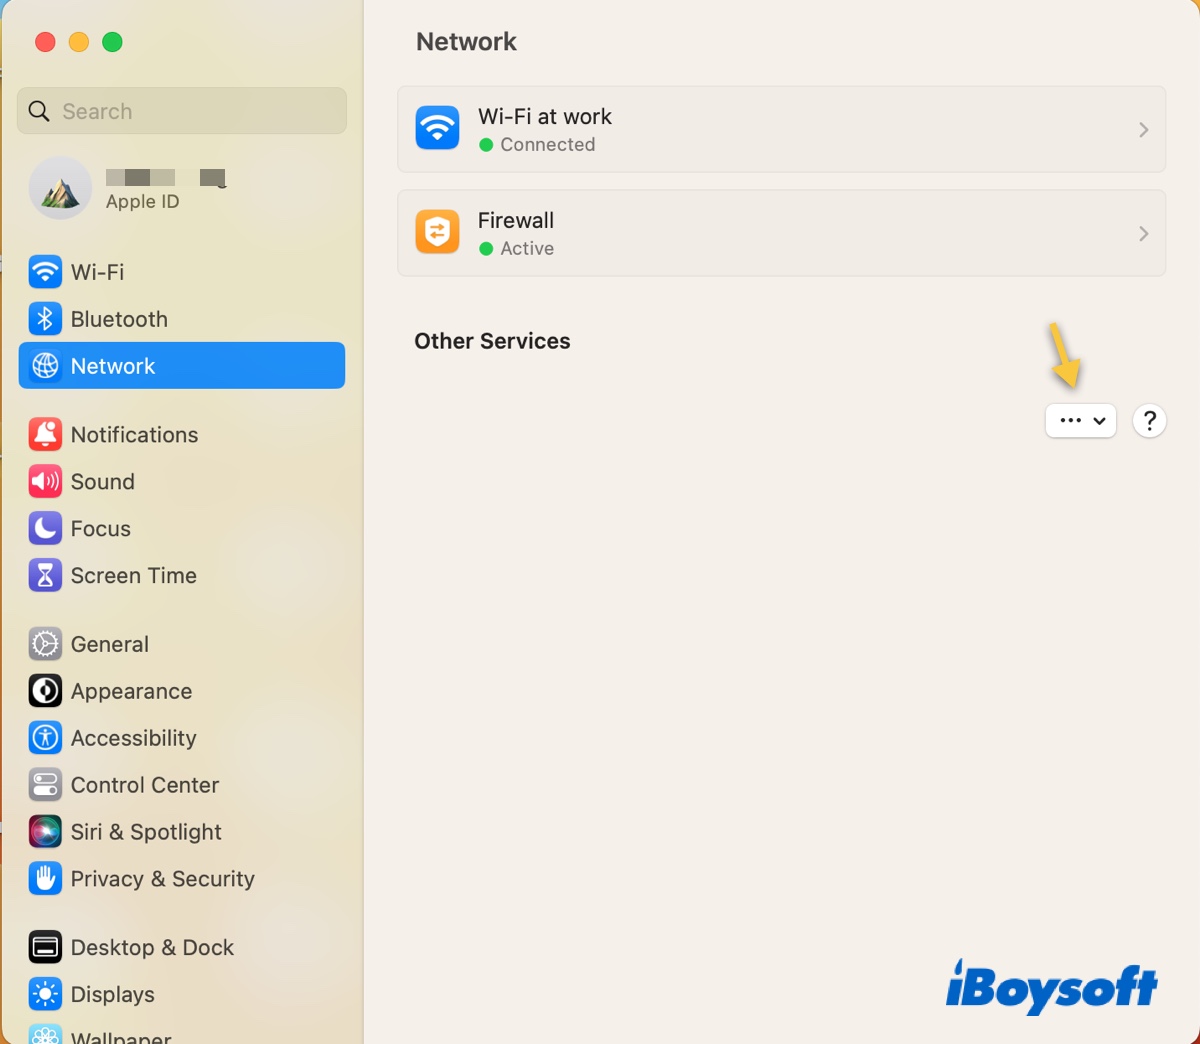
- Select "Add Services."
- Choose an interface, such as WiFi or Thunderbolt.
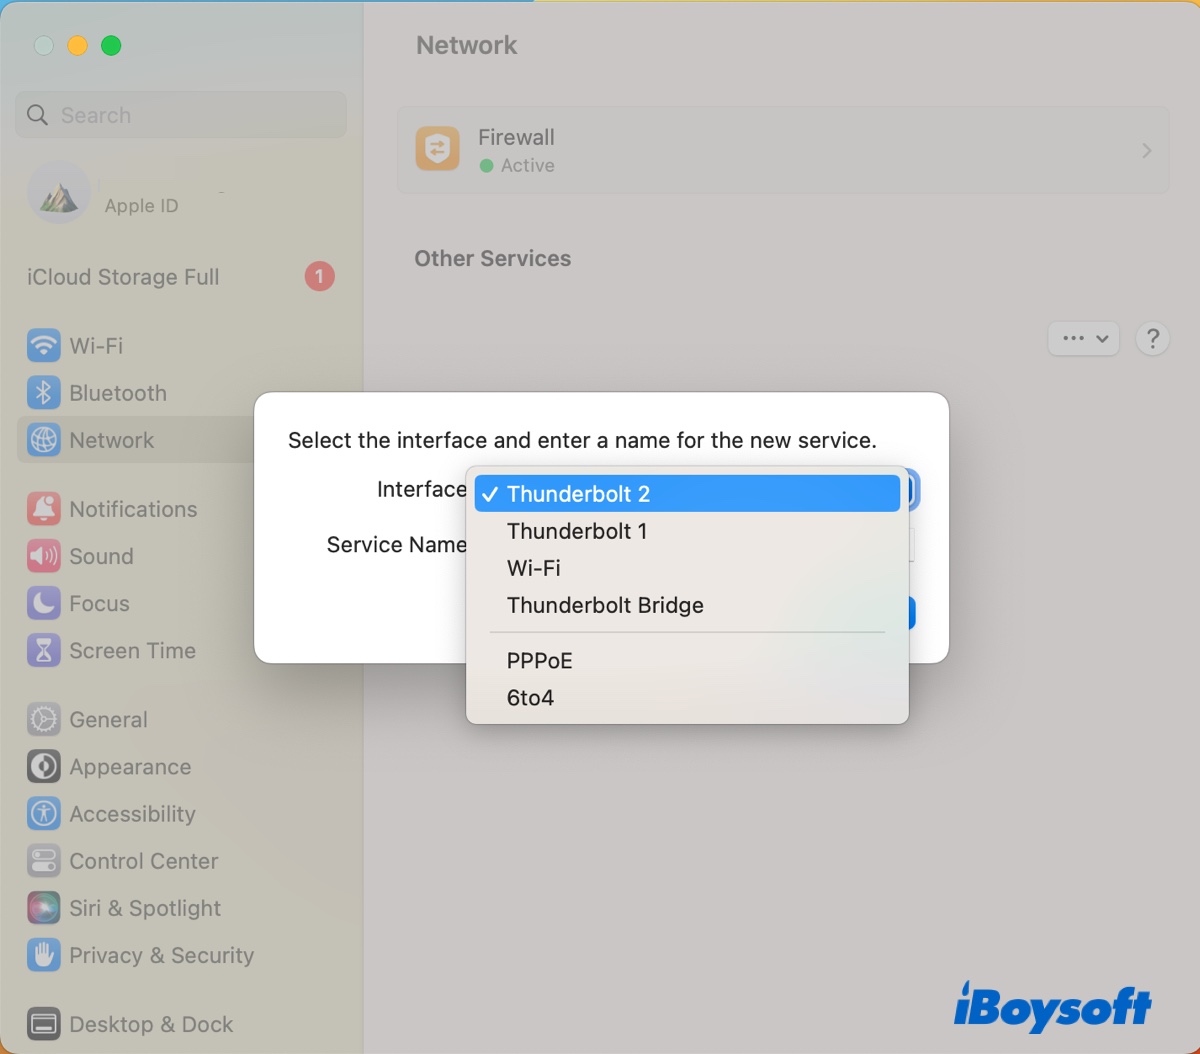
- Give it a name and click Create.

- Click a type of network.
- Tap "Details" to change network settings.
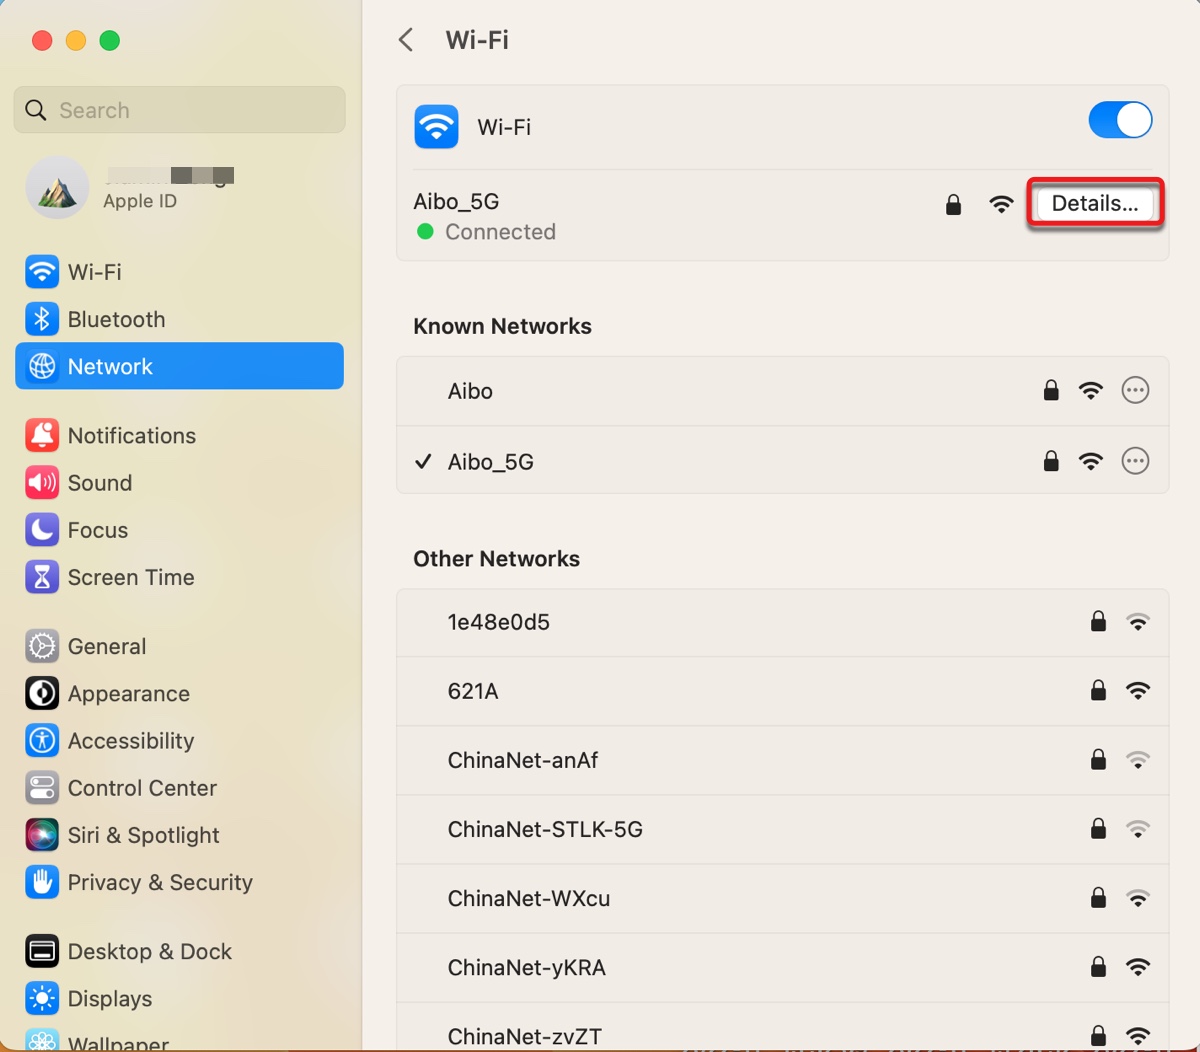
- Change the settings and click OK to save them.
How to set network priority on macOS Ventura?
You can prioritize networks as stated below if you have several network interfaces configured.
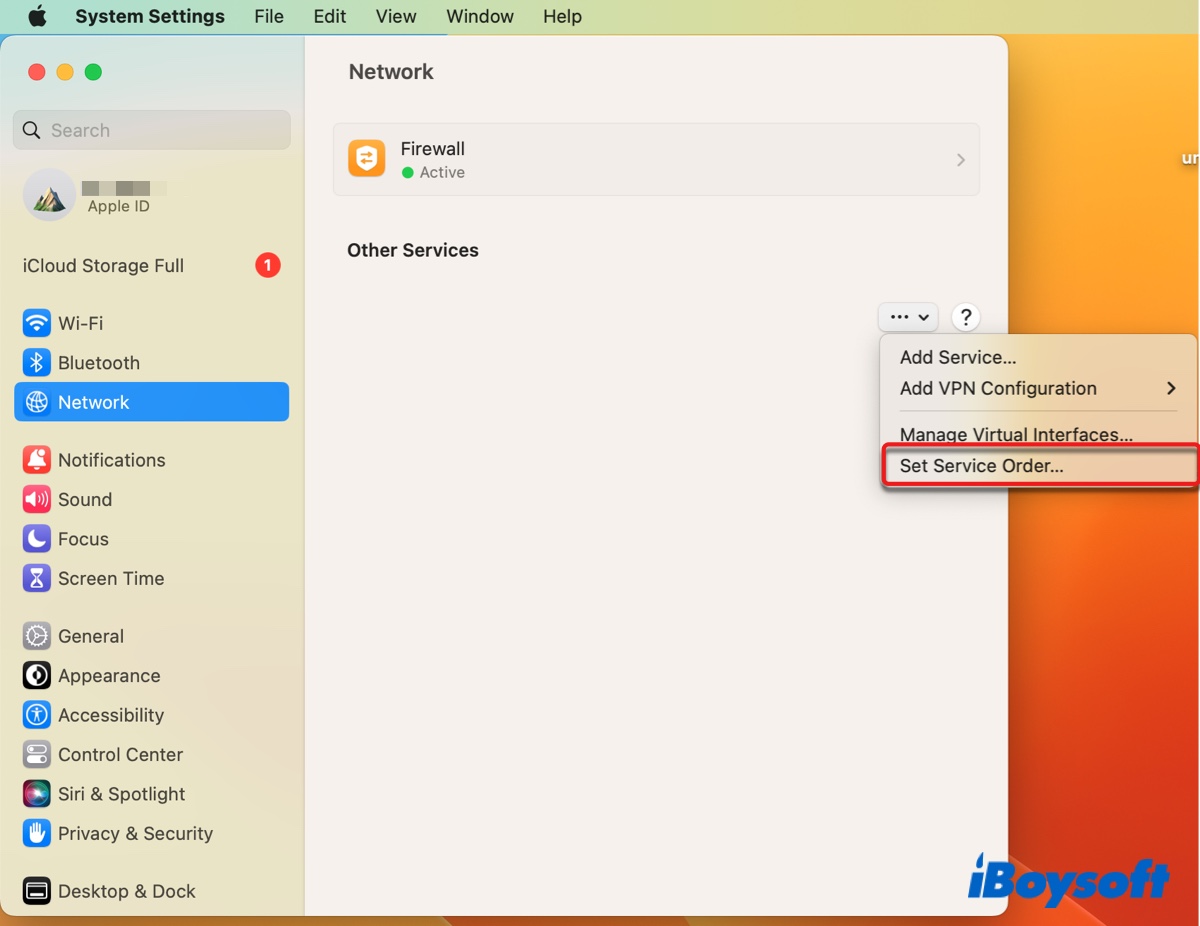
- Go to the Apple menu > System Settings > Network.
- Click the button under "Other Services."
- Select "Set Service Order."
- Drag the services to set a priority.
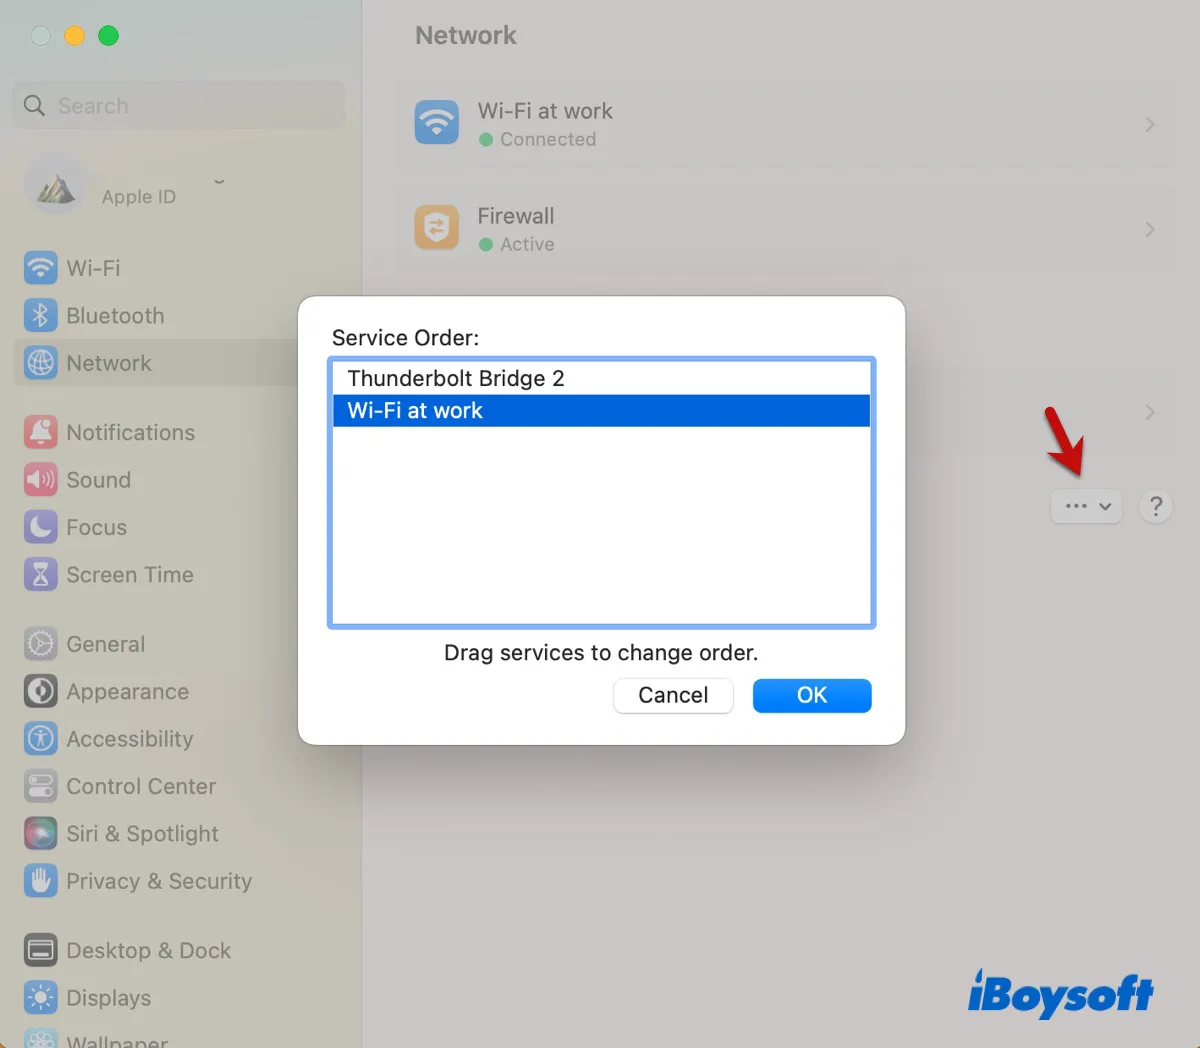
- Click OK.
How to remove a network location on macOS Ventura?
Similar to adding network locations, you must utilize command lines to remove a network location on macOS Ventura. Here are the steps:
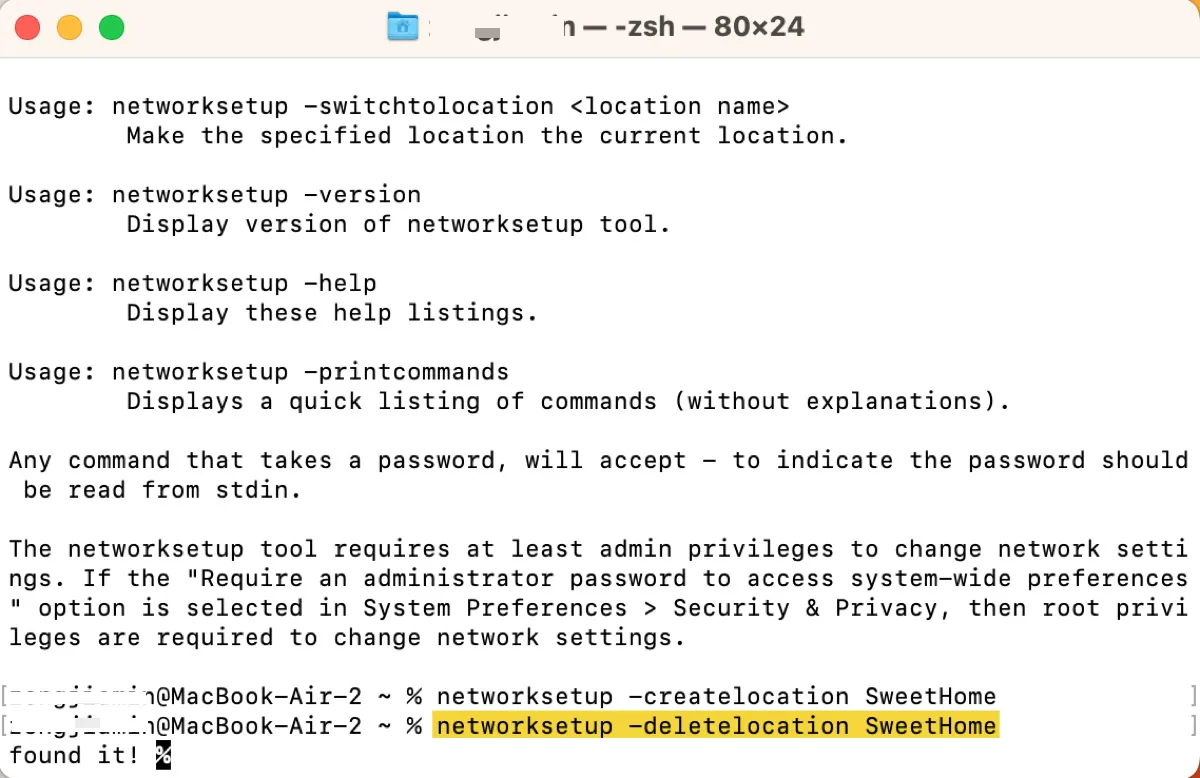
- Launch Terminal from the Applications > Utilities folder.
- Type in the following command and hit Enter to delete a network location. (Replace Name_of_Location with yours.)networksetup -deletelocation Name_of_Location
Now that you know how to change network settings on macOS Ventura. Don't forget to share it with more people.