
Written by
Ciki Liu
A virtual private network, more commonly called VPN, is a great tool to enhance your online security and privacy. However, for Mac users, how to set up a VPN on Mac can be a tricky task since you have to come across a series of configuration settings. Don't worry, this post will walk you through practical steps to set up a VPN connection on Mac using System Preference settings.
What is a VPN?
A VPN is an encrypted connection between your computer and the internet, making your online traffic private and anonymous. With this private tunnel, you can use it mainly for two purposes. One is to increase the security and enhance the privacy of your online identity, and the other is to bypass certain geo-restrictions to unblock websites and services.
If you are looking for better protection for your workforce or a possible approach to reach more content, a VPN is a must-have tool.
How to choose the right VPN?
There's one thing you need to think about carefully before setting up the VPN connection, which is to pick the right VPN that works for you. Many factors can be taken into consideration, let's say, data transfer speed, server amount, server locations, encryption protocols, etc. While many VPN providers offer similar functions, they can differ in the following aspects.
Streaming and torrenting support. Most VPN providers claim to be supportive of streaming services, including streaming on mainstream platforms such as Netflix, HBO, and Amazon Prime. However, it may not be the case when you actually use it. The same situation applies to torrenting. It's suggested to search for valid reviews before downloading or paying for a VPN service.
Available servers. The quality of a VPN can vary on the number of servers and locations. Some have limited servers in limited regions while some can provide users with a wide range of choices. Therefore, depending on what kind of content you want to access, for example, if you want to reach the service in a specific region, you'd better check if the VPN provider has a server in that region before adding it to your Mac.
Privacy and security protection. While all VPN services hide your online identity and encrypt your internet, they can show different performance in privacy protection. For example, some VPN providers stick to a no-logging policy to guard your ultimate privacy. Moreover, advanced VPN services are capable of detecting malware and blocking ads.
Now you have a basic idea about how to choose the right VPN, share the tips with more people!
How to set up a VPN connection using VPN settings
Once you've made up your mind about which VPN to use, you can proceed with setting it up on Mac. You should contact your VPN provider for necessary information about the VPN, including the VPN type, server address, account name, password, etc.
Since the setup procedure varies from macOS to macOS, below lists the general steps to set up a VPN connection on Mac using VPN settings. Note: make sure the macOS you are using is compatible with the VPN.
Import VPN configurations
For those who have received the VPN settings file, lucky you, you can import the configuration settings for easy setup. Here are two methods to help you out.
- Double-click the settings file and your Mac will open the Network Preference. All information will be automatically filled in.
- Navigate to Apple icon > System Preference… > Network > Action > Import Configurations. Then choose your VPN settings file and click on Import to add the information.
Input VPN settings manually
For those who prefer to manually install the VPN with the help of Apple's built-in VPN client, follow the steps below to add a VPN to your Mac.
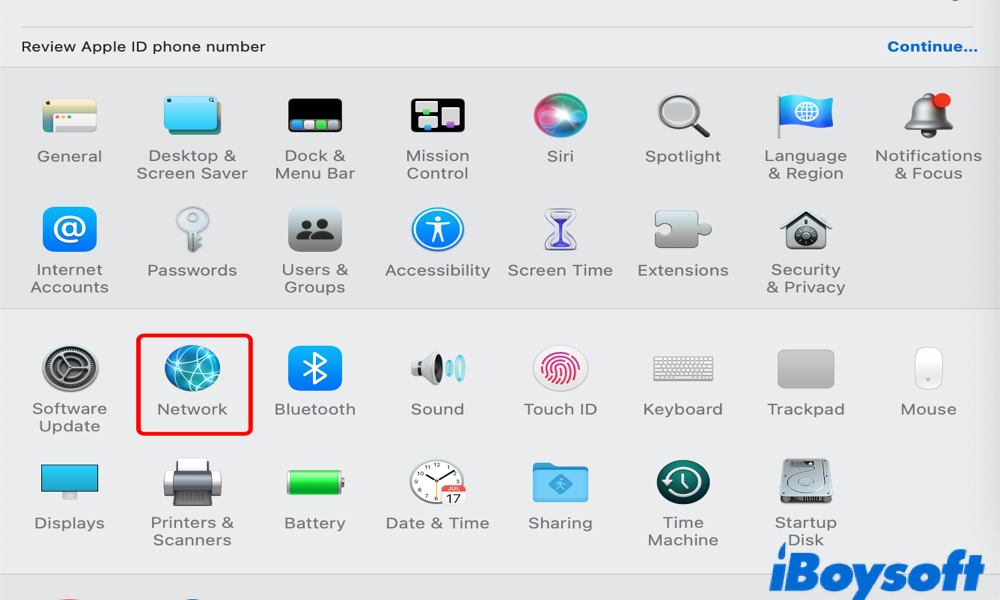
Step 1. Go to the upper-left corner of the Apple menu bar and click on the Apple icon. Choose System Preference… to enter the preference panel.
Step 2. In the System Preference… window, select the Network icon.
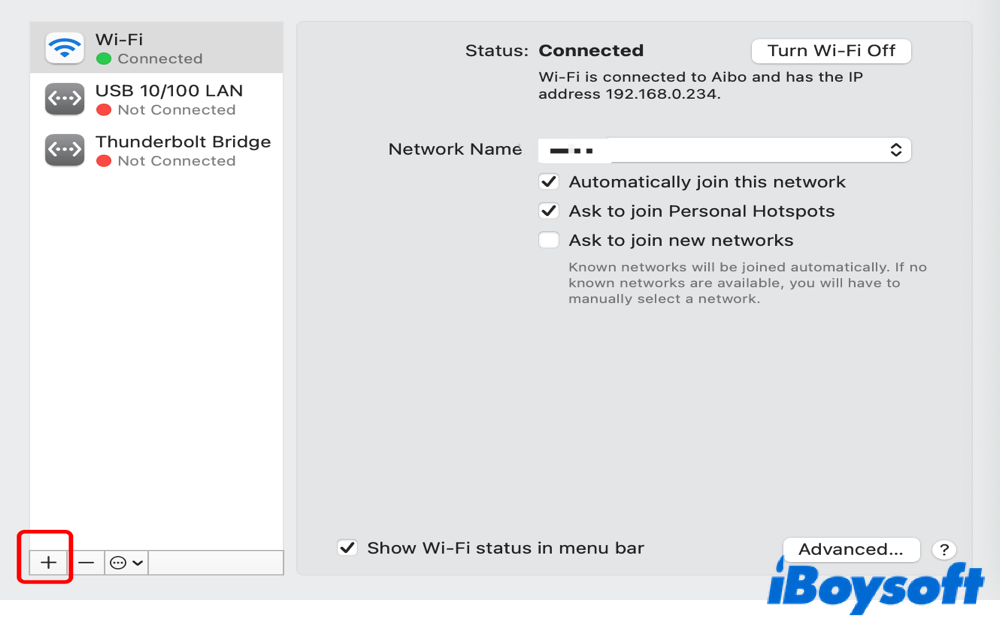
Step 3. Move to the lower-left column and click on the add button. A prompt should pop up.
Step 4. In the Interface option, click on the arrow and you should see a list of network choices. Choose VPN. The VPN type and Service Name options should show up then.
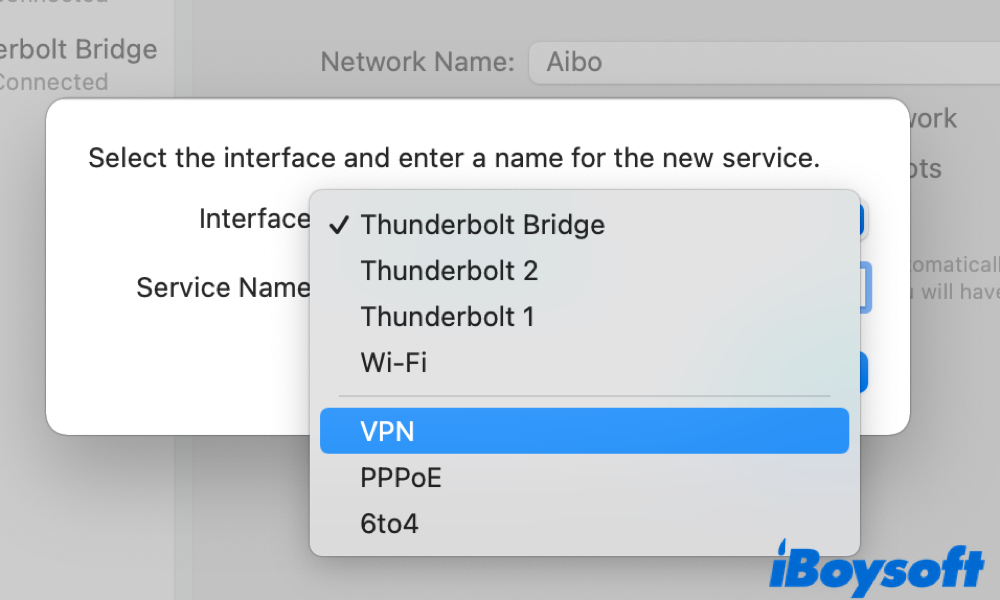
Step 5. Fill in each piece of information based on your source. The VPN type relies on which network you are connecting to. Give a service name to the VPN and click Create to finish.

Step 6. A newly added VPN should be listed in the left column. Click on it and input the Server Address and the Account Name. After that, move to Authentication Settings below.
Step 7. You are required to enter the User Authentication information here. Fill in the Password, Shared Secret, and other information. Click OK when you are done.
Step 8. Sometimes the network admin will ask for additional info, including TCP/IP settings, DNS servers, and which proxies you are using. If so, go back to Network and click on Advanced… to complete the information.
Step 9. When every detail is fulfilled, click on the Apply option to add the VPN to your Mac.
Successfully set up your VPN connection? Share the methods with your friends!