If you accidentally deleted some photos from your Mac, which you have backed up with Time Machine, you may wonder whether you can get them back without restoring the whole library, which may mess up with the current working one. The answer is yes, and we will show you the details to restore individual photos from Time Machine below.
How to restore a single photo from Time Machine?
Decide whether the photo you want to restore is in the Photos app or another location.
If the photo needing recovery is not in the Photos app, you can restore it with the following steps:
- Connect the Time Machine backup disk to your Mac.
- Open Finder and navigate to where the deleted photo was stored.
- Open Time Machine by clicking its icon at the top-right menu bar or from the Applications folder.
- Select the photo and click Restore. Then you can find it in its original place.
If the deleted or lost photo is in the Photos app, you can't simply restore it like these steps above. Instead, you need to restore the entire library to a different location, then import those you need to your working photo library as we stated below:
- Close the Photos app if you have it opened.
- Navigate to your Pictures folder and select the Photos Library file.
- Plug the Time Machine backup disk into your Mac.
- Launch Time Machine by clicking its icon at the top-right menu bar or from the Applications folder.

- Use the up and down arrow or the timeline on the right to find the date with the desired photos.
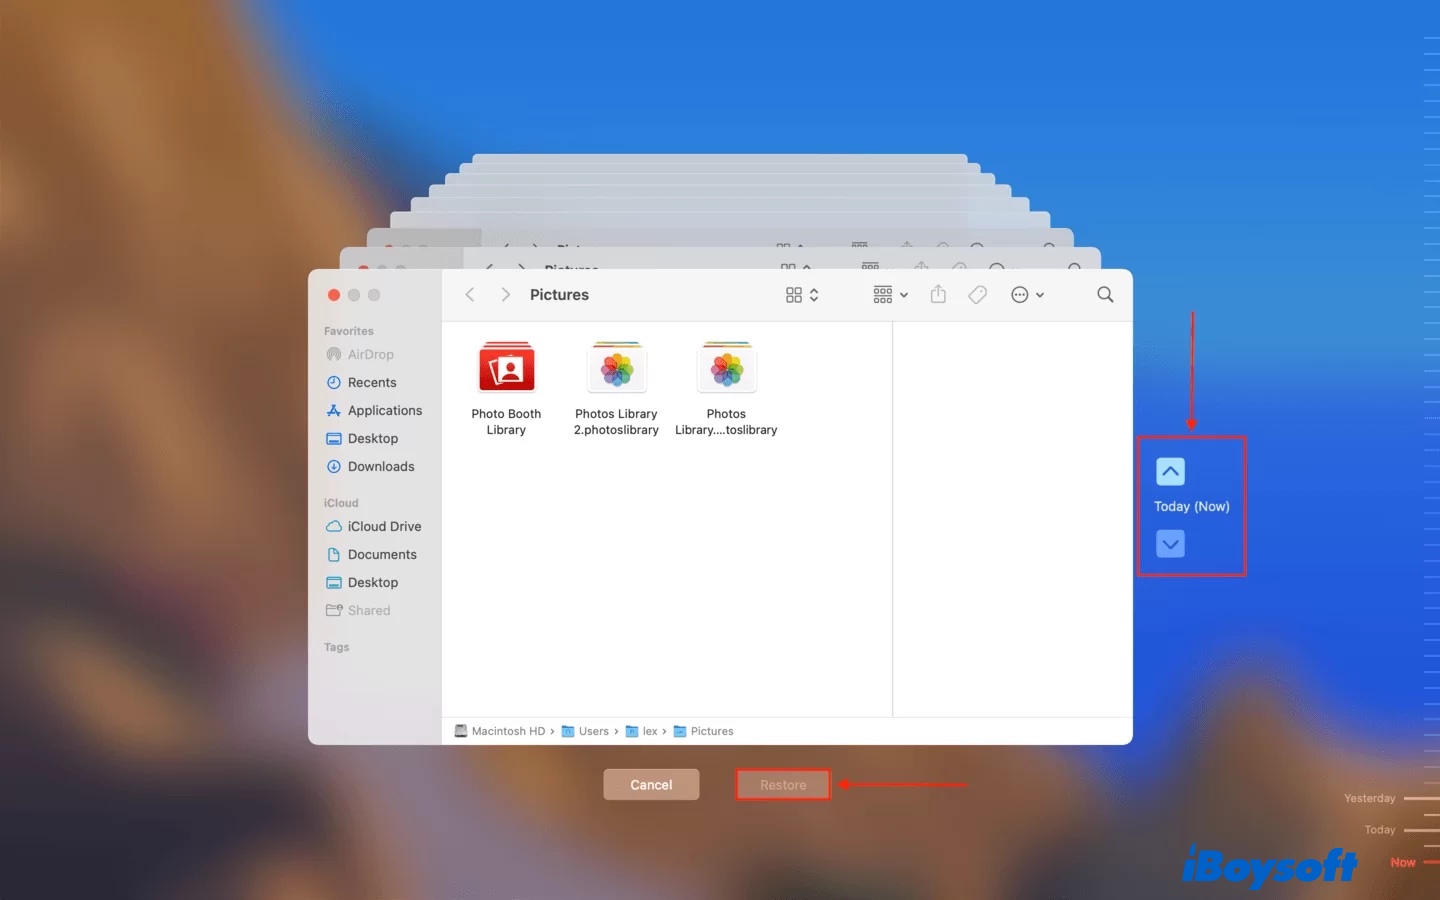
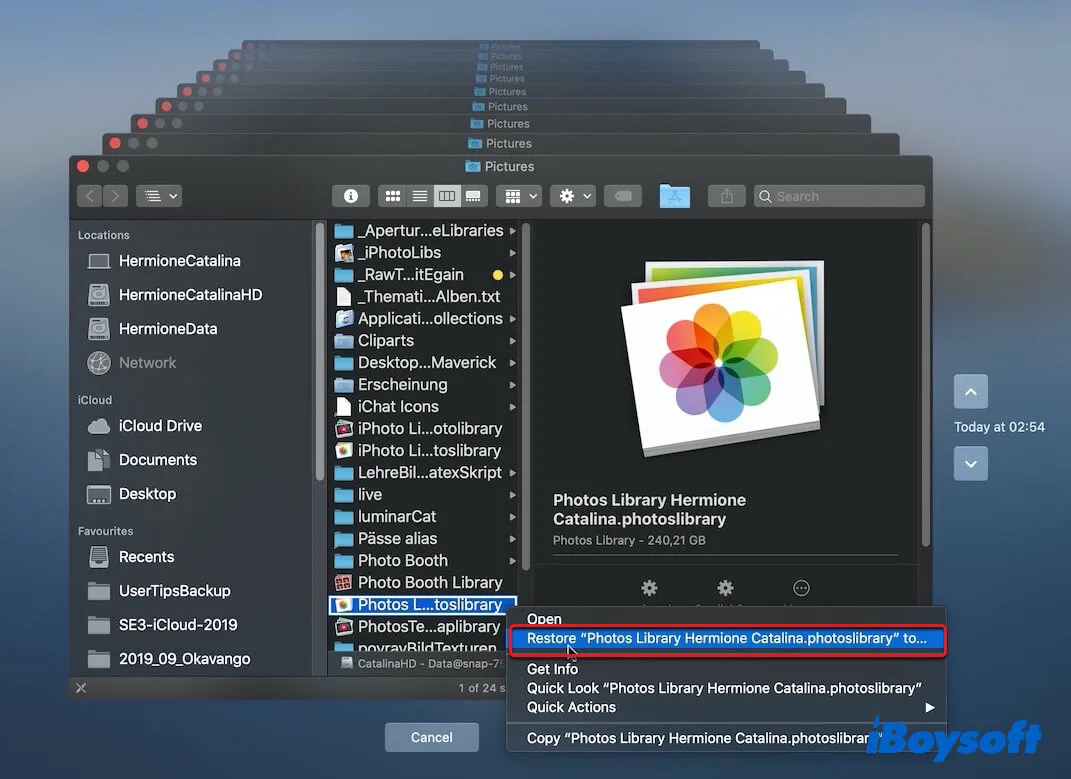
- Click the Photos Library while holding down Control.
- Select Restore "Photos Library.photoslibrary" and store it on an external drive or any other folder with enough space on your Mac except for the Pictures.
- Click Restore.
- Open the restored Photos Library with the Photos app.
- Select the photo and click File > Export at the top-left menu bar.
- Save the wanted photo to your current working library.
- Delete the Photos Library to save space if you want.
Now that you have the photo restored, don't forget to share the steps with your friends.
Where are the photos in Time Machine backup?
Your photos on the Photos app are backed up to the Photos Library, which you can check by opening your Time Machine backup disk and navigating to the Pictures folder if you didn't change the settings. Once there, you should find a folder named Photos Library.photoslibrary, or a similar one.
If you want to view the photos inside the library, you will have to restore the library first, as Time Machine will prevent the write access the Photos app needs.
Can I delete photos after Time Machine backup?
You can't delete photos on your Mac after backing up with Time Machine as it's not exactly the same as external storage. The backup you made with the photos will eventually be deleted when Time Machine decides to make more space for new backups if you intend to use it regularly. If you want to free up space on Macintosh HD, save the important photos to another external storage device.
Why do I see the 'You can't open the application 'Photos' because it is in a Time Machine backup.' error?
You might have attempted to open the Photos app from the Time Machine backup drive, hoping to access your photos stored on it but encountered the error "You can't open the application "Photos" because it is in a Time Machine backup." That's because the photos are not on the Photos app but in the Photo Library, which you must restore to view.
To access these photos, you can restore the whole Photo Library following steps 1-5, as we mentioned before for restoring a single photo, then select the library and click Restore.
If you find this post helpful, please click the button below to share it.