If you got a new printer and prepare to print some documents, you should add it to your Mac first. But adding a printer to a Mac is not an easy matter.
Don't worry. The following instructions will show you how to add a printer to your Mac via Wi-Fi, Bluetooth, IP address, or USB in detail.
How to add a printer wirelessly
If you have a wireless printer, you can connect it to your Mac via Wi-Fi Protected Set-up (WPS). You can follow the steps below:
- Press the Wireless or Wi-Fibutton on your printer, followed by the WPS button on your router.
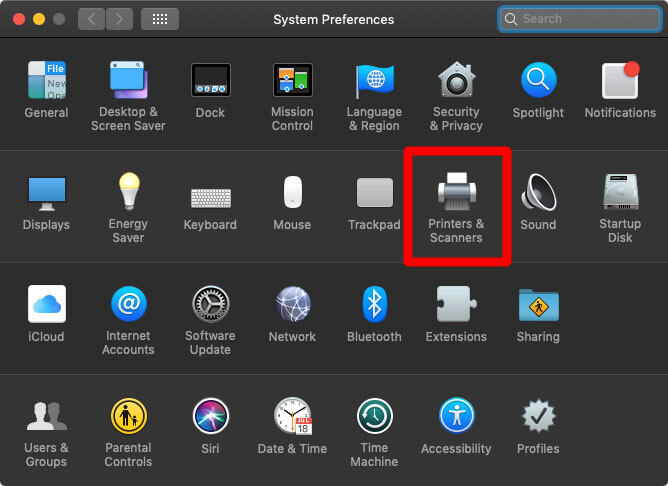
Note that the steps may vary depending on which printer and router you use. You can check the user guide for the two devices. - Select Apple menu > System Preferences > Printers & Scanners.
- Click the + icon in the lower-left corner. (You may need to unlock it in advance)
- Select the desired printer.
- Choose the available software or driver options of your printer in the Use: field. Then, click Add.
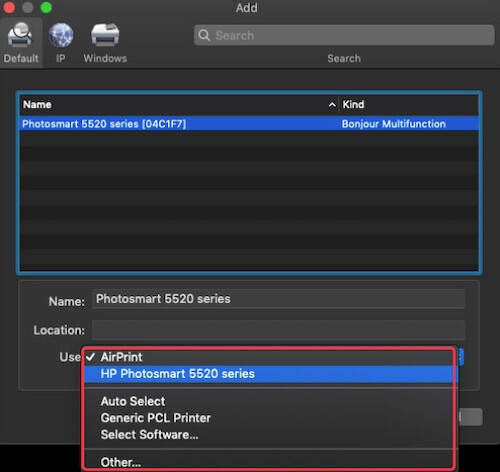
Usually, there are three driver options:
- AirPrint: An Apple technology that helps you print full-quality output without the need to download or install extra printer drivers.
- Your printer's driver: It will be listed in the Use field only if you've installed it.
- Auto Select: If your Mac doesn't have a printer driver, choose "Auto Select" to automatically download the correct printer driver when your Mac updates.
Connect a printer to your Mac via Bluetooth
If you got a printer that enables Bluetooth, you should pair it with your Mac as you do with wireless headphones. Then, you can print your files, photos, or documents with ease.
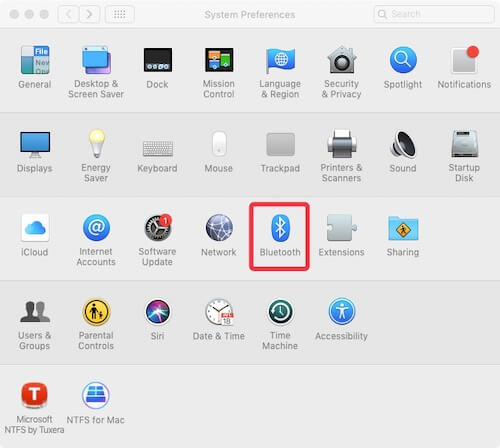
- Open System Preferences> Software Update to check if your Mac runs the latest macOS, if not update your Mac.
If your Mac has an AirPrint printer (Check it in "Printers & Scanners"), there's no need to check for software updates. - Follow the printer's instructions to turn on your printer.
- Open System Preferences and then select Printers & Scanners.
- Click the + button and choose your printer from the list. Then, click Add.
- Click Bluetooth in System Preferences, and pair it to your printer.
Add a printer to your Mac via USB
Unfortunately, not all printers have the capability to connect to a Mac through a network or Bluetooth. You can use the common way - adding a printer to your Mac via USB.
First, plug your printer's USB cable into your Mac. Once the printer is connected to your Mac, your Mac will detect the printer and download the required driver automatically. If it doesn't auto-detect the printer, manually add the printer through the following steps.
- Select Apple menu > System Preferences > Printers & Scanners.
- Click the + icon in the lower-left corner. (Or you need to unlock it in advance)
- Select the printer to add.
- Click Add.
Connect a printer to your Mac via IP address
There's a reliable way to add a printer to your Mac when your printer isn't listed in the Printers & Scanners. That is through the printer's IP address.
You should know your printer's IP address, printing protocol, and the printer's type. You can get this information from the printer's user guide.
Then, follow the steps to add your printer to your Mac:
- Select Apple menu > System Preferences > Printers & Scanners.
- Click the + icon in the bottom left corner. (Or you should unlock it in advance).
- Click the IP icon.
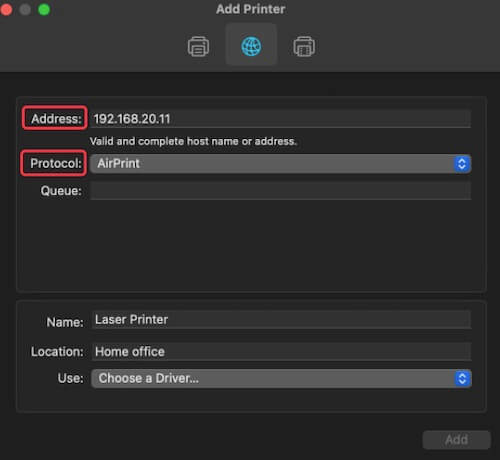
- Enter the printer's IP address in the Address box.
- Rename the printer if you want to.
- Select the printer driver you want to use in the Use: box.
- Click Add.
When you prepare to print some documents or photos with your new printer, the key step is to add it to your Mac. This post offers stepwise methods to help you connect a printer to your Mac via the network, Bluetooth, USB, or IP address. You can select the way that your printer supports it.
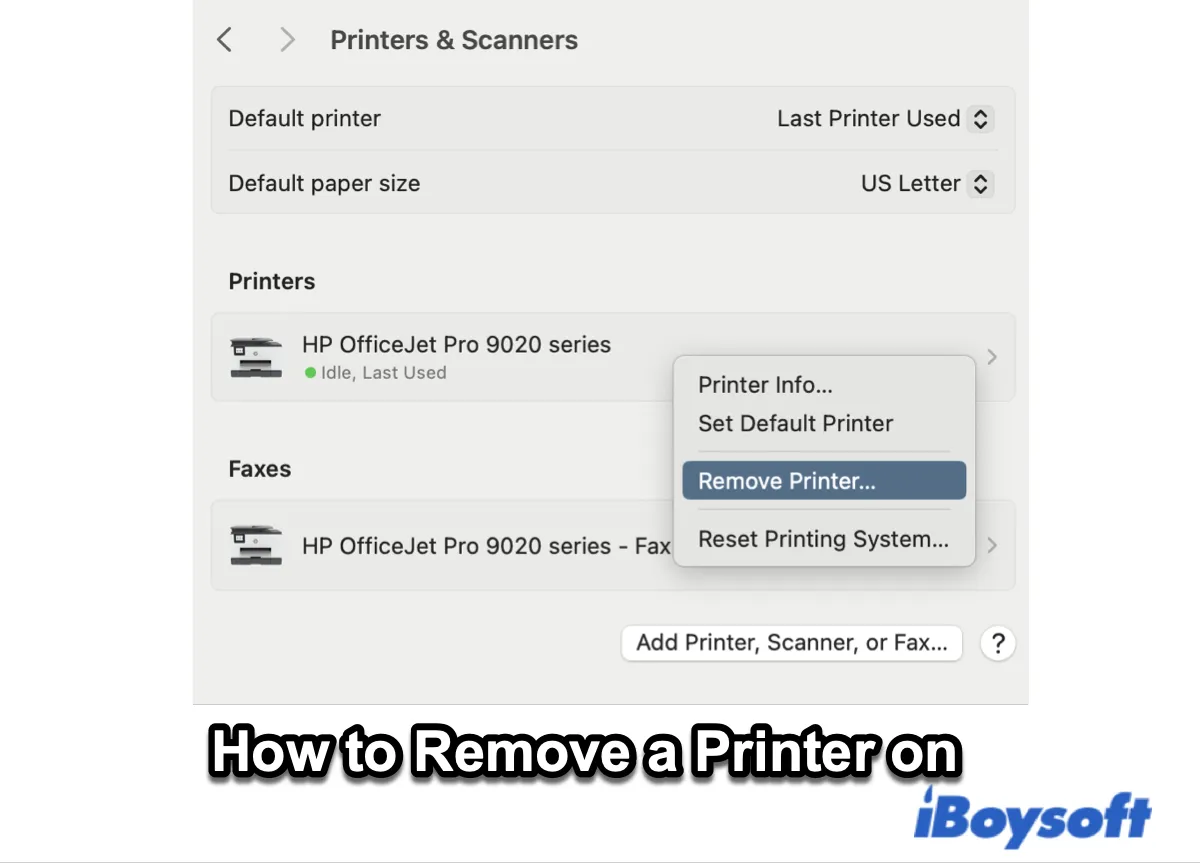
This article provides a step-by-step guide on how to uninstall a printer on a Mac, covering the complete removal of both the printer application and drivers.