
If you have tried to run a script or access a file on your Mac and encountered a "Permission denied" error, you've likely come across advice involving the chmod command.
The chmod command, short for change mode, is a powerful tool used in Unix-based operating systems like macOS to manage file and directory permissions. Properly setting permissions helps ensure that your files are secure, executable when needed, and protected from unauthorized access.
What does the chmod command do
In macOS, every file and directory has associated permissions that determine who can read, write, or execute them, also called RWX permissions. These permissions are divided into three user groups:
- Owner – the user who owns the file.
- Group – users who are part of the file's group.
- Others – all other users.
Each group has: r for read, w for write, and x for execute.
For example, running ls -l in the terminal might return something like this: -rwxr-xr--
This output shows that the owner has read, write, and execute permissions; the group has read and execute; others have read only.
Syntax of the chmod command
The basic syntax of the chmod command on Mac is chmod [options] mode file.
[Here, mode defines the new permissions; file is the name of the file or directory, and options (optional) include flags like -R for recursive changes.]
It has two modes: Symbolic mode and Numeric mode.
chmod command symbolic mode:
| u = user (owner) |
| g = group |
| o = others |
| a = all |
Examples:
chmod u+x script.sh → adds execute permission for the owner.
chmod go-r file.txt → removes read permission from group and others.
chmod command numeric mode:
Each digit represents permissions for the user, group, and others:
| 7 = read + write + execute |
| 6 = read + write |
| 5 = read + execute |
| 4 = read |
| 0 = no permissions |
Example:
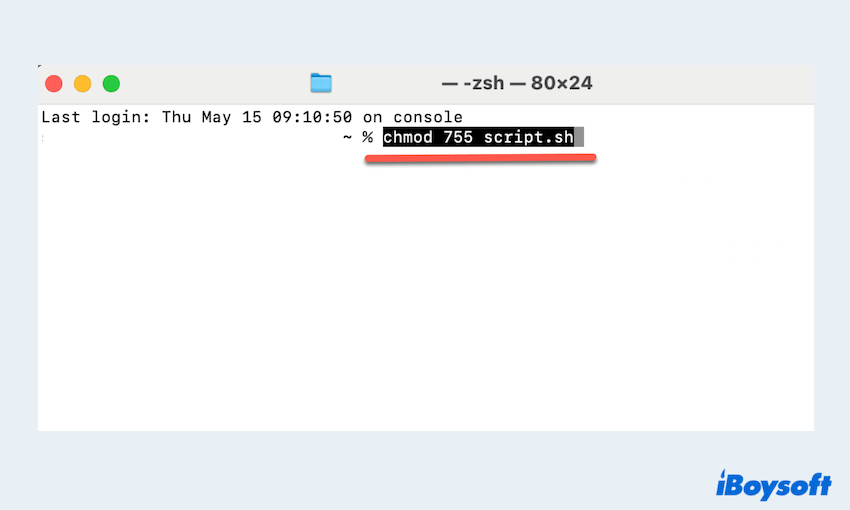
chmod 755 script.sh → full permissions for owner, read & execute for others.
Have you got what is the function of chmod command? Please share our post.
Common chmod examples and explanations
Here are some frequently used chmod commands on Mac:
| Command | Meaning |
| chmod +x file.sh | Adds execute permission for all users |
| chmod 755 file.sh | Owner: read/write/execute; Others: read/execute |
| chmod 644 file.txt | Owner: read/write; Others: read-only |
| chmod 700 file.sh | Only the owner can read/write/execute |
| chmod -R 755 folder/ | Applies 755 permissions recursively to all contents of the folder |
How to use Chmod commands on Mac
Let's learn how to use the chmod command on your Mac Terminal:
- Go to Finder > Applications > Utilities > Terminal.
- Type cd /path/to/your/file to navigate to the file directory.
- Check current permissions using ls -l.
- Type chmod 755 yourfile.sh and type ls -l to verify changes.
Note: Always double-check which permissions you're setting to avoid giving access to unauthorized users, especially when using chmod 777.
Sometimes, you may encounter several chomd command issues, you can:
- Operation not permitted error: Use sudo chmod 755 file.sh in Terminal.
- Ownership conflicts: Use sudo chown yourusername filename in Terminal.
- Recursive risks: Be cautious when using chmod -R on system directories.
The chmod command is an essential tool for anyone using the Mac Terminal to control file and directory permissions. By understanding it, you can maintain a secure and functional environment on your Mac.
Please share this post with more users.