Here is how to troubleshoot the issue you encounter:
Step 1: Check whether the drive mounts on your Mac successfully.
Case  TOSHIBA EXT drive mounts on Mac successfully
Check and see if the TOSHIBA EXT drive mounts successfully on your Mac first. If yes, go back up the drive first in case the professional approach explored later may cause data loss.
Copy all files and folders to another drive via the Disk Clone function of iBoysoft DiskGeeker for Mac is highly recommended since it transfers data safely and stably.
On top of a drive backup, you can upload the files and folders on the TOSHIBA EXT drive to the cloud as a second backup. This adds extra protection to your previous files.
Case  TOSHIBA EXT can’t mount on a Mac
If the TOSHIBA EXT hard drive cannot mount on your Mac successfully, you have to troubleshoot the issue of the external hard drive not mounting on your Mac (External Hard Drive Not Mounting on Mac, How to Fix It?) (this post offers comprehensive solutions to deal with different cases of external hard drive not mounting on Mac).
Once the drive gets mounted on Mac successfully, go to back it up immediately!
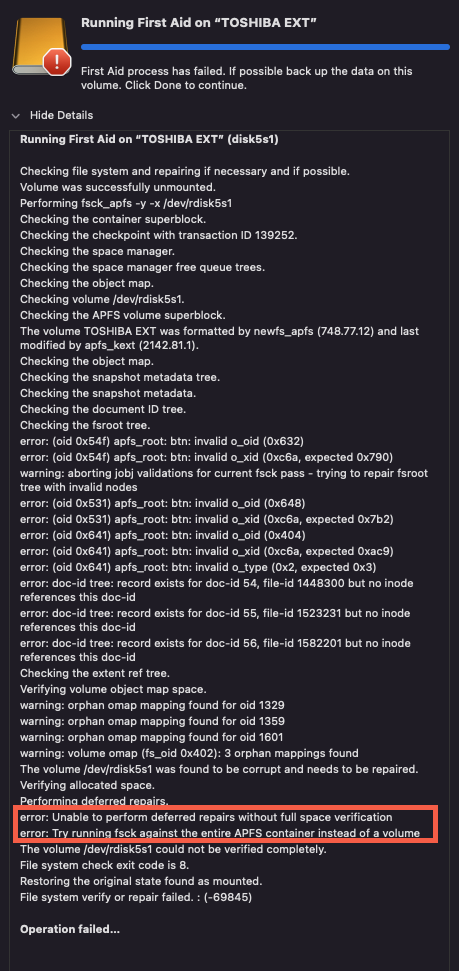
And then you can deal with the error saying “Unable to perform deferred repairs without full space verification”.
Step 2: Run fsck
Once get the drive mounted, try to repair the fsck command to repair the drive. Just like the error says: Try running fsck against the entire APFS container instead of a volume.
Note that the fsck command rebuilds the corrupted file system of the drive, once the file system is rebuilt, it may lose the point and index to your files and folders. So, make sure you have a full backup of the drive, or you may suffer from data loss.
If you unluckily encounter data loss, fetch iBoysoft Data Recovery for Mac to rescue your files with a comprehensive disk scanning and recovery.
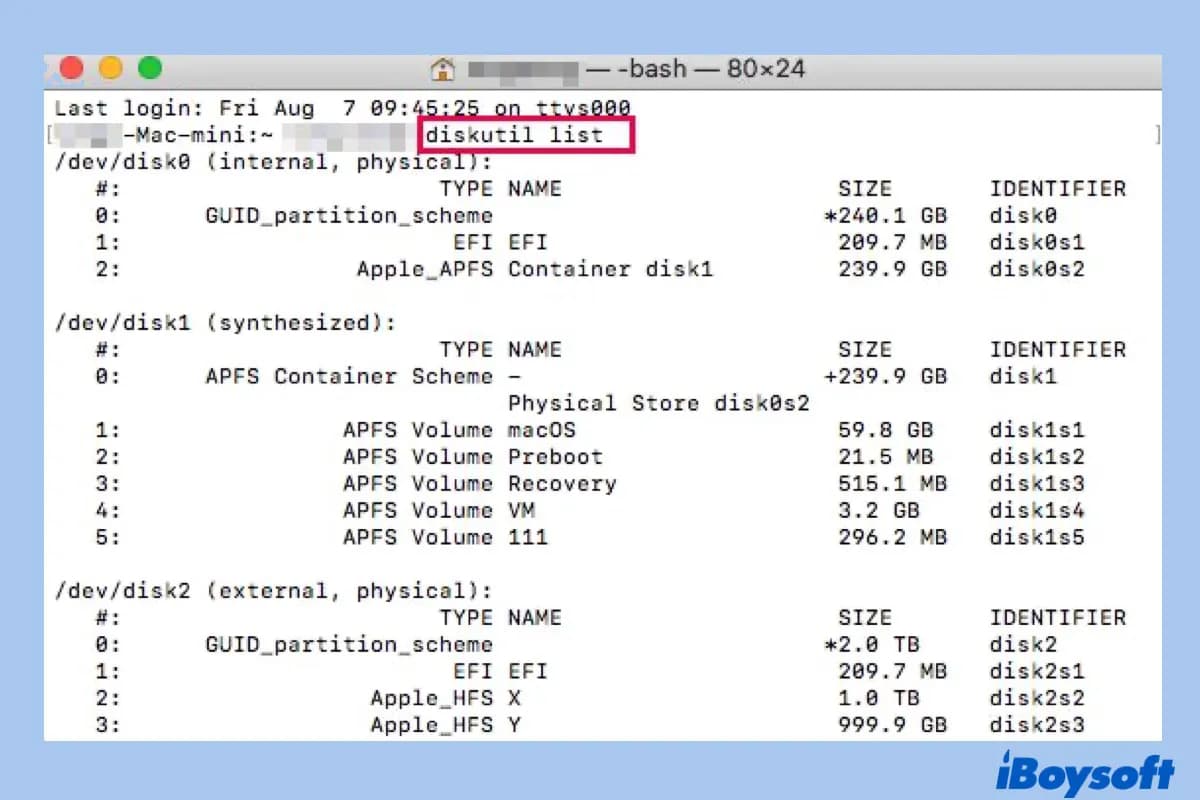
1: Launch Terminal on your Mac.
2: Type in the following command, then press Enter to list all the connected drives on your Mac currently.
diskutil list
3: According to the disk information, locate the disk you want to run fsck on and find its device identifier. It will look like ‘/dev/disk2’.
Remember to write down the identifier of the whole TOSHIBA EXT drive instead of any single partition or volume’s identifier based on the error saying “Try running fsck against the entire APFS container instead of a volume.”
4: Restart your Mac and hold down Command + S keys to boot your Mac into Single User Mode.
5: This time, type in the following command, then press Enter.
You need to replace ‘hfs’ with the true file system of your external hard drive, as well as replace the drive identifier with the one you just located in step 3.
/sbin/fsck_hfs -fy /dev/disk2
6: When fsck is finished checking and repairing the errors in your external hard drive, type ‘reboot’ into the command prompt and press Enter to restart your Mac.