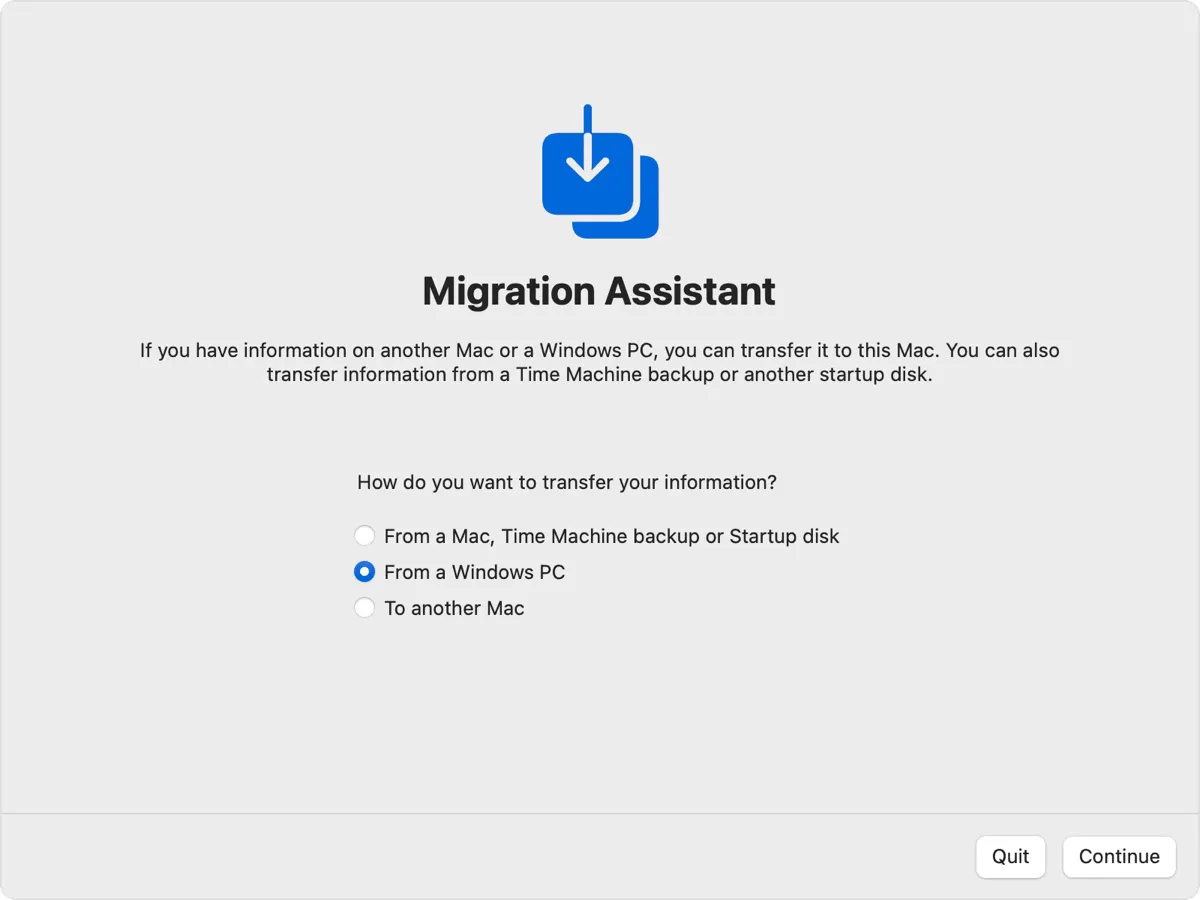
If you're a longtime Windows user and are now switching to macOS, transferring data from your PC to the new MacBook is crucial. Manually copying files can be tedious. Fortunately, the software Windows Migration Assistant can connect your PC and Mac, enabling easy file transfers.
What does Windows Migration Assistant do?
Windows Migration Assistant is a tool designed to help users transfer data from a Windows PC to a Mac. It moves (copies) your contacts, calendars, email accounts, photos, music, documents, applications, and more.
The following table shows what and where the data is transferred to:
| Destination (Mac) | Source Data (Windows) | Notes |
| Mail app | Email and email settings | From Outlook and Windows Mail |
| Contacts app | Contacts | From People (Windows 10+), Outlook, and Contacts folder in home directory |
| Calendar app | Appointments | From Calendar (Windows 10+) and Outlook |
| Reminders app | Tasks | From Outlook; Requires macOS Ventura or later |
| Music app | Music | |
| Podcasts app | Podcasts | |
| Books app | Audiobooks | |
| TV app | Movies/TV shows | |
| Safari | Homepage and bookmarks | From Chrome, Edge, Firefox, Internet Explorer, and Safari |
| System Settings/Preferences | Custom desktop pictures, language settings, location settings | Wi-Fi networks require macOS Ventura or later |
| Home folder | Documents, files from home directory; Photos | Photos must be added manually to Photos app or auto-discovered |
| Shared folder (Home folder) | Non-system files/documents from system disk and other disks | Requires Migration Assistant + PC admin login during transfer |
Share the information if you find it helpful!
How to download Windows Migration Assistant?
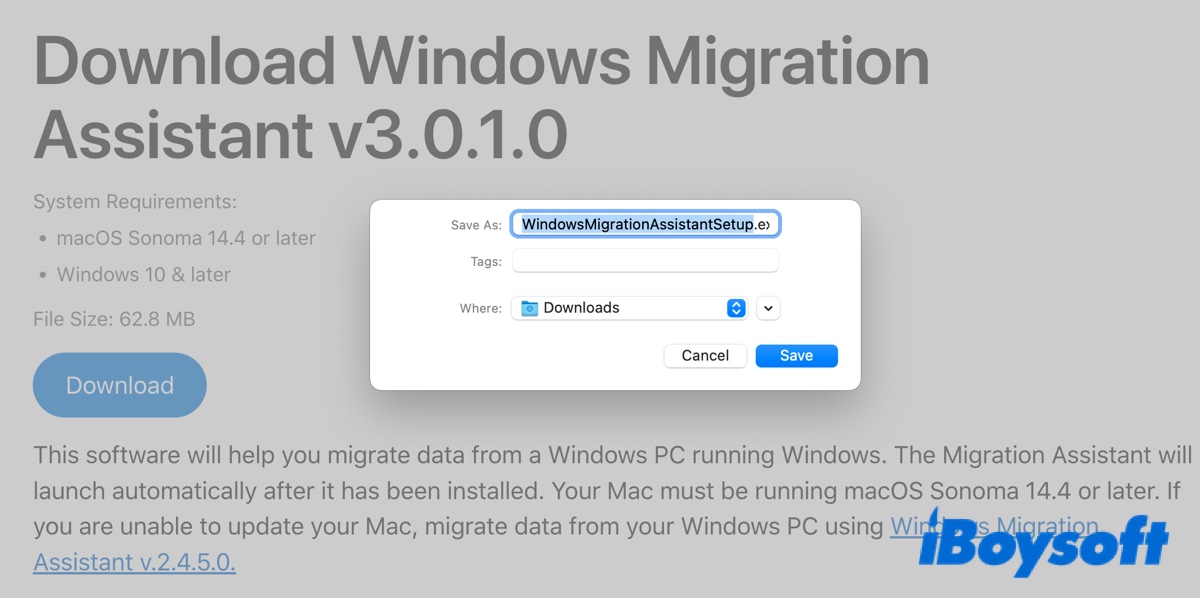
When you're ready to transfer files, download Windows Migration Assistant on your Windows PC from the following links. Remember to choose the version compatible with your macOS version.
It's recommended to update your Mac first and then download the proper version of Windows Migration Assistant.
| Windows Migration Assistant Download | Compatible macOS Versions |
| Windows Migration Assistant v3.0.1.0 | macOS Sonoma 14.4 and later Sonoma versions, macOS Sequoia |
| Windows Migration Assistant 2.4.5.0 | macOS Sonoma 14.3.1 and earlier Sonoma versions, macOS Ventura, macOS Monterey |
| Windows Migration Assistant 2.3.1.0 | macOS Big Sur |
| Windows Migration Assistant 2.2.0.1 | macOS Catalina or macOS Mojave |
| Windows Migration Assistant 2.1.2.0 | macOS High Sierra or macOS Sierra |
| Windows Migration Assistant 1.0.5.7 | OS X El Capitan or earlier |
For instance, if you need to download Windows Migration Assistant for macOS Sequoia 15.1, get the latest version, Windows Migration Assistant v3.0.1.0, on your PC.
Tips: Windows Migration Assistant not working?
If the Windows Migration Assistant doesn't work, it's likely because it's not compatible with the macOS version running on your Mac. Therefore, ensure you select the correct version when downloading.
How to transfer files from PC to Mac?
With the Windows Migration Assistant downloaded, you can now migrate files from your PC to the Mac with the steps below.
Before starting, make sure you've done the following:
- Update your Mac to the latest version.
- Update your Windows PC to the latest version.
- Turn off antivirus software, firewall software, or VPN software on both computers.
- Turn on Wi-Fi on both computers.
WiFi alone is enough to transfer data from Windows to a Mac that runs macOS Sonoma or later. However, if your Mac is still running macOS Ventura or an earlier version, you need to connect your PC and Mac to the same network or directly using an Ethernet cable.
Note that you might need a Bluetooth Low Energy adapter if your old PC doesn't support Bluetooth Low Energy.
Step 1: Connect your PC and Mac through Migration Assistant
If you downloaded Windows Migration Assistant v3.0.1.0 on a Mac running macOS Sonoma 14.4 or later:
- On your Mac, open the built-in Migration Assistant from Finder > Applications > Utilities.
- Follow the onscreen instructions.
- When it asks you how you want to transfer your information, choose "From a Windows PC."
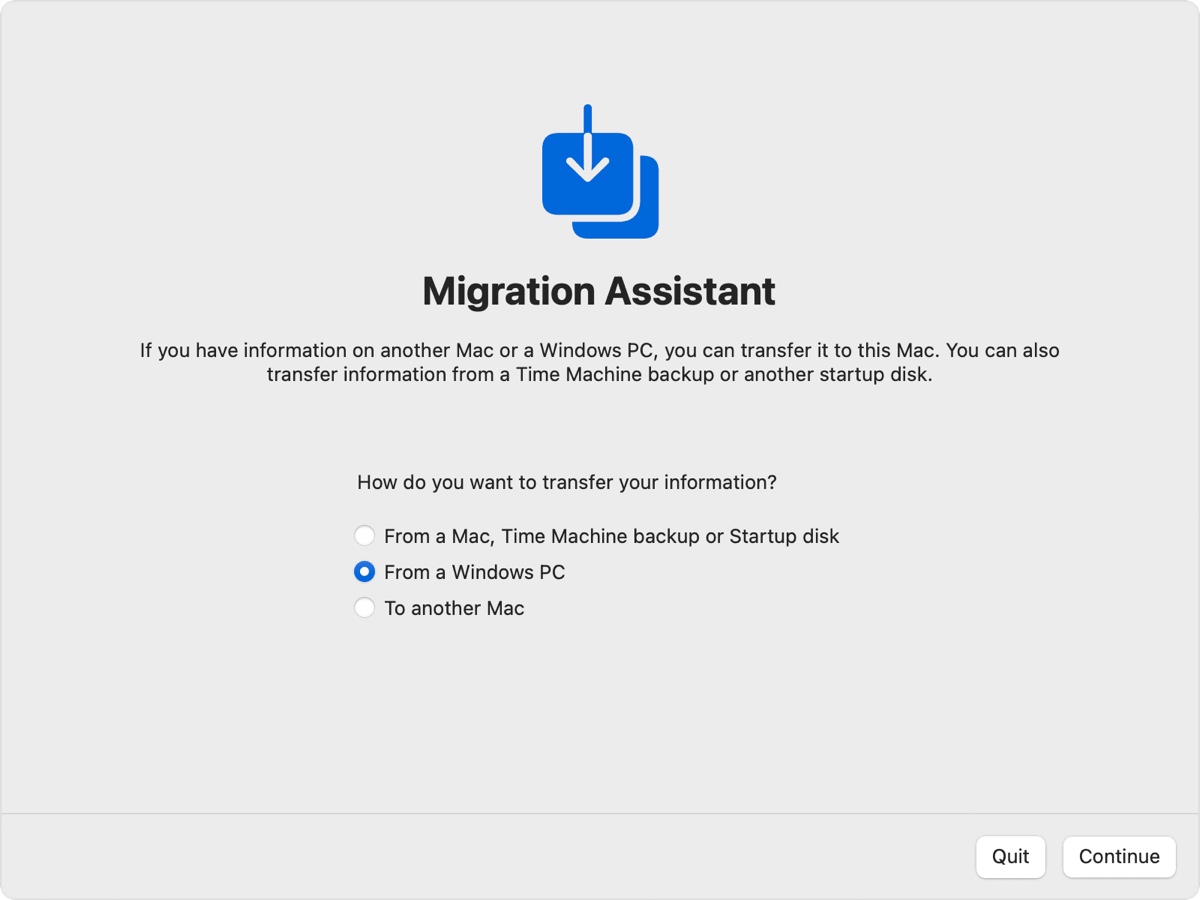
- Then your Mac will show a code and ask you to enter that code on your Windows PC.
- Open Windows Migration Assistant on your PC, and follow the instructions.
- When it asks you to enter the code displayed on your Mac, enter it and click Continue.
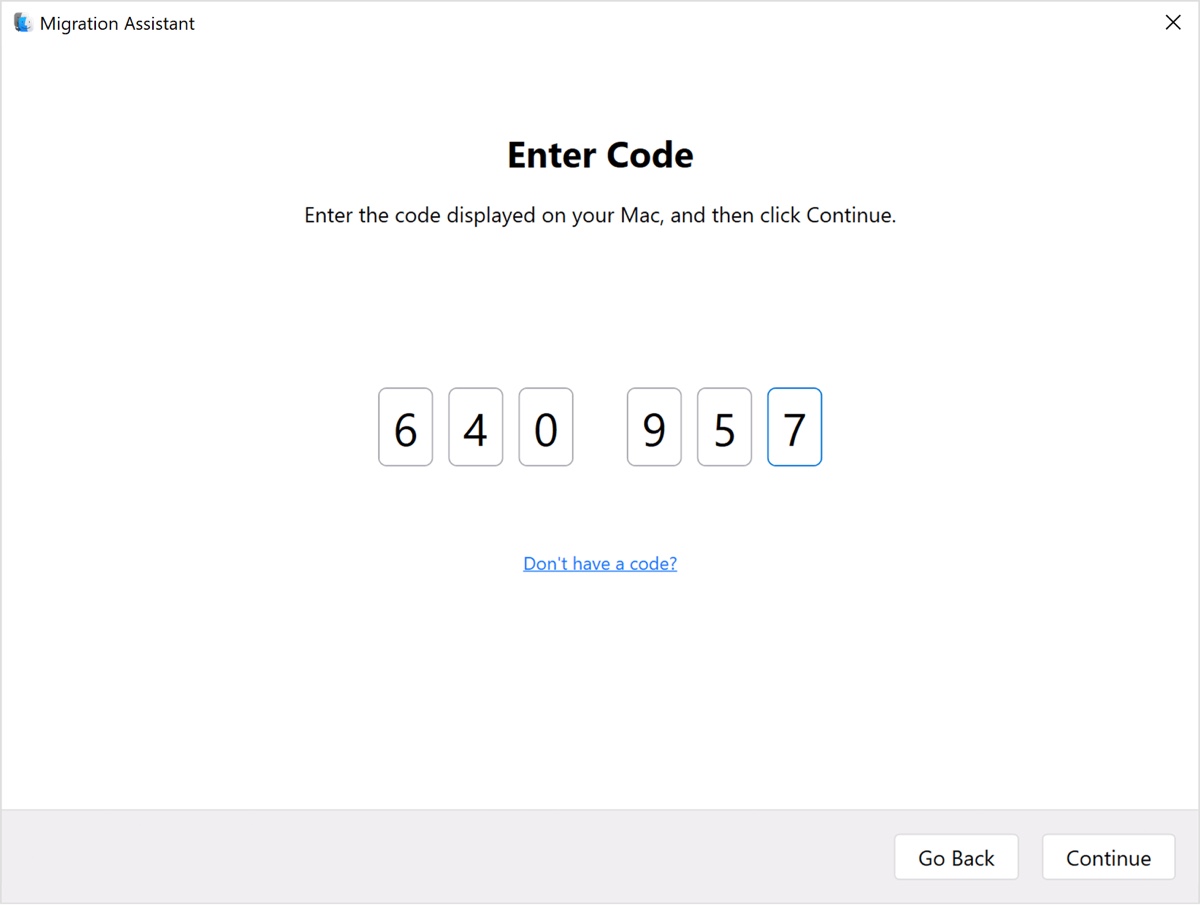
- Wait while Migration Assistant tries to connect your Mac and PC.
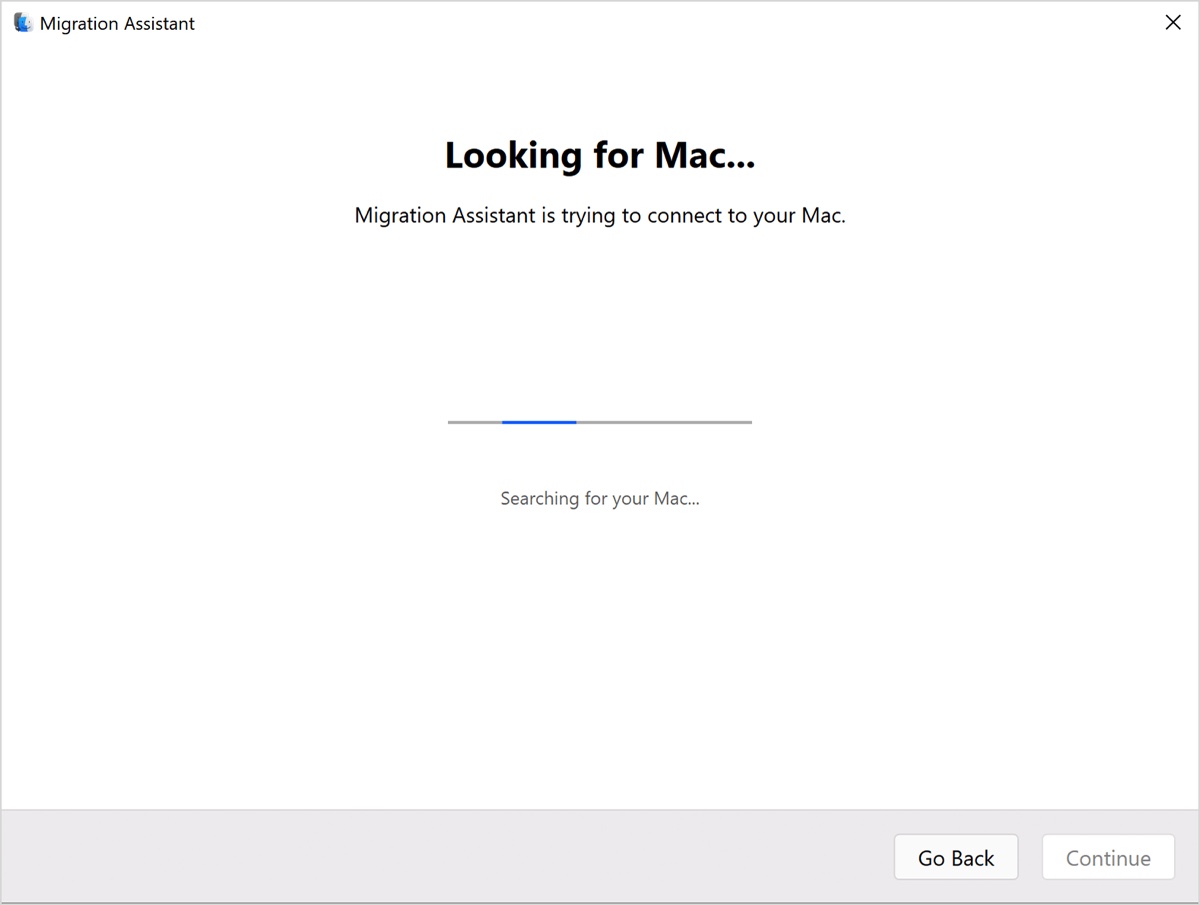
If you downloaded an earlier version:
- On your PC, launch Windows Migration Assistant.
- Follow the instructions on the screen until it starts to look for your Mac.
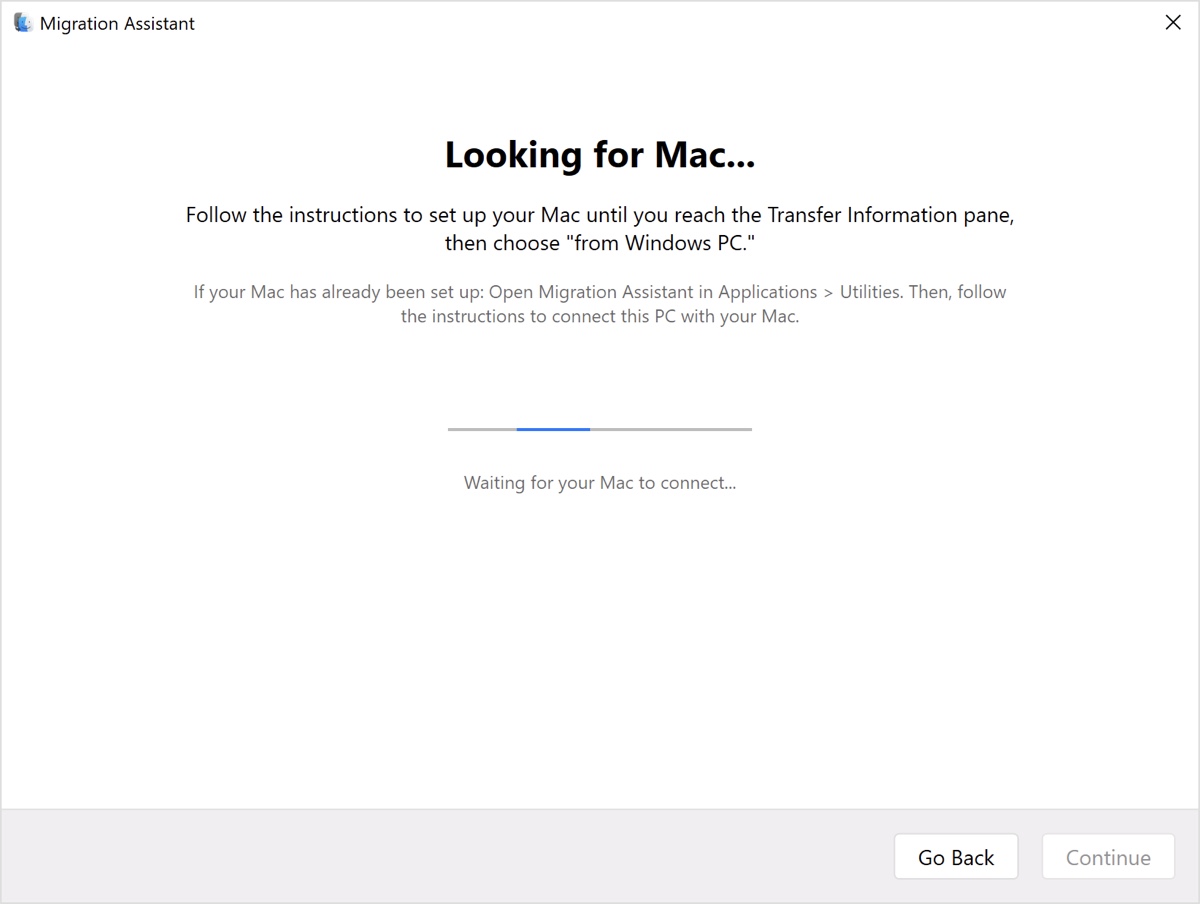
- On your Mac, open Migration Assistant from Finder > Applications > Utilities.
- Follow the onscreen instructions.
- When you're asked how you want to transfer your information, choose "From a Windows PC."
- On your Mac, choose the icon that represents your Windows PC and click Continue.
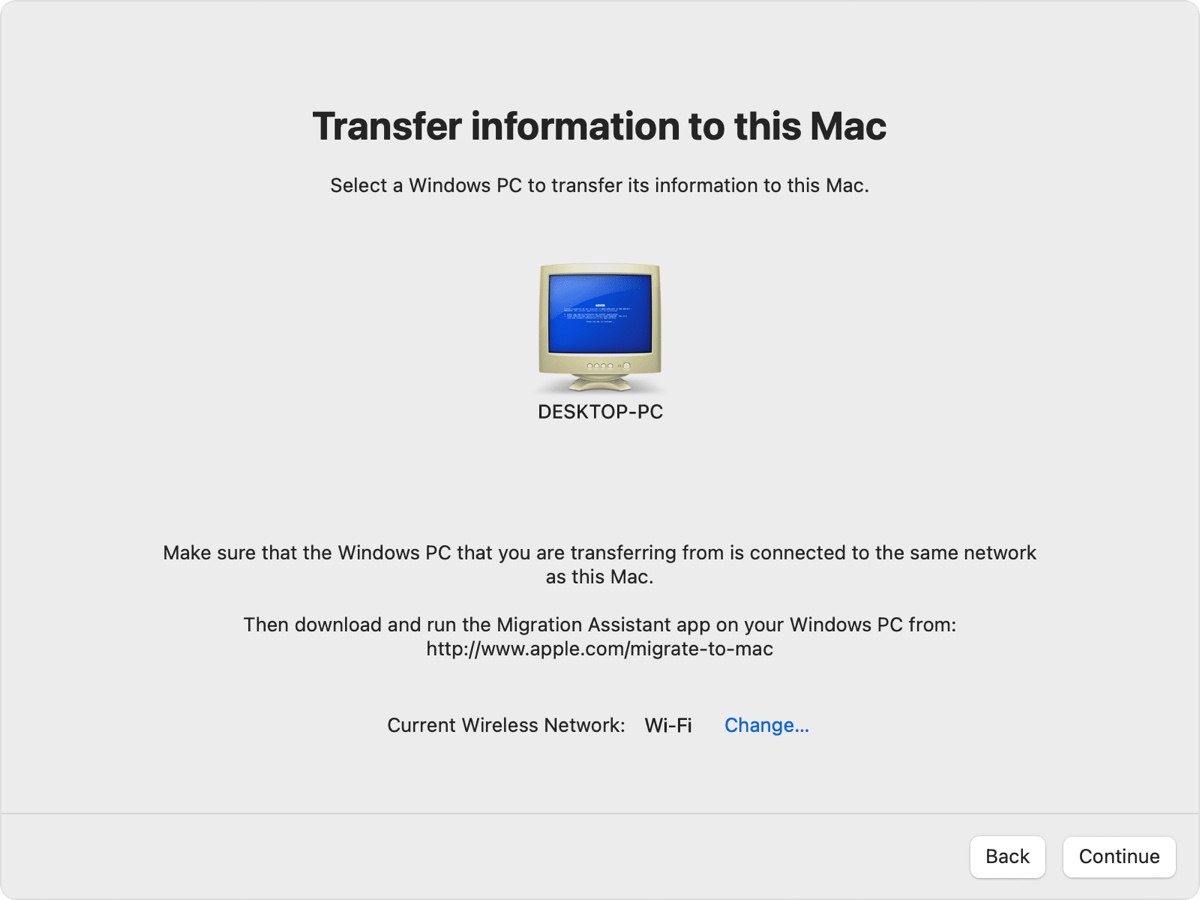
- Ensure your PC shows the same code as your Mac and click Continue.
- Wait for Migration Assistant to make the connection.
Step 2: Transfer from Windows to Mac
After connecting your PC and Mac, Migration Assistant on your Mac will index the data on your PC and calculate the storage space needed for each type of file. It may take a while.
When ready, it will allow you to choose which information you'd like to transfer from your PC to the Mac. After choosing the data you want to migrate, click Continue to start the transfer. You can begin the transfer at night, as large transfers might need hours to finish.
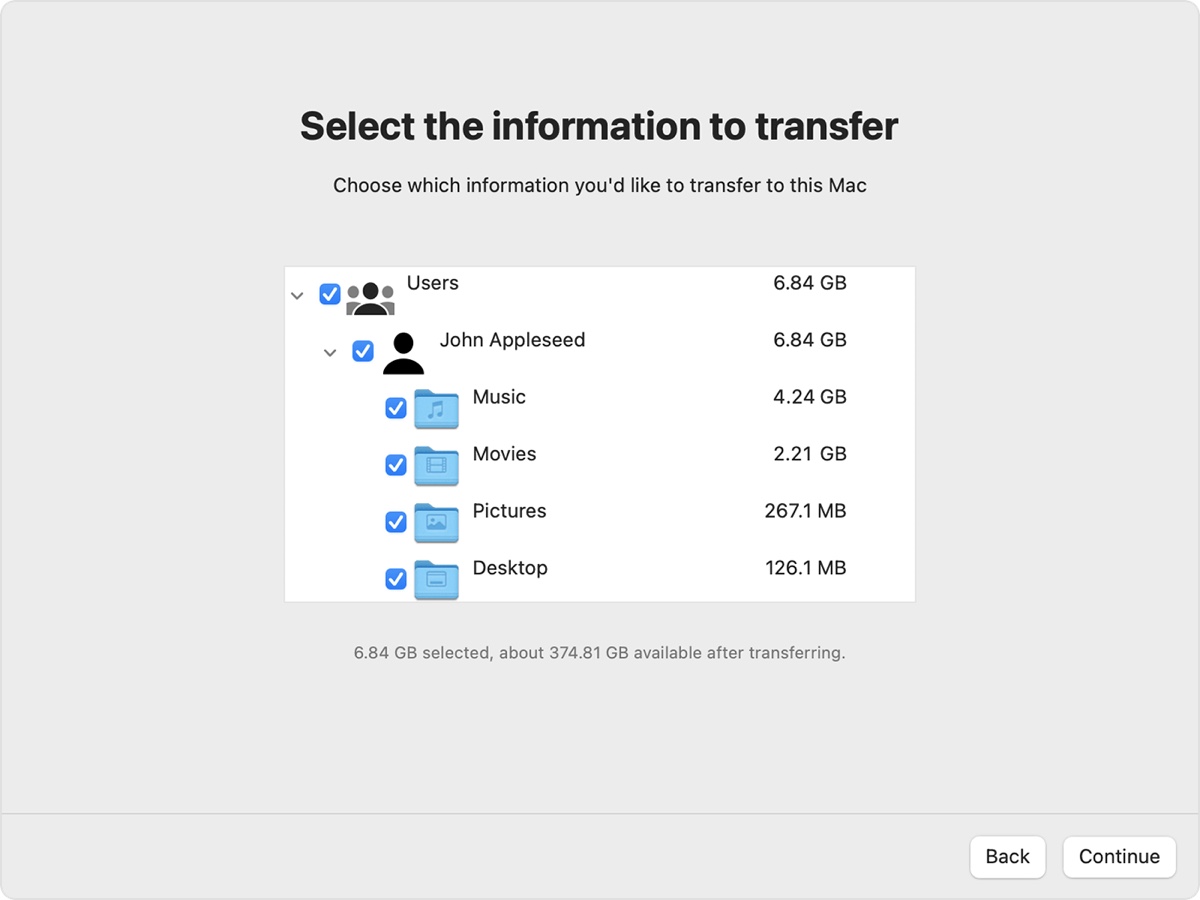
Once the migration is complete, you can close the Migration Assistant on both computers and log in to the migrated account on your Mac to check the files. If you need to transfer documents from another Windows user account, log in with that account on your PC and repeat the steps above.
Share the steps on how to transfer files from PC to Mac with others!
FAQs about Windows Migration Assistant
- QIs Windows Migration Assistant free?
-
A
Yes, Windows Migration Assistant is a free utility enabling you to transfer data from Windows to a Mac.
- QDoes Migration Assistant copy everything?
-
A
Although Migration Assistant is a very powerful tool that can typically transfer all information you select, including user accounts, user data, applications, system and network settings, and other files and folders, it doesn't copy everything. Incompatible applications and certain low-level system files won't be copied over.
