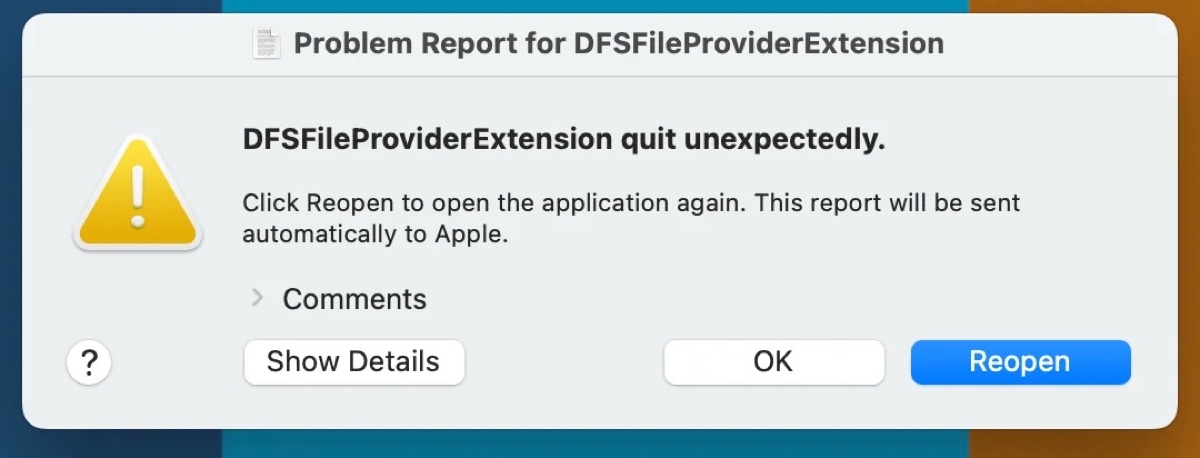
Sometimes, you may receive the error "DFSFileProviderExtension quit unexpectedly" on your Mac's desktop. While it allows you to close the popup by clicking OK, it can reappear after a while. Some may have secondary problems, such as intermittently being unable to import or export files, open certain files, or not having full access to Google Drive.
Fortunately, the error is relatively easy to eliminate. You'll find out the solutions in the following paragraphs.
What is DFSFileProviderExtension on Mac?
DFSFileProviderExtension on Mac is part of Apple's File Provider framework, a system-level feature that enables third-party apps to present and manage their files within Finder, particularly those that offer cloud-based storage or synchronization services. For example, services like Google Drive, OneDrive, Dropbox, or custom enterprise storage systems.
This framework allows third-party applications to show files from external data sources, like cloud servers, directly in Finder, making remote content appear as if it is stored locally. Taking Google Drive for Desktop as an example, DFSFileProviderExtension makes it possible to access your files on Google Drive in Finder without launching the app first.
What does DFSFileProviderExtension quit unexpectedly mean?
The notification "DFSFileProviderExtension quit unexpectedly" on Mac often comes with a "Show Details" button. If you click on it, you can learn which cloud service app is causing the trouble. Usually, there are two reasons that may result in the error "DFSFileProviderExtension quit unexpectedly."
First, the system extension of Google Drive is not enabled. Second, the support libraries and preference files of the culprit app may be corrupted.
How to fix DFSFileProviderExtension quit unexpectedly on Mac?
If the error "DFSFileProviderExtension quit unexpectedly" keeps showing up, fix it with the following solutions!
Fix 1: Enable Google Drive system extension
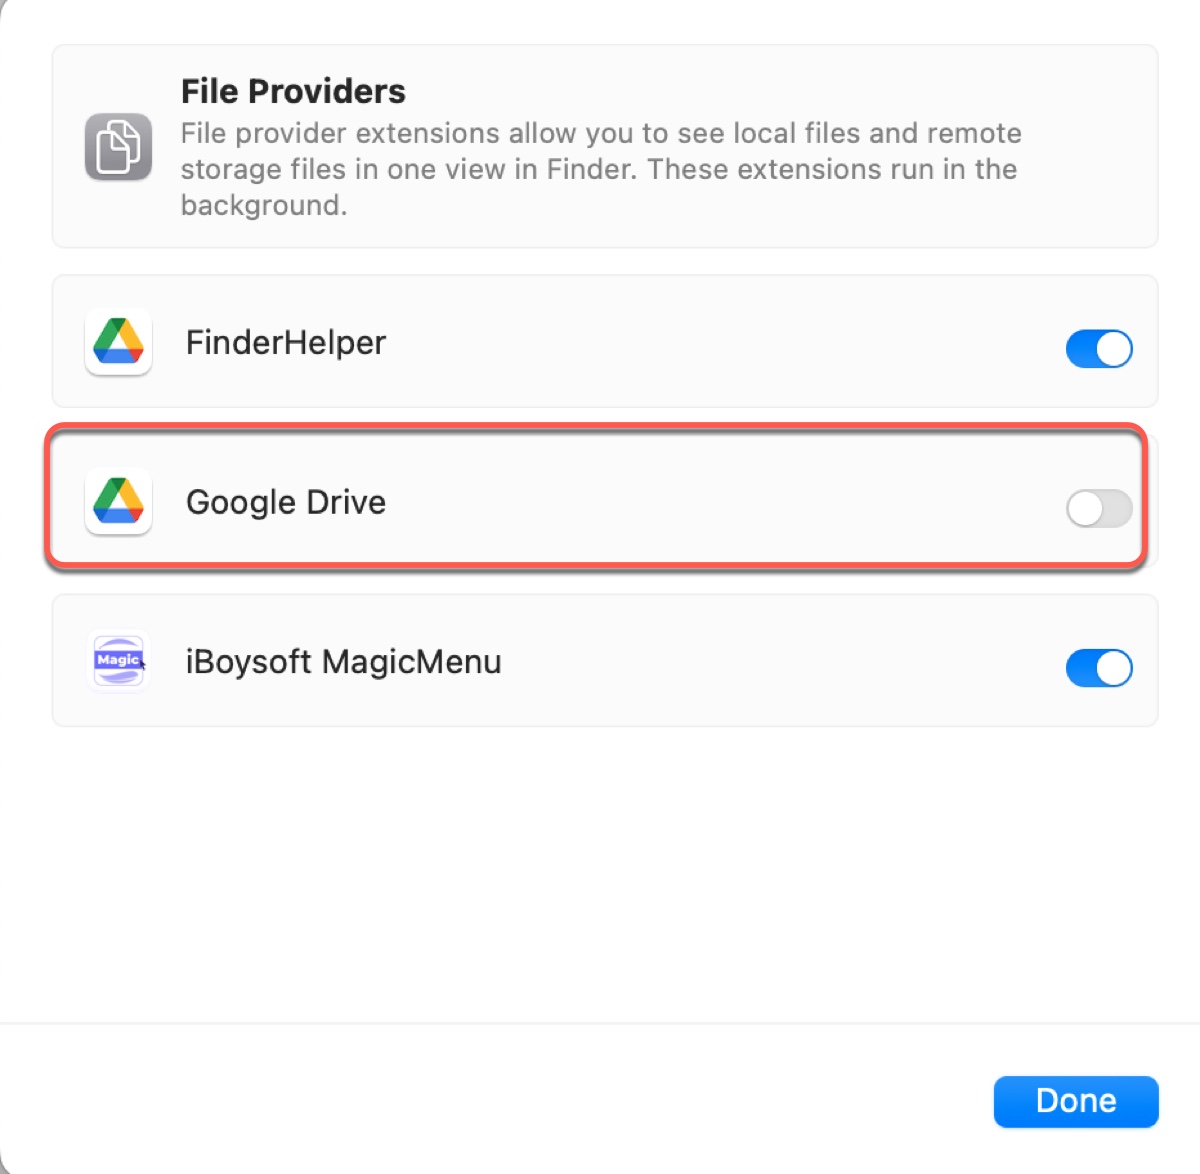
If the problem lies in extensions, enabling those related to the application causing the error should fix the problem. To do this, go to System Settings/Preferences, then search for extensions in the search bar. Open the relevant tab and then enable Google Drive for Finder Extensions or added Extensions if any.
For instance, on macOS Sequoia, you can search and open extensions, then tap "File Providers," turn on "Google Drive" and click Done.
Fix 2: Switch the sync option to Mirror
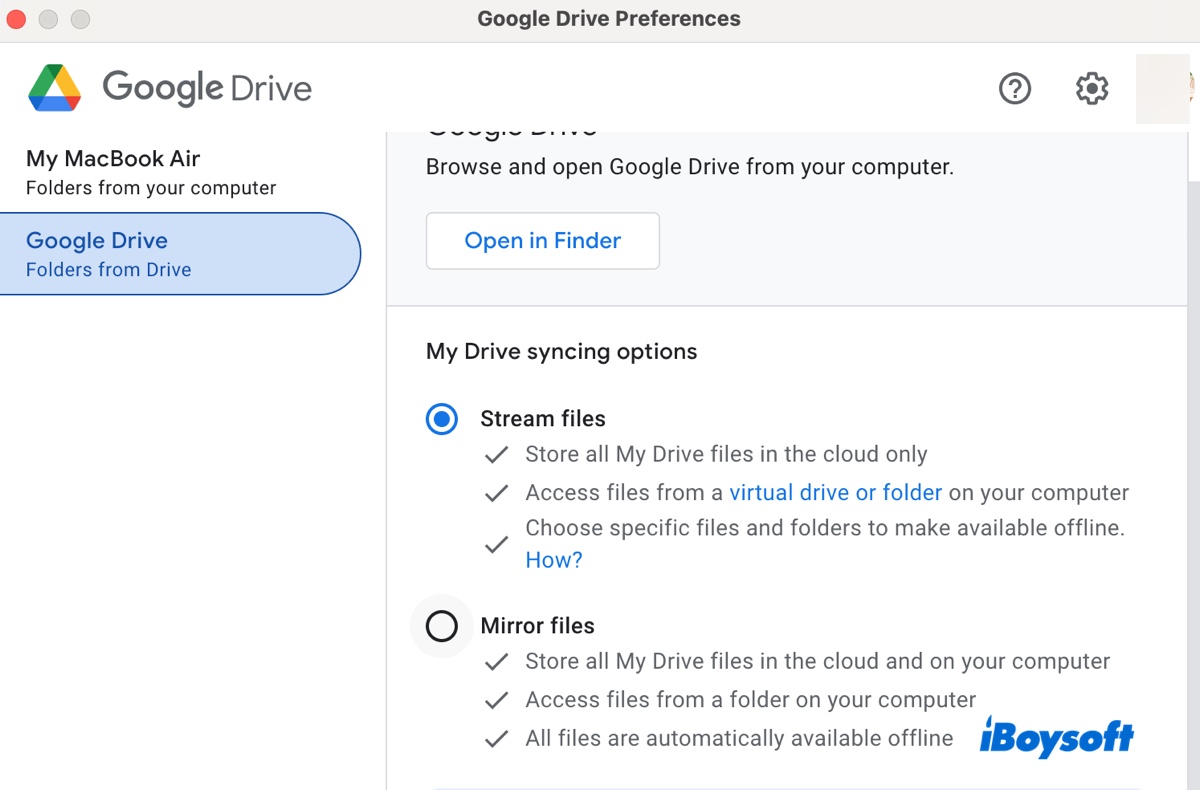
Another solution is to change the sync option from mirroring mode to streaming mode. In streaming mode, all your My Drive files are stored in the cloud only, and Google Drive for Desktop will only download files you choose when you ask it to. Mirroring mode, however, stores all files in the cloud and on your computer. Here's how:
- Launch Google Drive from the Applications folder.
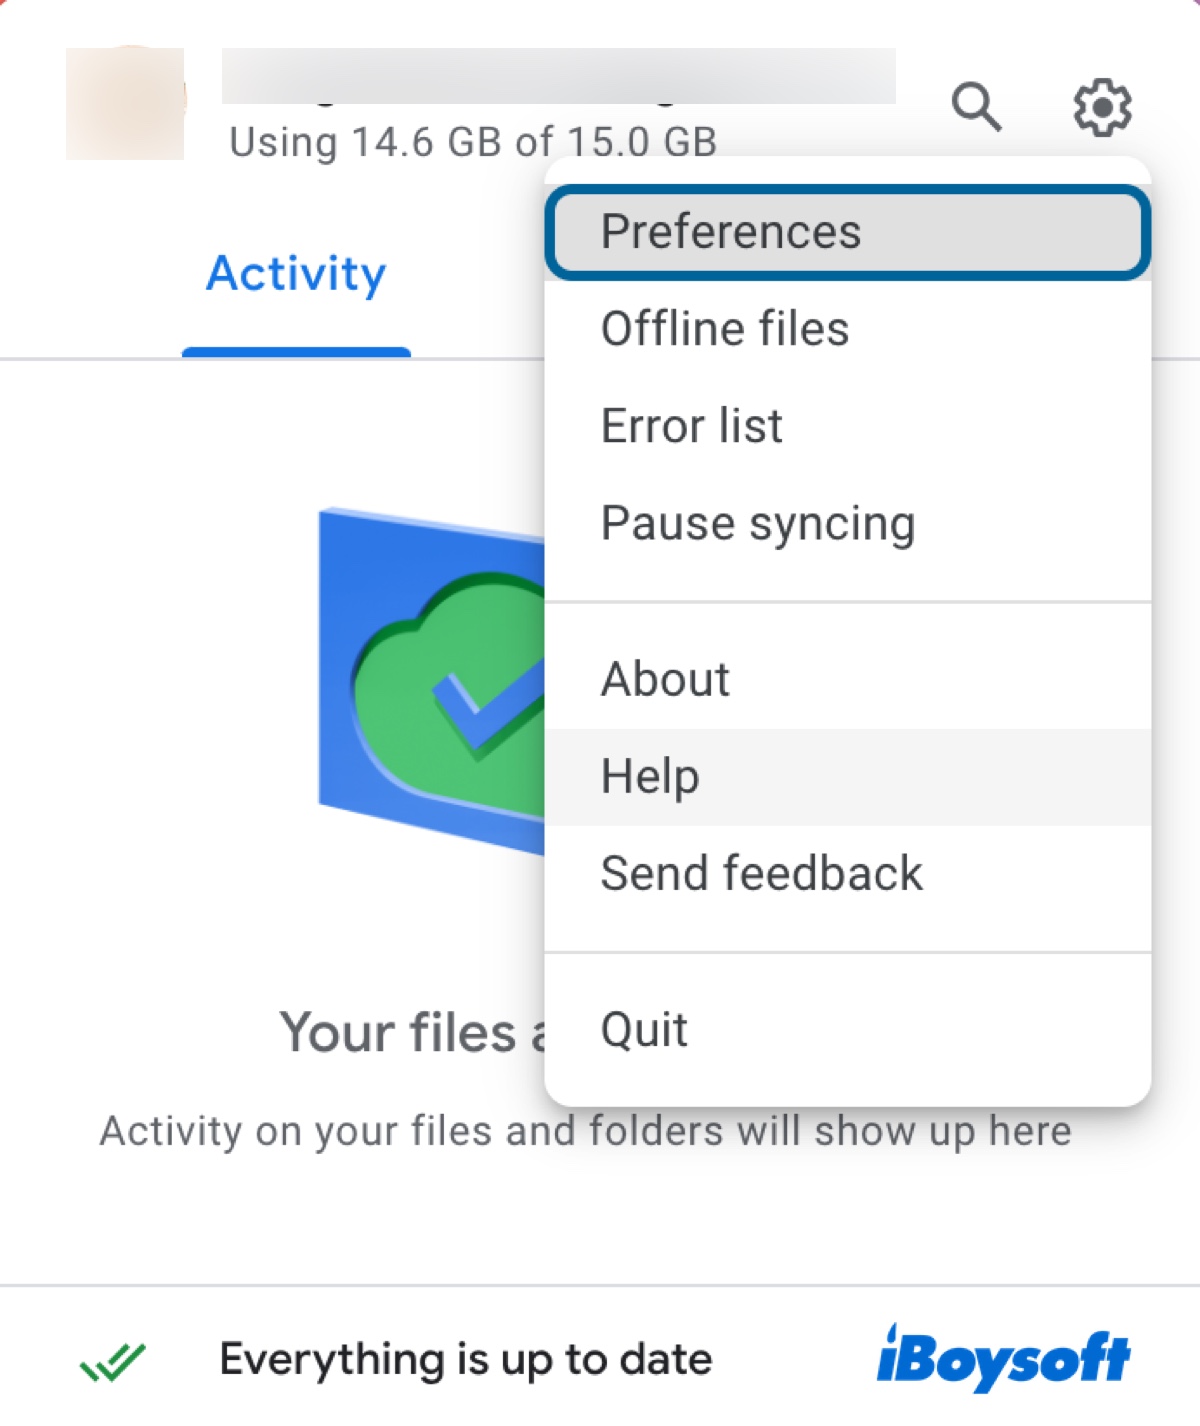
- Click the gear icon and choose Preferences.
- Click Google Drive from the left.
- Choose "Mirror files."
Fix 3: Uninstall and reinstall the app
If the error "DFSFileProviderExtension quit unexpectedly" continues to appear, consider uninstalling and reinstalling Google Drive. This allows you to get rid of whatever is wrong with the app and have a fresh restart.
Before removing Google Drive, you should disconnect your account and quit the app to avoid potential failure at uninstalling. Follow these steps:
- Open Google Drive.
- Click the gear icon > Preferences.
- Tap the gear icon in "Google Drive Preferences."
- Click "Disconnect account" next to your login name.
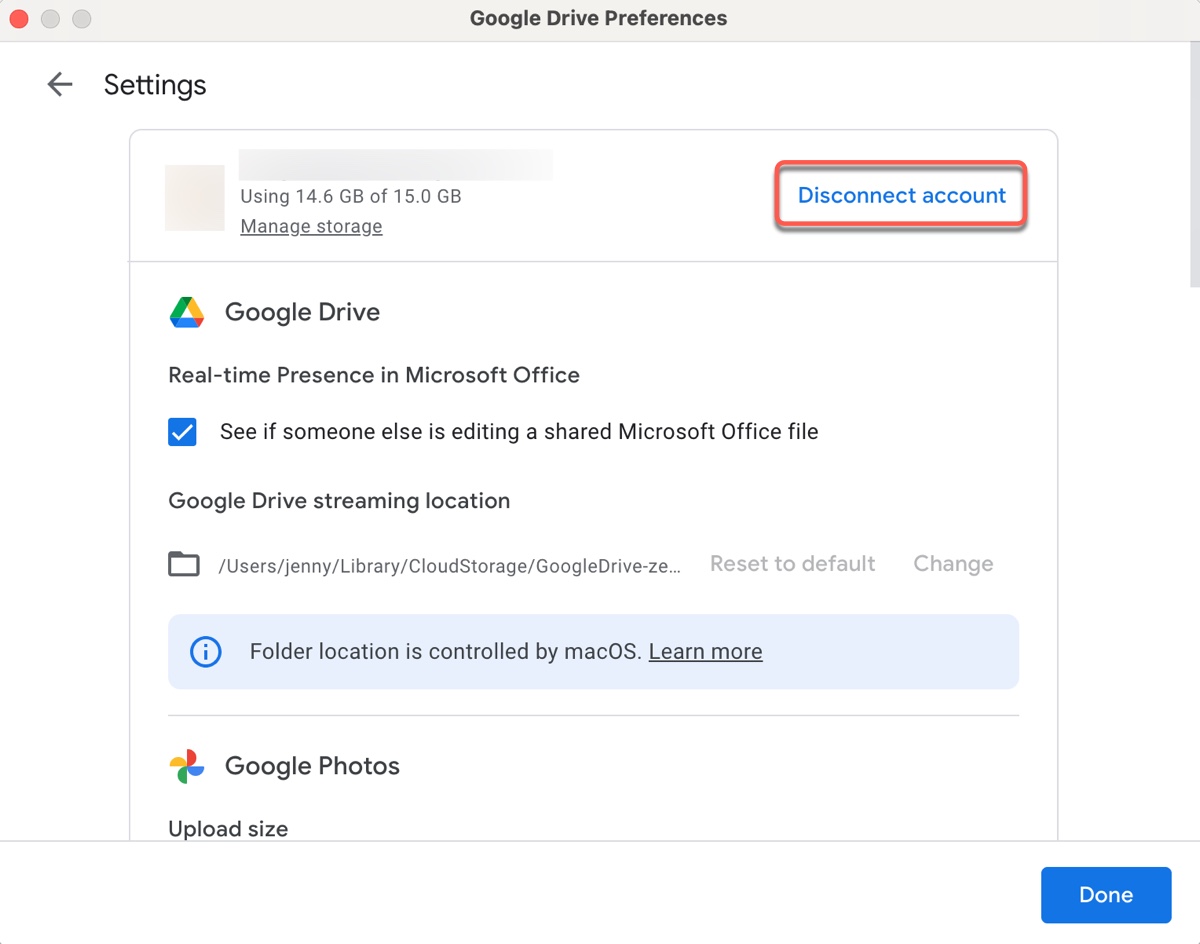
- Click Disconnect again.
- Quit Google Drive if it's not closed already.
Then you can proceed to uninstall it.
Note that simply deleting the app doesn't remove it from your Mac completely. Files supporting this app's operation are still on the internal hard drive. They'll keep raising issues and consuming storage space. To fully uninstall Google Drive and hopefully eradicate the notification, you can use a dedicated app uninstaller or manually delete all related files.
It's recommended to use CleanMyApp, a reliable application uninstaller, to uninstall Google Drive from your Mac completely. This tool can detect all files generated by an app and delete them all at once, saving you time for manually searching.
Take the following steps to fully uninstall Google Drive from your Mac:
Step 1: Download and install CleanMyApp.
Step 2: Select Google Drive from the list of detected apps.
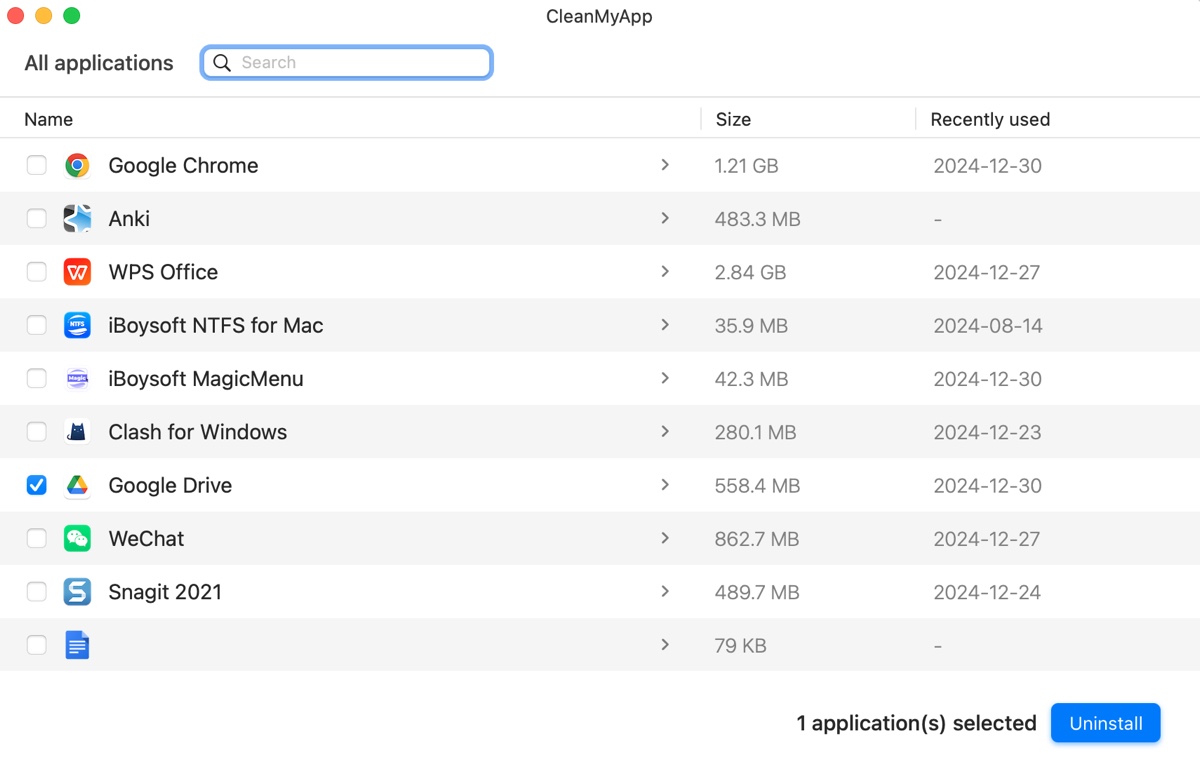
Step 3: Click Uninstall.
Step 4: Tap "Continue Uninstall."
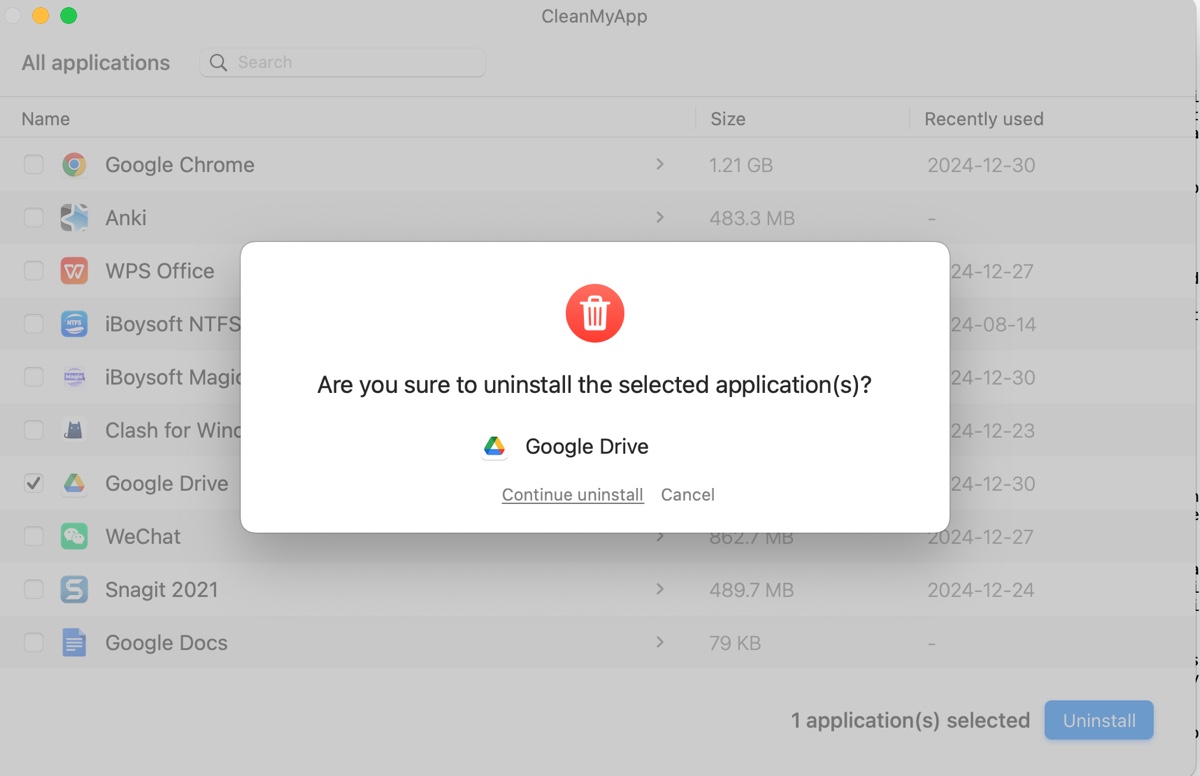
Step 5: Wait while it's uninstalling Google Drive.
After that, you can reinstall Google Drive from its official channel.
Suppose you decide to take your time and uninstall Google Drive manually; then you can remove it this way:
- Open the Applications folder in Finder.
- Move Google Drive to Trash.
- Click Go > Go to Folder.
- Search for the following paths and remove any files related to Google Drive.
~/Library/Caches
~/Library/Preferences
~/Library/LaunchAgents
~/Library/LaunchDaemons
~/Library/Application Support
~/Library/Saved Applications State
~/Library/PreferencePanes
~/Library/StartupItems - Empty the Trash.
Share this guide if you find it useful!
