
Written by
Vain Rowe
How To Disable A Thumbnail Screenshot Preview On A Mac?
Once you take a screenshot on a Mac, it will open in Preview automatically within seconds or any other photo opener that you set based on your preference. This feature is quite convenient and considerate. Yet it can be a trouble when you desire to take screenshots in succession since it stops responding before displaying the images you capture.
Or, if you want the captured screenshots to go to the default folder directly without displaying, you can disable the screenshot thumbnail preview on Mac.
This post from iBoysoft gathers all workable ways to disable screenshot preview on Mac allowing you to try the one you prefer. Moreover, some tips about screenshot thumbnail preview are also covered! If you're interested in any of them, just keep reading!
How to disable screenshot preview on Mac?
We give two ways to close the automatic display of screenshots on your Mac computer, one is via the Screenshot app and the other one is to utilize Mac Terminal. You can try the first one if you prefer step-wise instruction, while if you are interested in command lines, go to the second way straightforwardly!
Method 1: Disable screenshot preview on Mac via the Screenshot app
The Screenshot app is the default helper that proceeds with the normal screenshot task on your computer. You can launch it to disable the screenshot preview on your machine here:
- Launch the Screenshot app on your Mac via Spotlight Search or pressing the Command + Shift + 5 keys together on your keyboard.
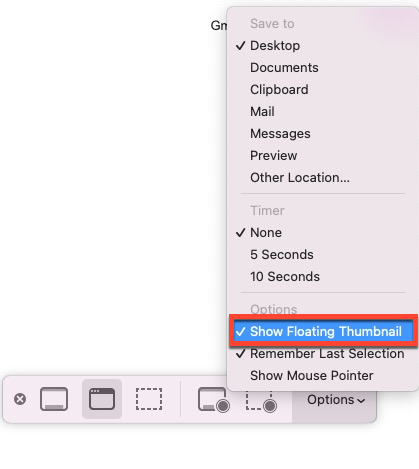
- You will see a menu bar showing up on your Mac desktop. Click the Options button for further actions.
- Locate the Show Floating Thumbnail option and uncheck it. Then the screenshot you capture will not display in a thumbnail way.
- Click the X button in the menu bar or click the Esc key on the keyboard to exit this modification.
If you want Mac to show the screenshot you captured one day, go ahead to check the Show Floating Thumbnail option in the Screenshot app.
Method 2: Disable screenshot preview on Mac via Mac Terminal
Mac Terminal is such a wonderful utility that executes the command line you give in a straightforward manner, and it also does well in disabling screenshot preview on Mac computers.
Keep in mind that the command line you give to Terminal is 100 percent correct or you might put your OS at risk.
- Launch Mac Terminal in Finder > Applications > Utilities.
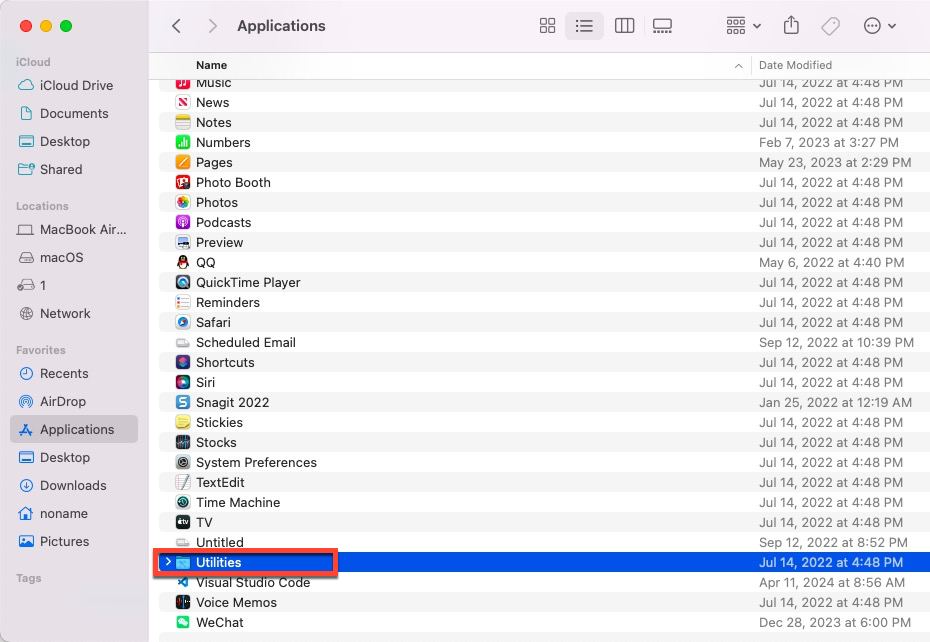
- Select Terminal in the app list.
- Copy and paste the following command line in the Terminal:defaults write com.apple.screencapture show-thumbnail -bool false
- Hit the Return/Enter key to execute this command line. Then Terminal will disable the screenshot preview on Mac.
- Close Mac Terminal and you're all set!
If you discover that Mac still displays the screenshot you take, give it a restart.
Suppose that you need a Mac to show the screenshot one day, execute this command line in the Mac Terminal:
defaults write com.apple.screencapture show-thumbnail -bool true
If you find these two ways helpful in disabling the screenshot preview on Mac, kindly share them with more people!
Mac screenshot preview not showing, how to fix it?
Some users have complained about an issue of Mac screenshot preview not showing even with the Show Floating Thumbnail option checked, that's quite quirky.
Facing this, you can uncheck the Show Floating Thumbnail option and check it one more time to see if the trouble disappears.
If not, try to completely reset your Finder preferences:
- Open a Finder window and navigate to Home > Library > Preferences folder.
- Trash the file com.apple.finder.plist.
- Restart your Mac.
How to stop screenshots from saving to the Mac desktop?
So I've just upgraded to a MacBook Pro 2019 and have a screenshot of a page to send to someone, it's been saved but it also appeared on my home screen, which I don't want. Does anyone know how I stop this from happening I don't want my homepage to be covered in screen shots.
Have the same question here? You have come to the right place. Honestly, Apple allows users to change the saving location of any screenshot you capture. Here is how:
- Launch the Screenshot app on your Mac computer.
- Expand the Options menubar and you can see the Save to section, where you can choose which path your screenshot will go.
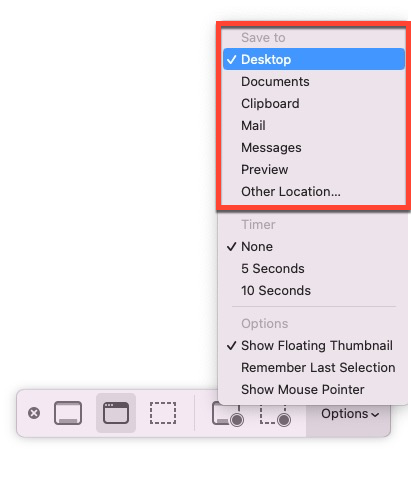
- Just select the desired one and then all the screenshots will go to that path as you wish.
Mac Screenshot not working, how to fix it?
So many users have complained about the issue of Mac screenshot not working on Mac online, which almost drives people crazy. Luckily, we give three ways to get this trouble fixed. You can gain detailed information here:
Solution 1: Restart and update your Mac computer
Here are 3 ways for you to restart your Mac:
- Press the Power key on your keyboard. Choose Restart to restart Mac.
- Choose Restart from the Apple drop-down list.
- Press Control + Command + Power to restart your Mac.
Here is how to update your Mac:
Apple Menu > System Settings > General > Software Update
Solution 2: Check the keyboard shortcut settings
Step 1: Click on the Apple logo at the menu bar and choose System Settings.
Step 2: Click Keyboard and then choose Shortcuts.
Step 3: Click Screenshots in the list.
Step 4: Check whether the shortcuts to take screenshots are disabled.
Step 5: If so, enable it and set it properly.
Solution 3: Take screenshots using third-party software
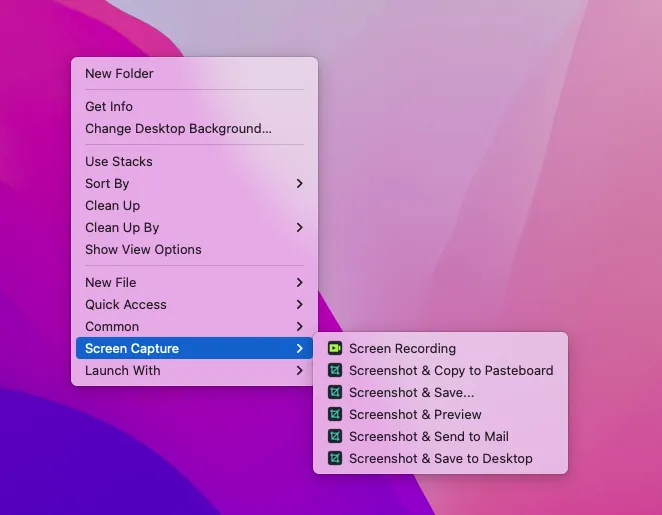
Without the built-in screenshot feature, you can also try a third-party screenshot taker -- iBoysoft MagicMenu.
iBoysoft MagicMenu is a right-click enhancer for macOS, which is dedicated to improving your work efficiency. It adds the Screen Capture feature to the right-click menu, so you can take screenshots on your Mac within a few clicks.
The end
This post gathers methods to let macOS disable screenshot preview, if you get stuck on this question, try the methods mentioned in this article. Furthermore, some questions you may encounter when using the screenshot feature are also included, which helps you proceed with the screenshot-capturing task more efficiently!