
Written by
Anna Yuan
How to Save an Image on Mac in Different Ways?
Nowadays, people tend to share information using images. We'll use images everywhere, such as preparing a presentation in school or saving pictures from social media. If you're a Mac user and don't know how to save an image on Mac, then you've come to the right place.
We'll explain the 4 most valuable ways to save images on a MacBook or Mac desktop in this article, each of which has its own advantages. You can select which one to use according to your needs.

Table of Contents:
- 1. How to save an image on a Mac by right-clicking
- 2. Try drag-and-drop to save an image on Mac
- 3. Take a screenshot to save an image on a Mac
- 4. How to copy and save an image on your Mac from an external device
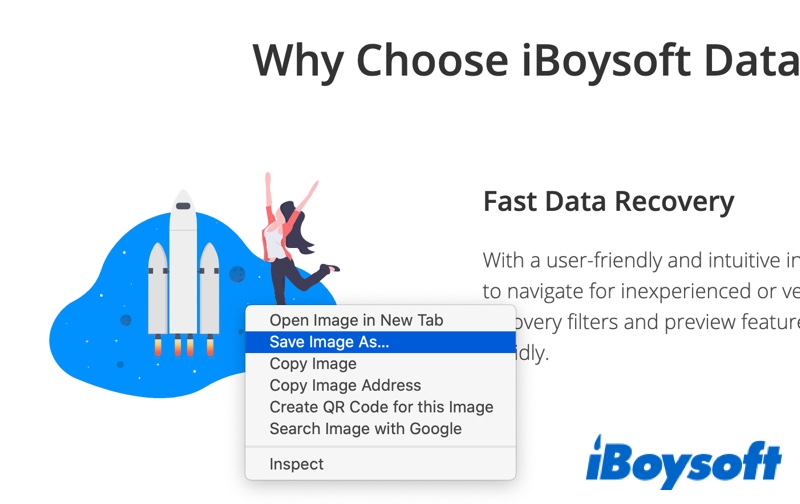
How to save an image on a Mac by right-clicking
The simplest way to save an image on a MacBook is to use your MacBook's right-click drop-down menu. This way, you can quickly save an image on Mac from the Internet, Gmail, or Google Drive. Here's how to do it:
- Locate the image you want to save first on the web, and right-click on the picture. If you're using an Apple mouse, you can also hold down the Control key and click the picture using your mouse pointer.
- Select Save Image As from the right-click context menu.
- Type in the file name you want to use for the image and choose where to save it.
- Click the Save button.
Try drag-and-drop to save an image on Mac
If you can't right-click on your Mac and fail to save an image on your MacBook, try this way instead:
- Left-click the image and hold on to this operation.
- Move your mouse pointer, you'll find another copy of this image appearing.

- Drag the copy to its destination, which can be the desktop folder, open folder, MacBook's desktop, or even a Word or PowerPoint document.
Now the image should be saved on your Mac. Compared to the first method to copy and save an image on a Mac, dragging is faster. However, it offers less control than right-clicking because you can't rename the picture or change its format.
Could you please share this post on your social media if you find it useful?
Take a screenshot to save an image on a Mac
Sometimes, some pictures are not allowed to directly save or download from the Internet. In this situation, you can save an image on a Mac by taking a screenshot on your Mac. Here's how to do it:
- To capture a screenshot of a specific image, press the Shift + Command + 4 keys simultaneously.

- Drag the crosshair to select the area on the screen to capture.
- The captured image will appear in the corner of your screen.
If you want to check where the captured screenshot goes on Mac, you may find it on your desktop.
How to copy and save an image on your Mac from an external device
It's very common to use an external hard drive or USB flash drive to back up your important photos or files. If you want to know how to copy and save an image on your Mac from an external device, just keep reading.
- Connect your external hard drive to your Mac or MacBook.
- Open a new Finder window and select your external disk in the Mac Finder sidebar.
- Select the image you want to save on your Mac, and drag and drop the file onto your desktop or anywhere on your Mac's internal hard disk.
If drag and drop not working on your Mac, you can use a powerful utility - iBoysoft MagicMenu to copy and save an image on your Mac. Just simply download iBoysoft MagicMenu from the web and launch it.
Then, choose the image you want to save and right-click on it, then, choose Copy to or Move to in order to save the image on your Mac.

Find this method useful? Please share it with your friends.
Final thoughts
No matter whether you want to save an image on a Mac from Google Drive, FaceBook, Instagram, Whatsapp, or Gmail, you can use the above-mentioned ways to help you. If you still have any questions, you can share your comments below.